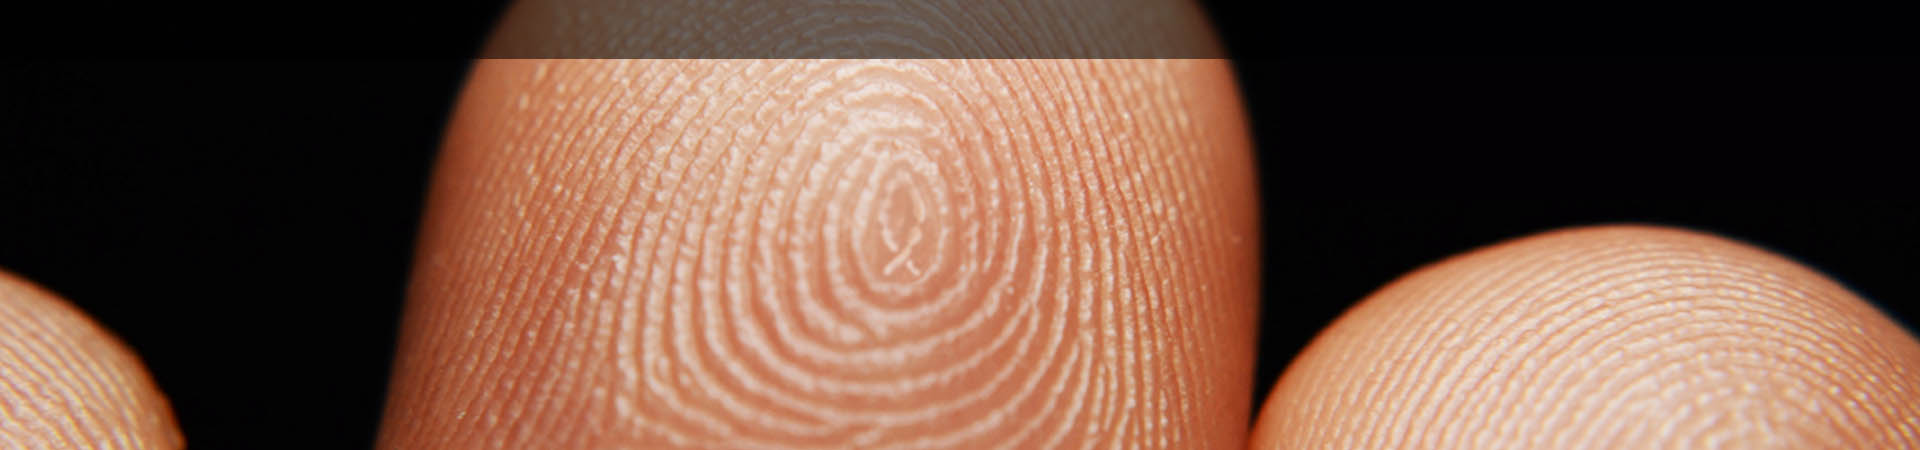
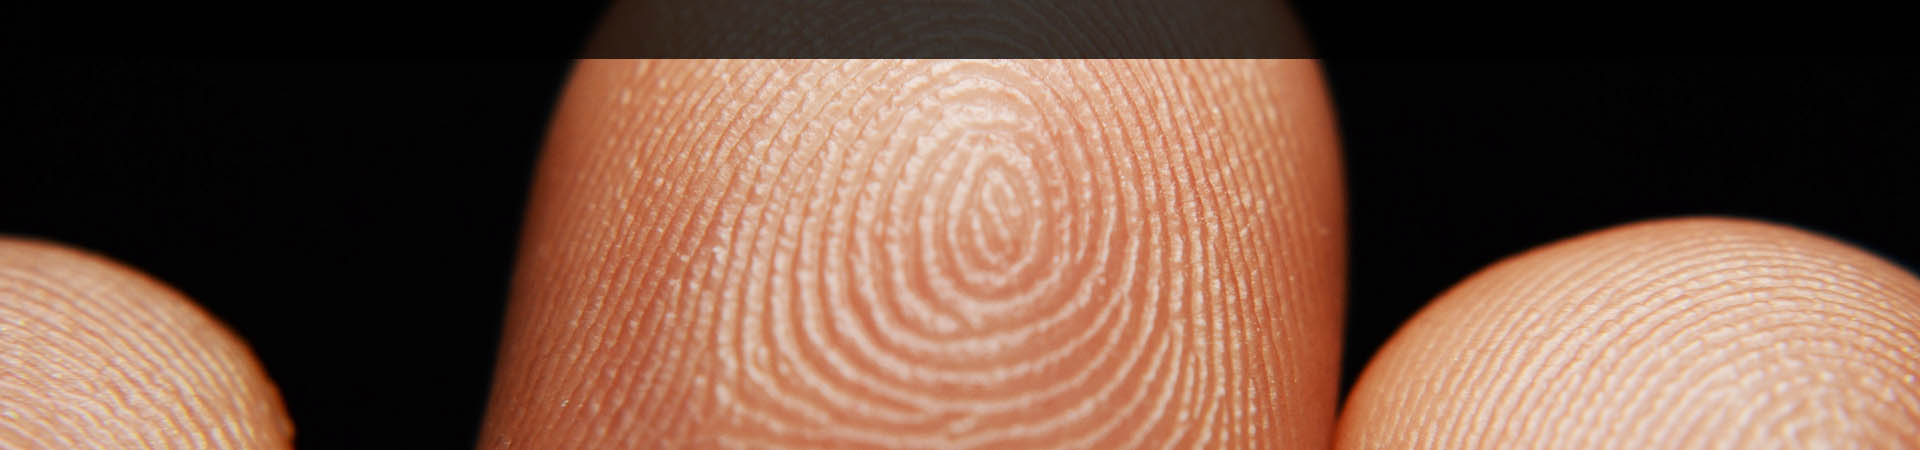
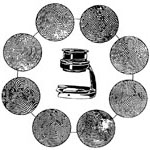
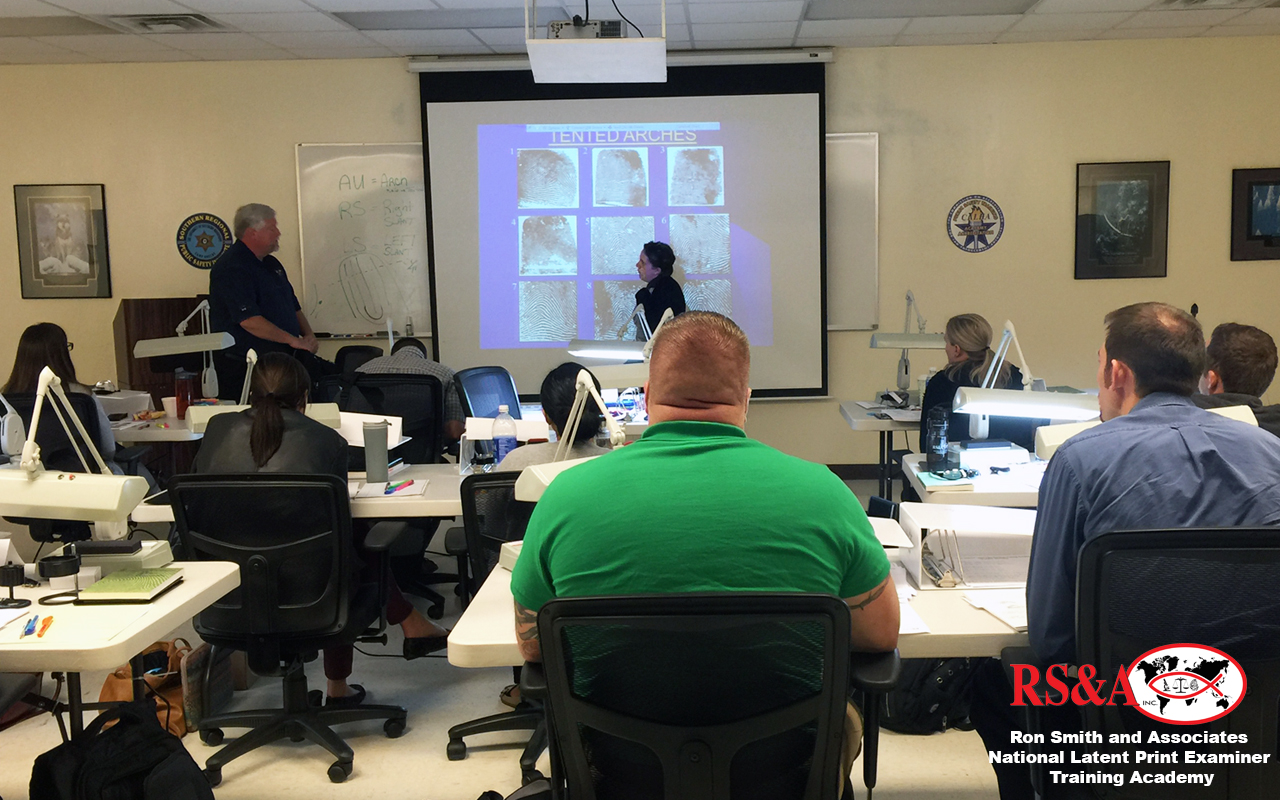
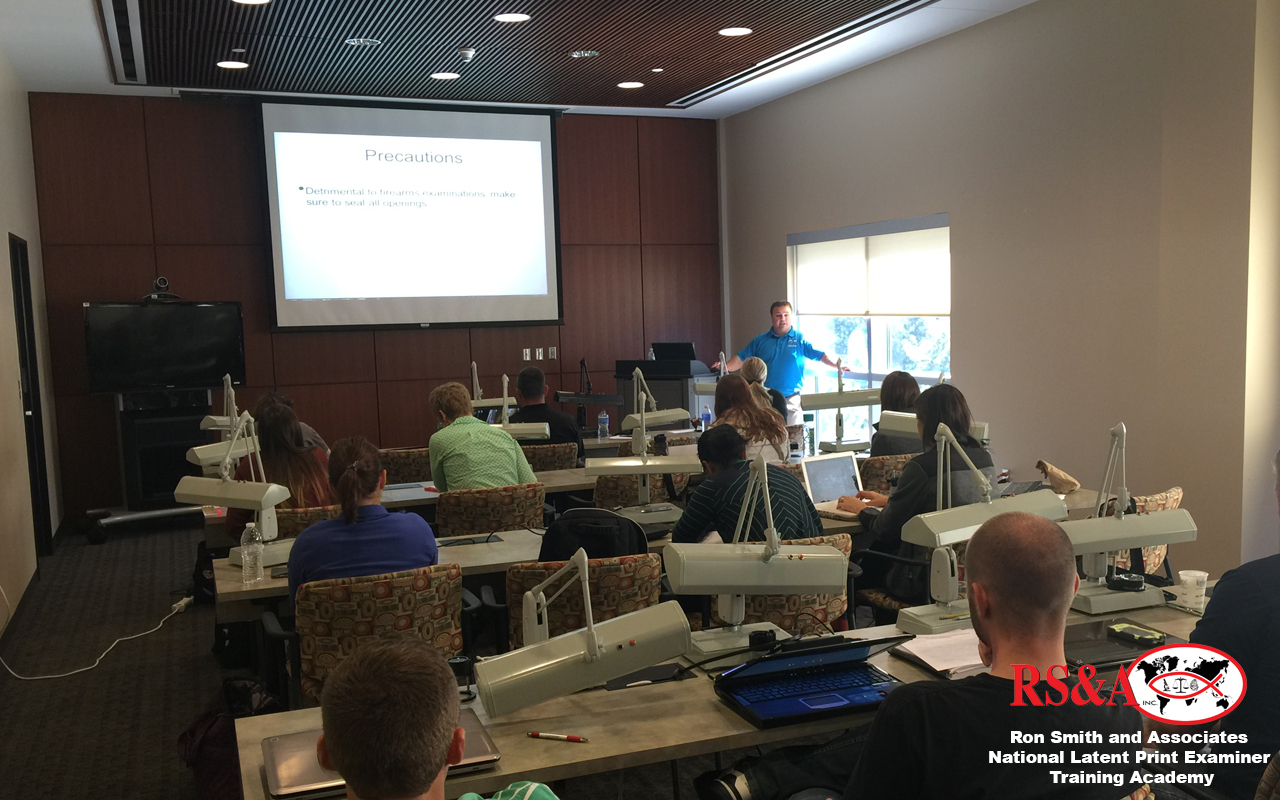
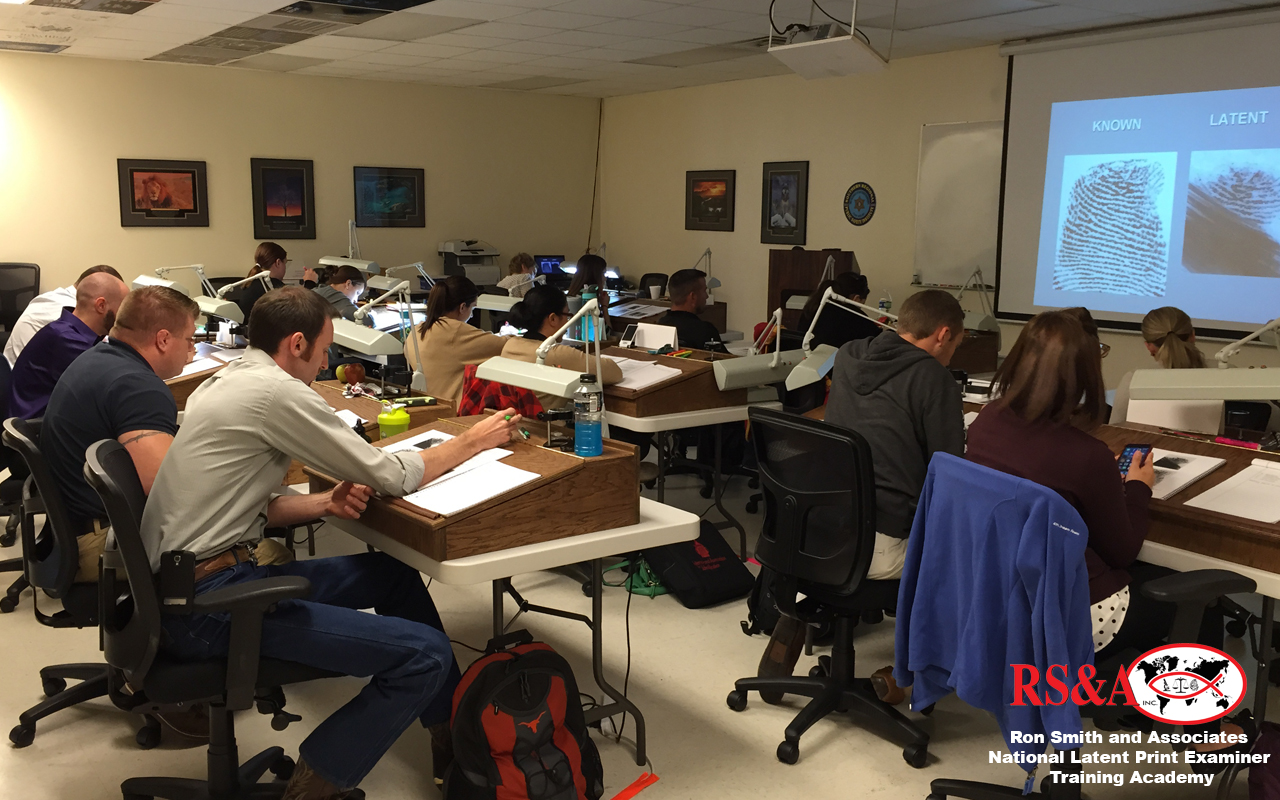
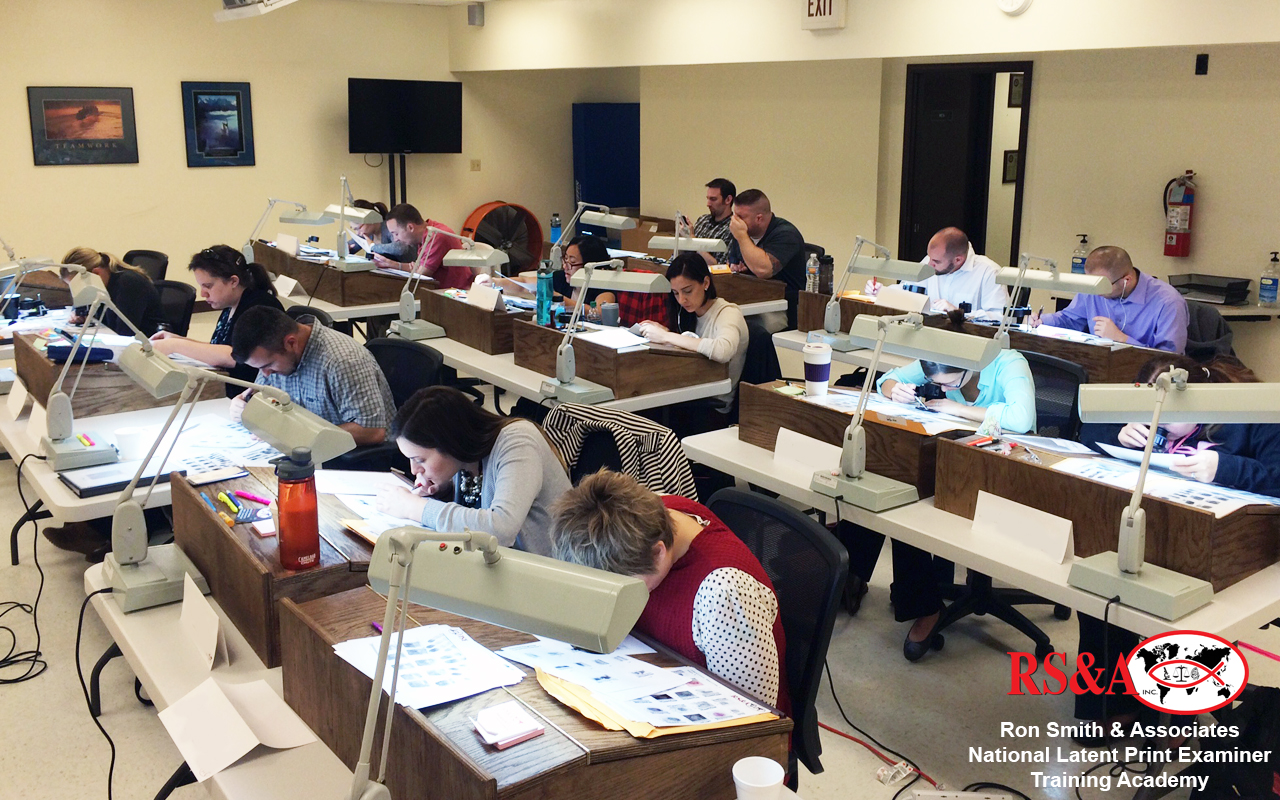
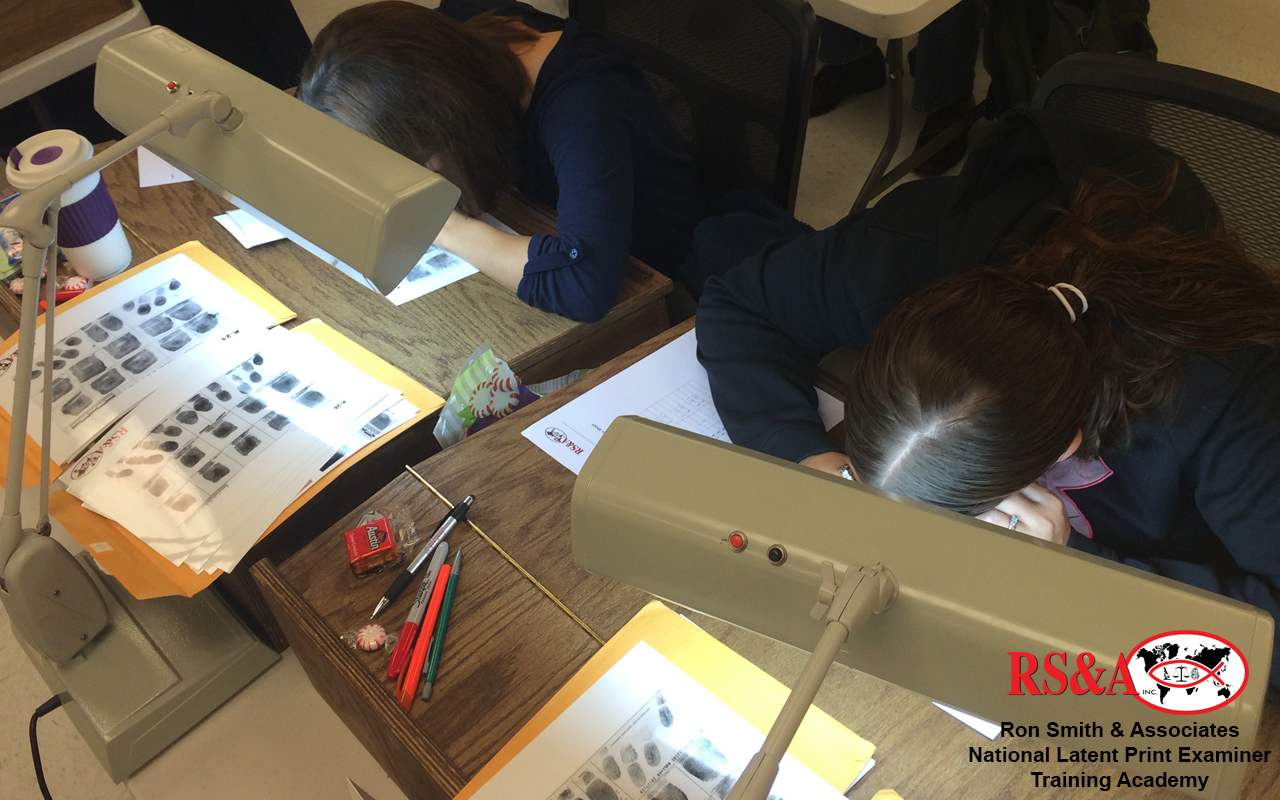
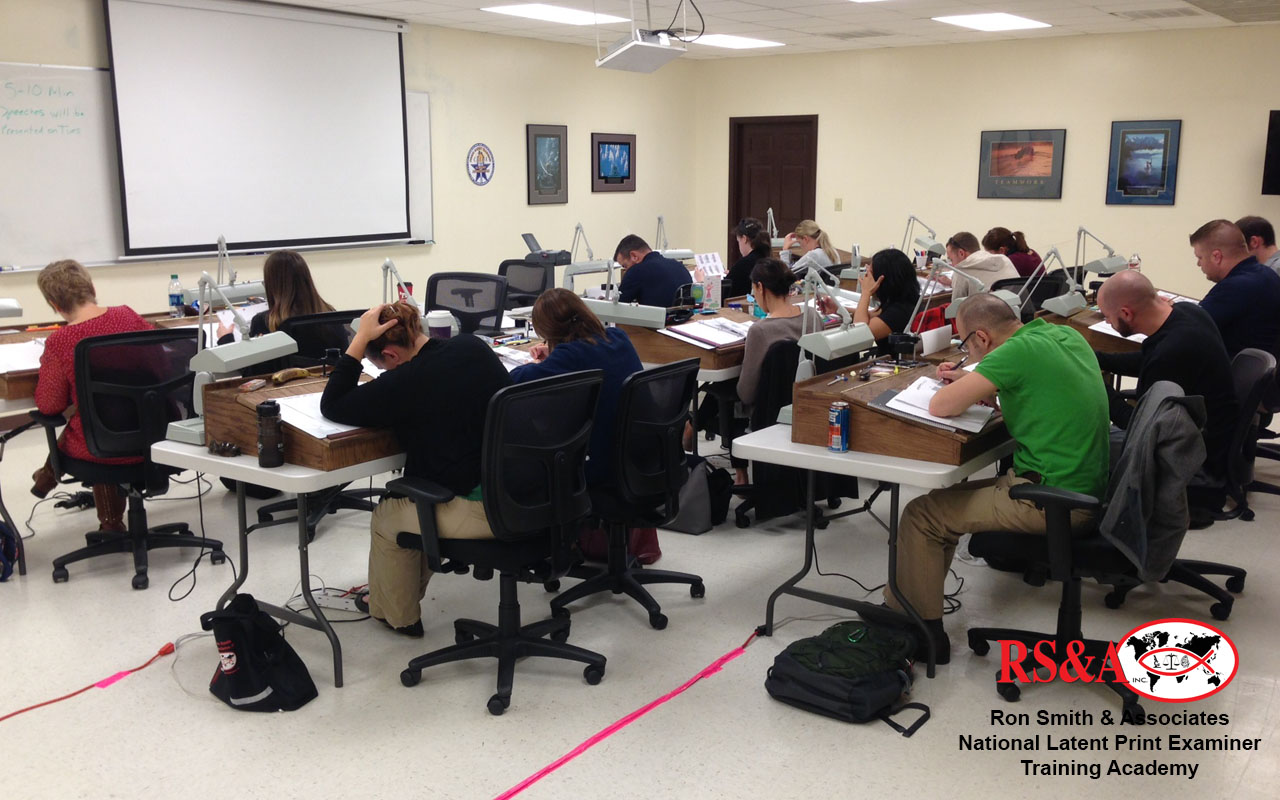
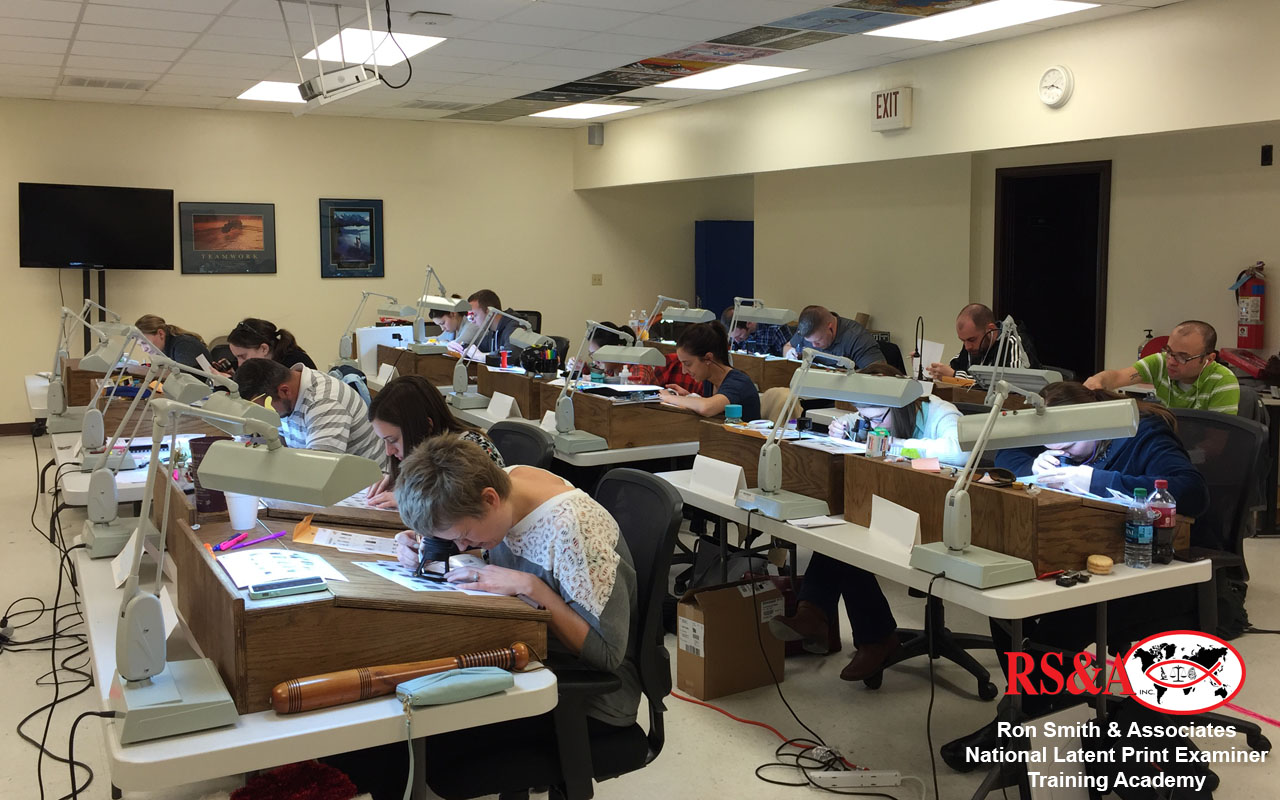
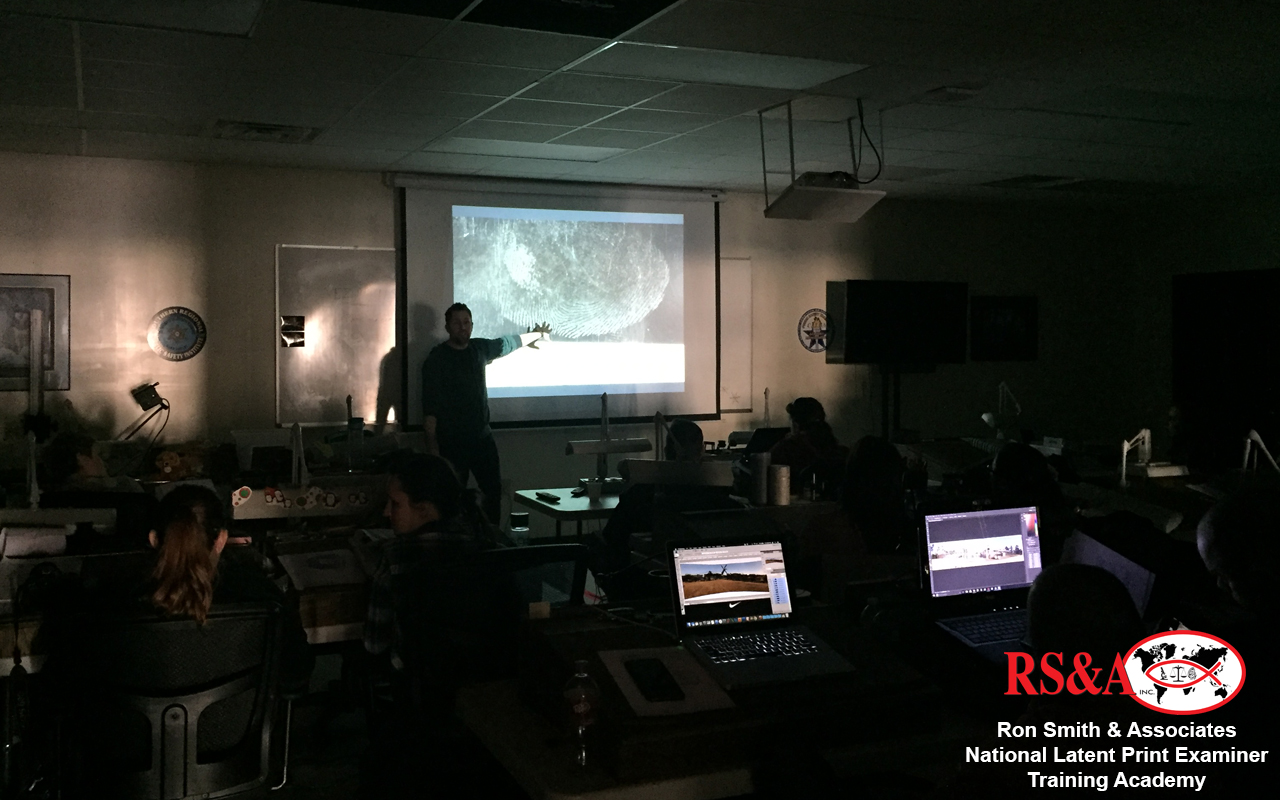
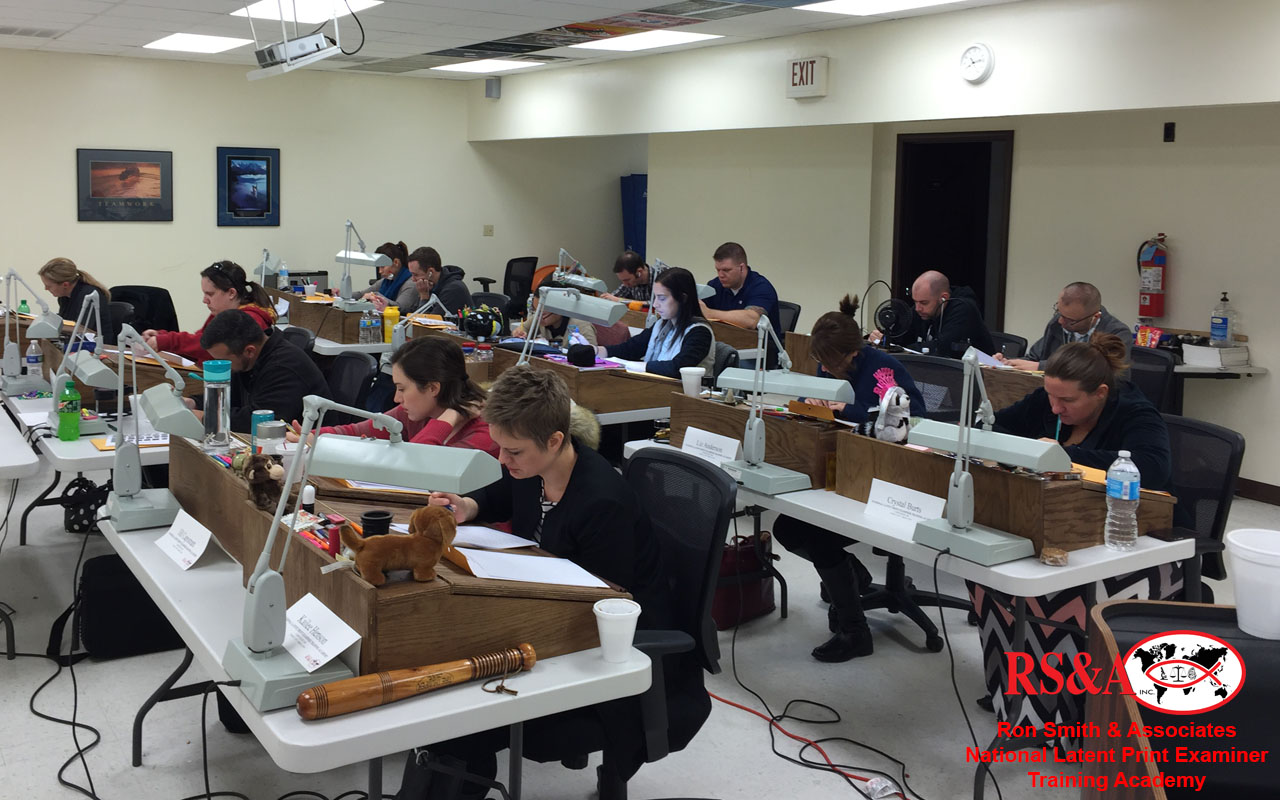
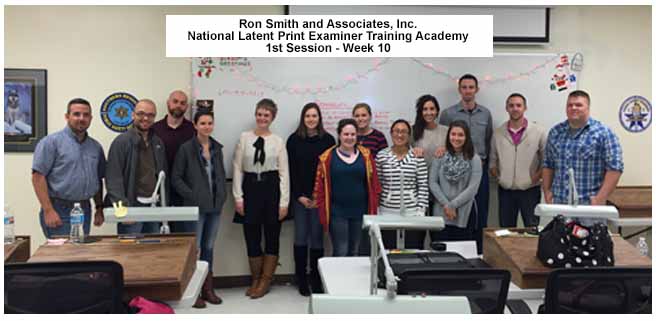
Week 1 was all about gaining the knowledge of how to evaluate, compare, and identify friction ridge skin. This was accomplished through many hours of training that involved independent study and one-on-one mentoring from an expert RS&A instructor. Throughout week 1, students were constantly challenged through a series of lectures, practical exercises, and drills that have been specifically designed to increase a student's knowledge and to foster their confidence in the usefulness of the science, and their ability to use it. Many different facets of friction skin examination were explored and the challenges associated with the science were discussed in detail. Each student now has a clear understanding of the principles underlying the science and as a result, they now have a practical, functional knowledge of how to examine friction skin. Each student was taught the "language" of friction skin examination and pattern recognition. Then each student learned how to use all three "levels of detail" and apply ACE-V methodology as the basis for the examination process.
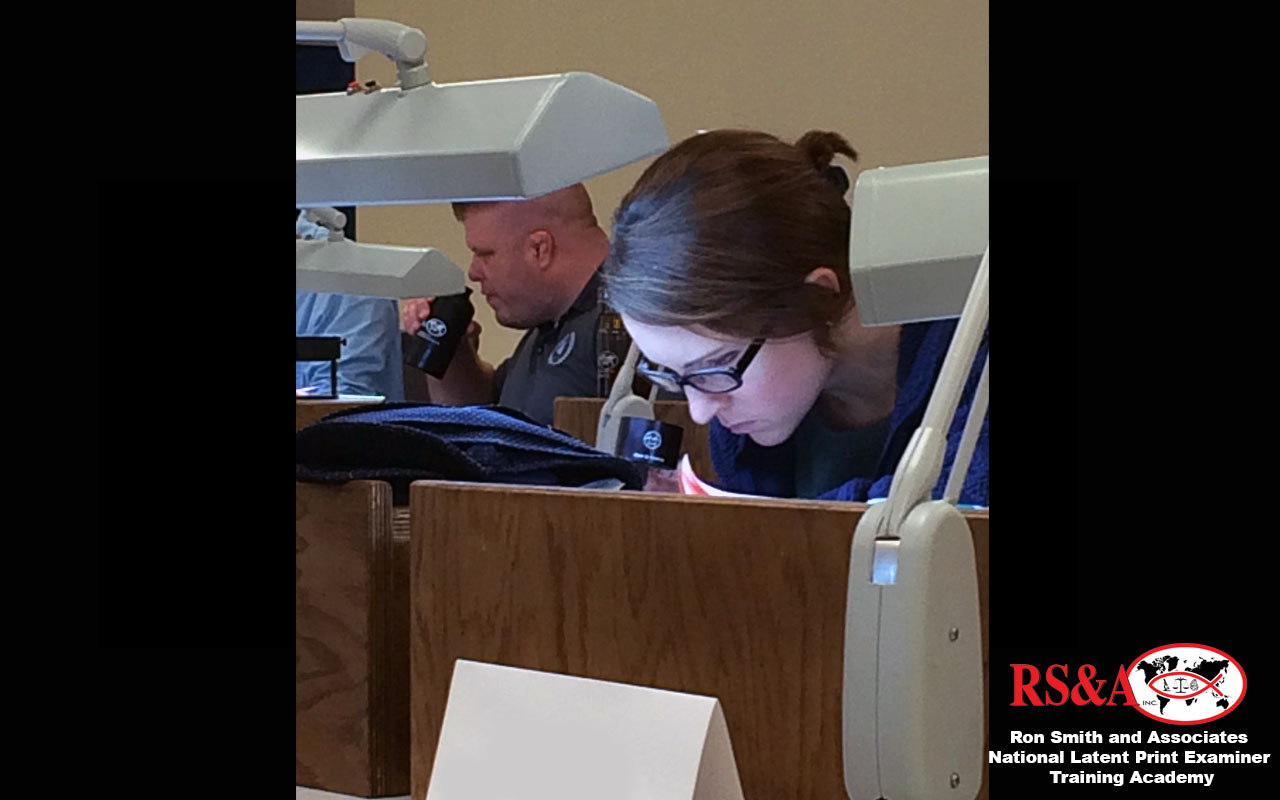
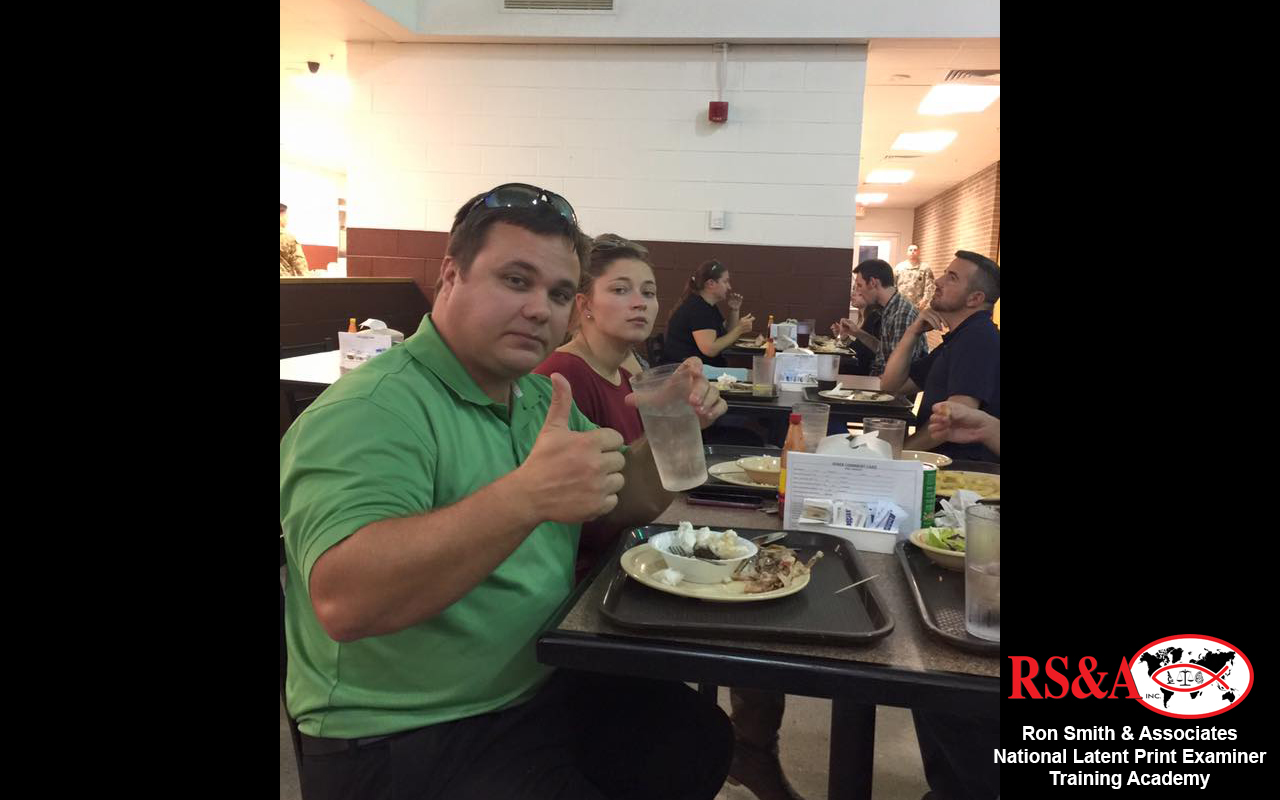
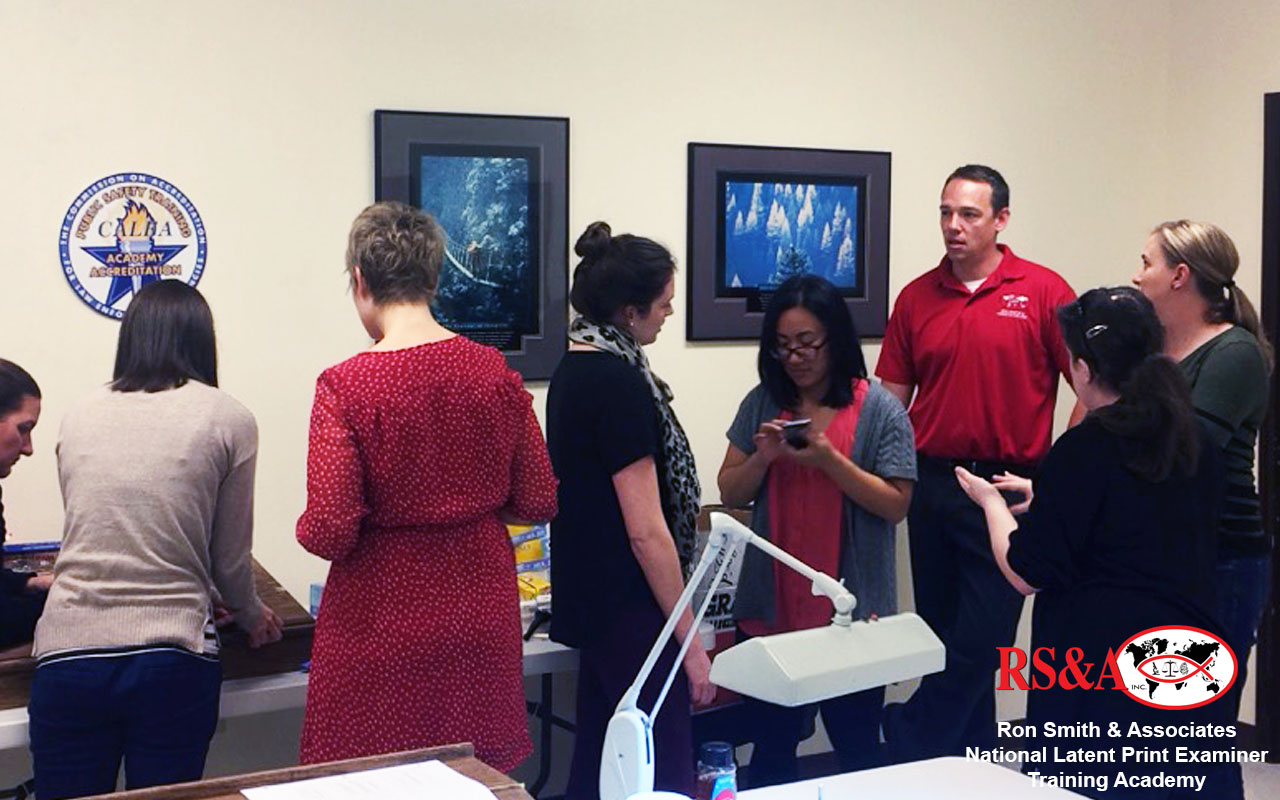
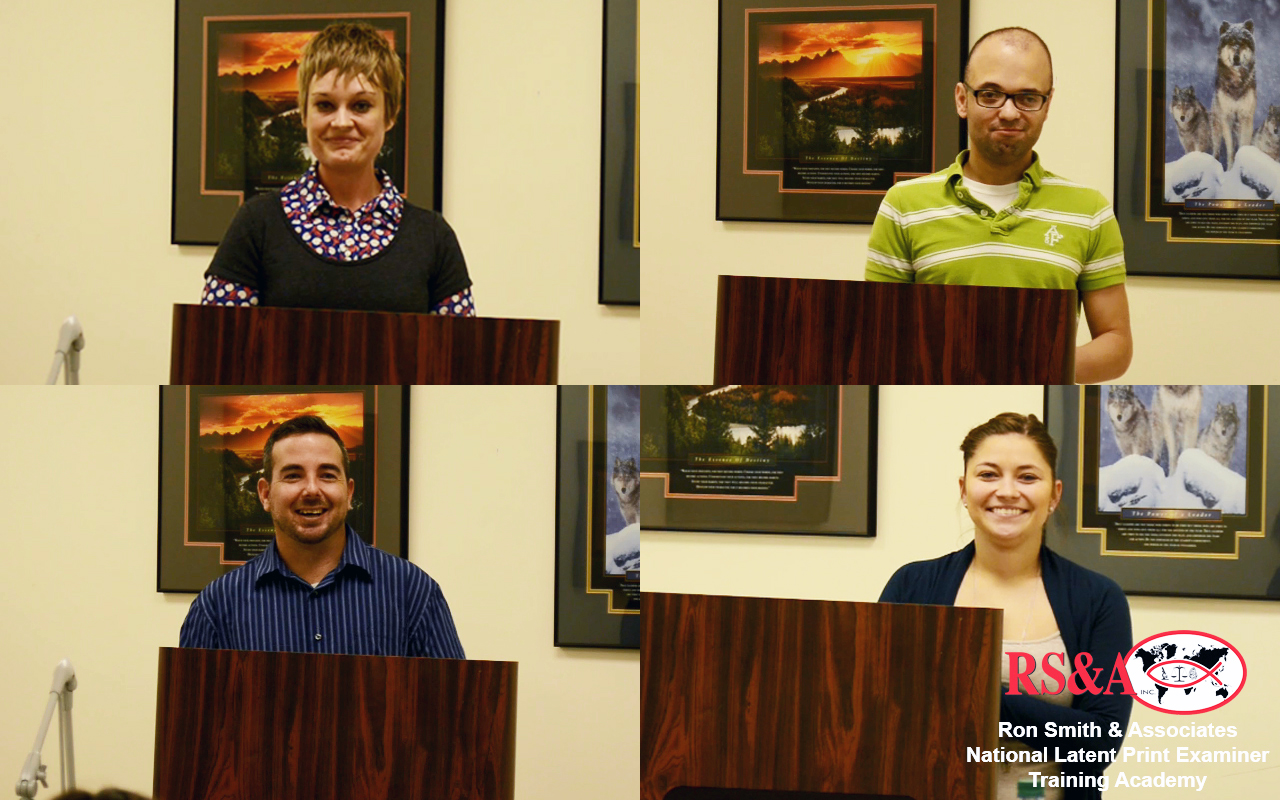
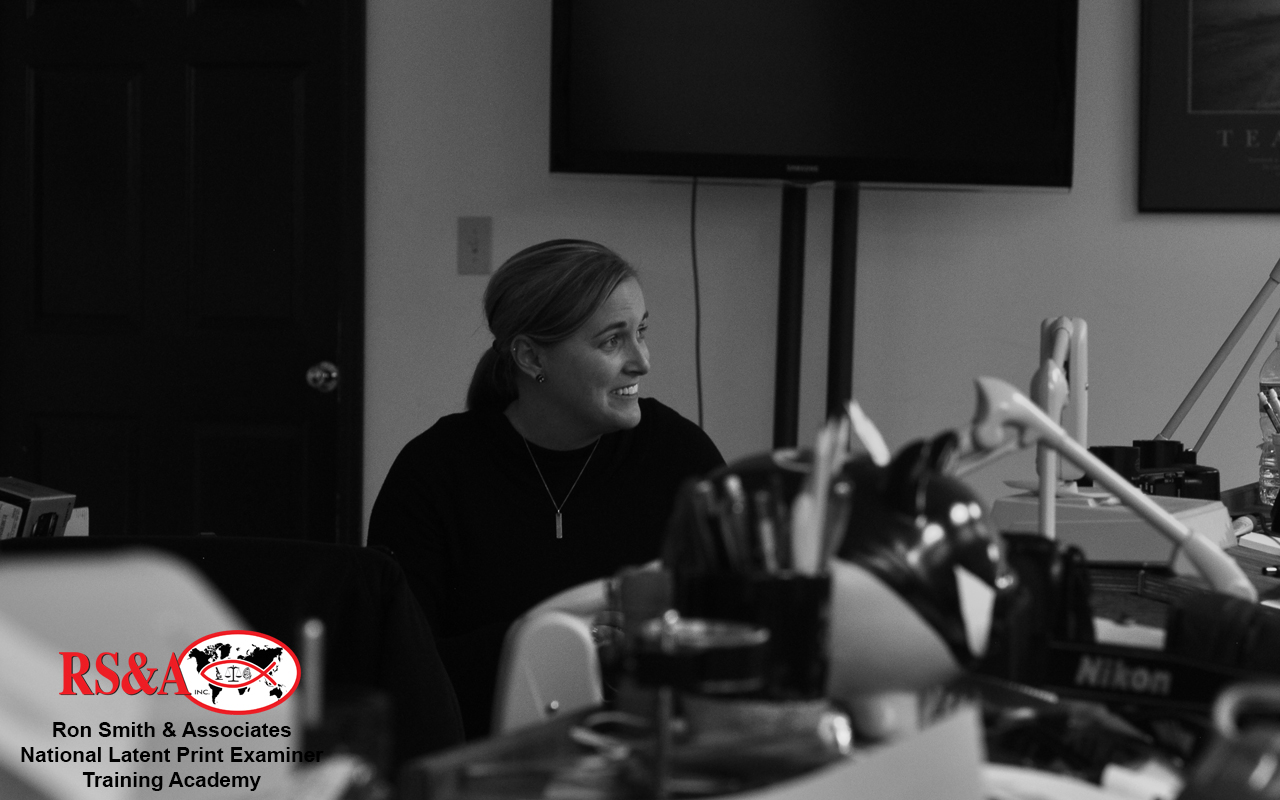
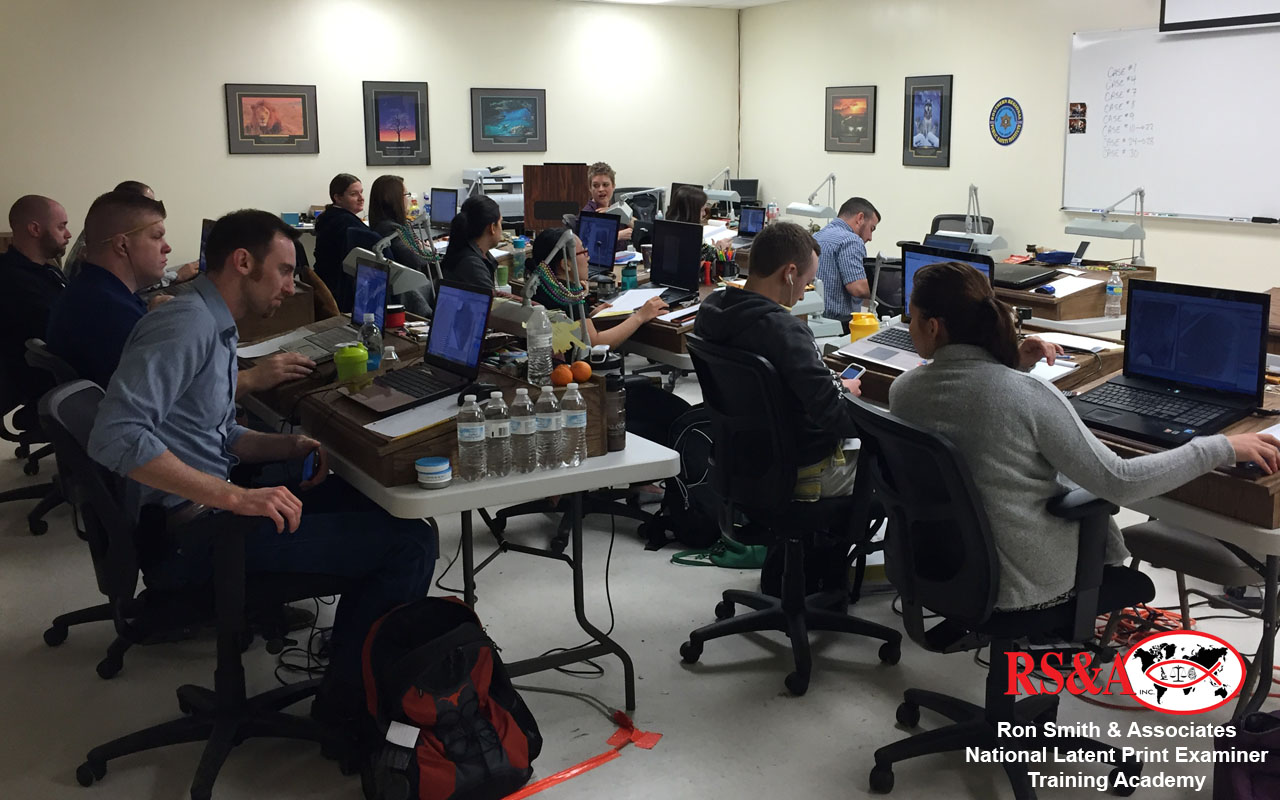
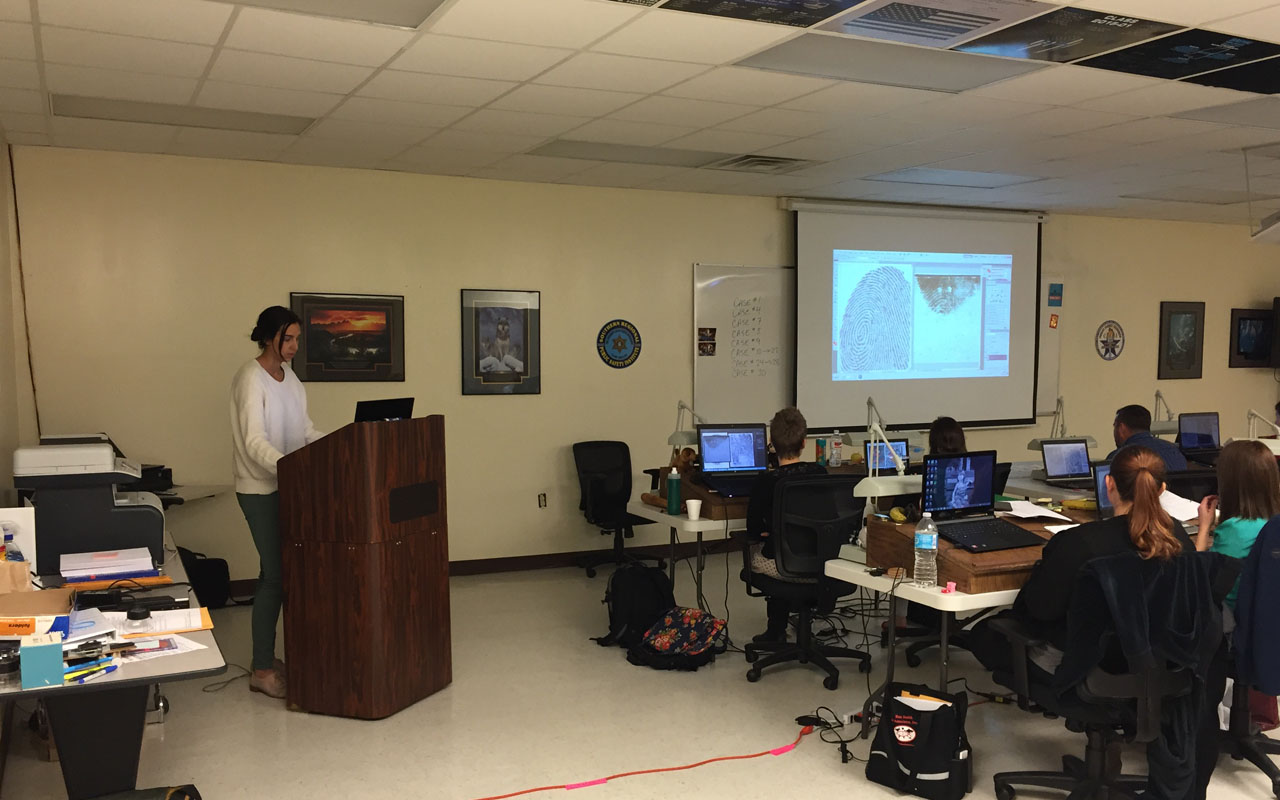
CLICK A THUMBNAIL IMAGE BELOW TO VIEW A LARGER IMAGE SLIDESHOW
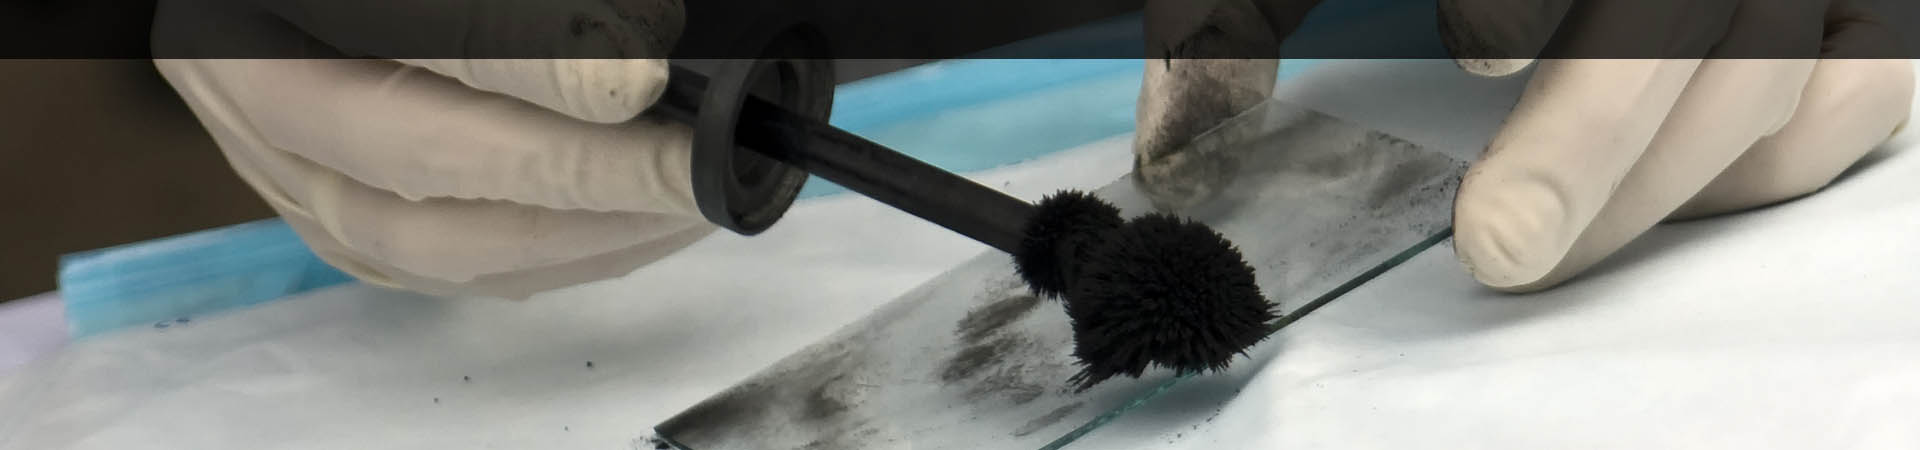
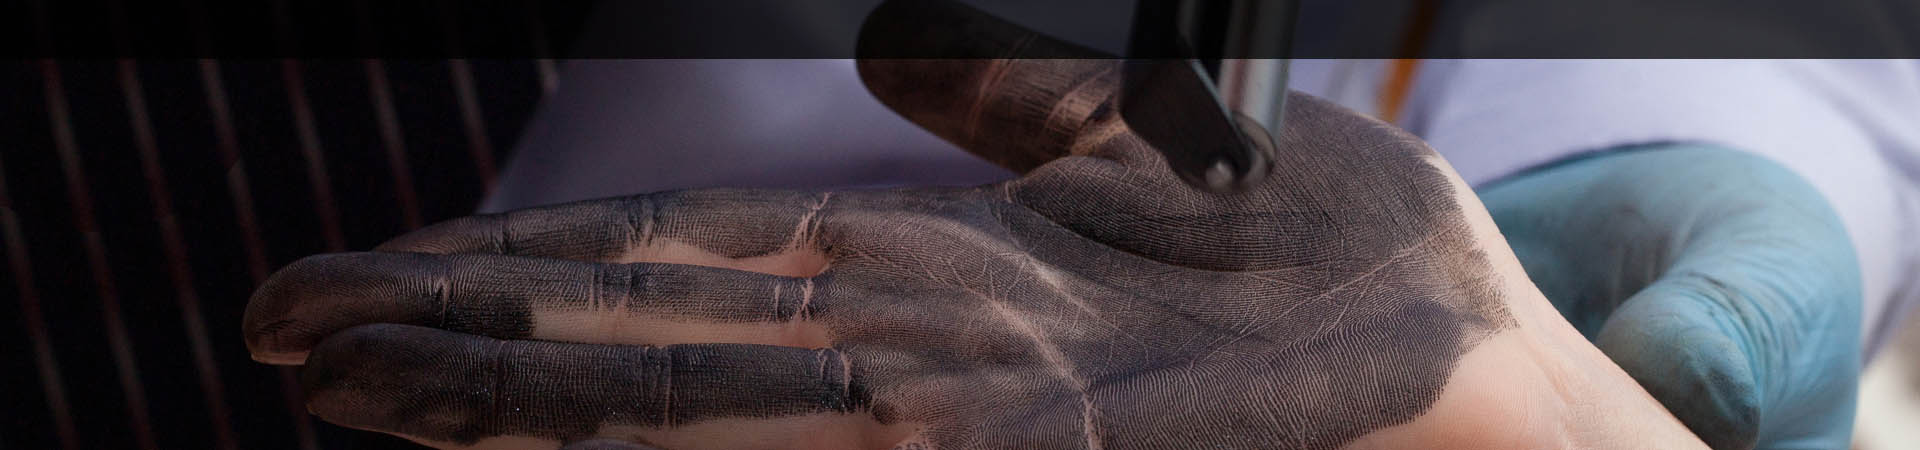
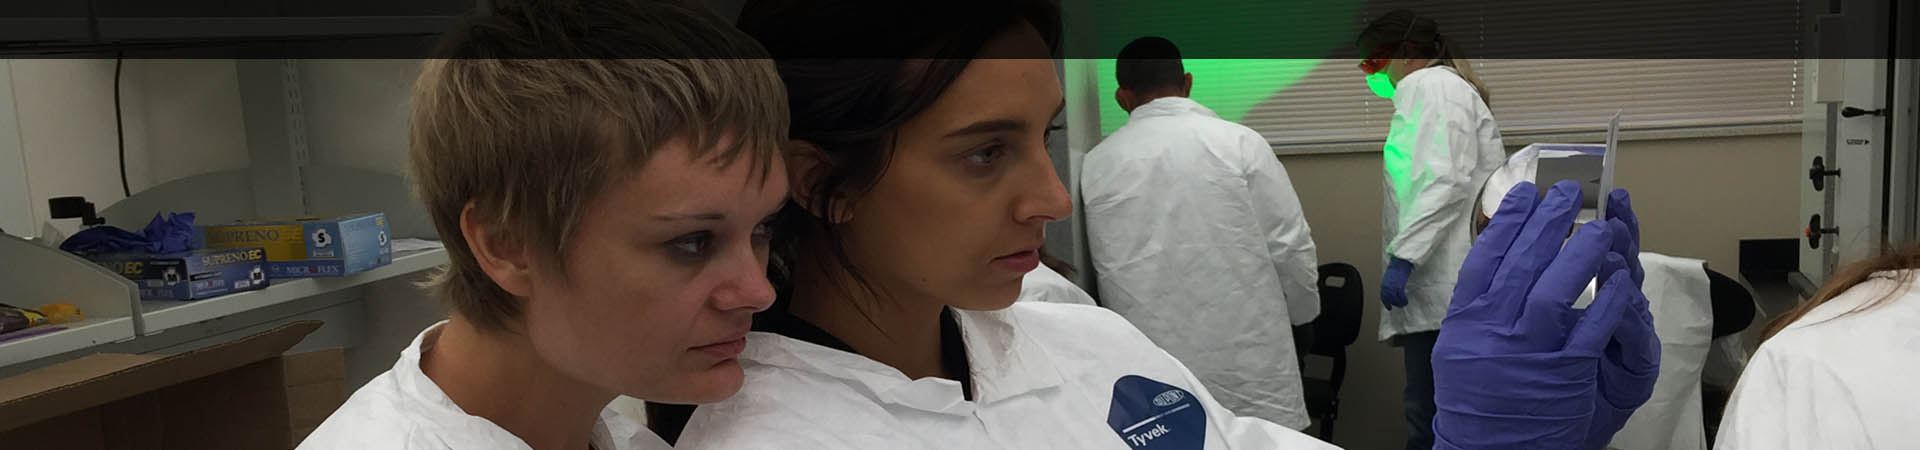
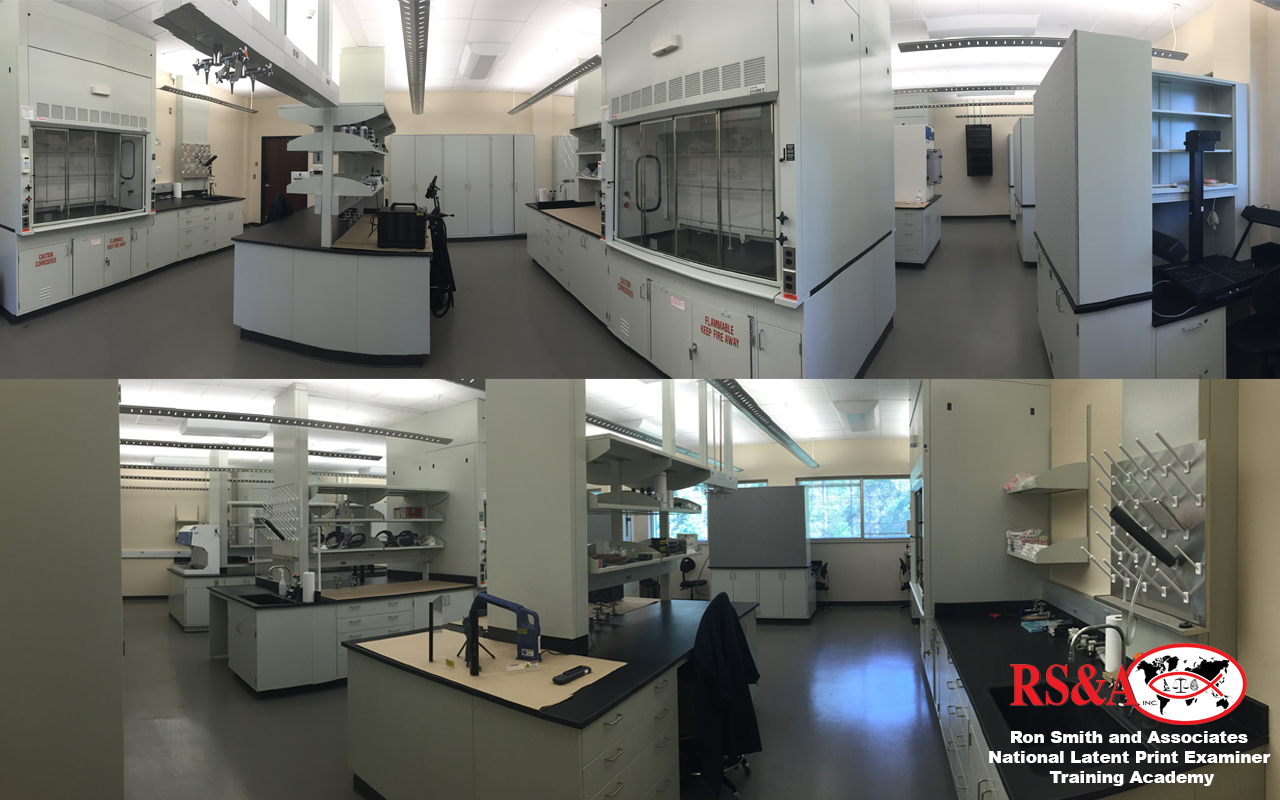
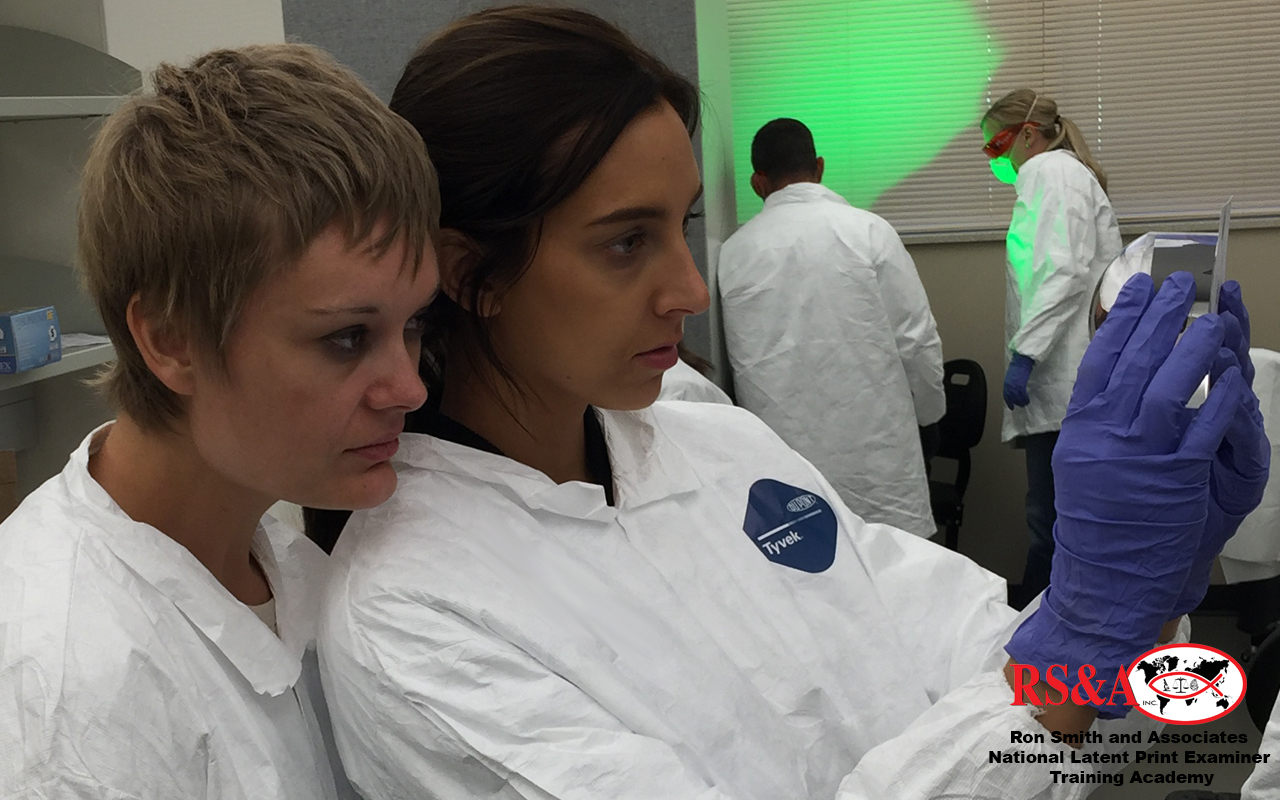
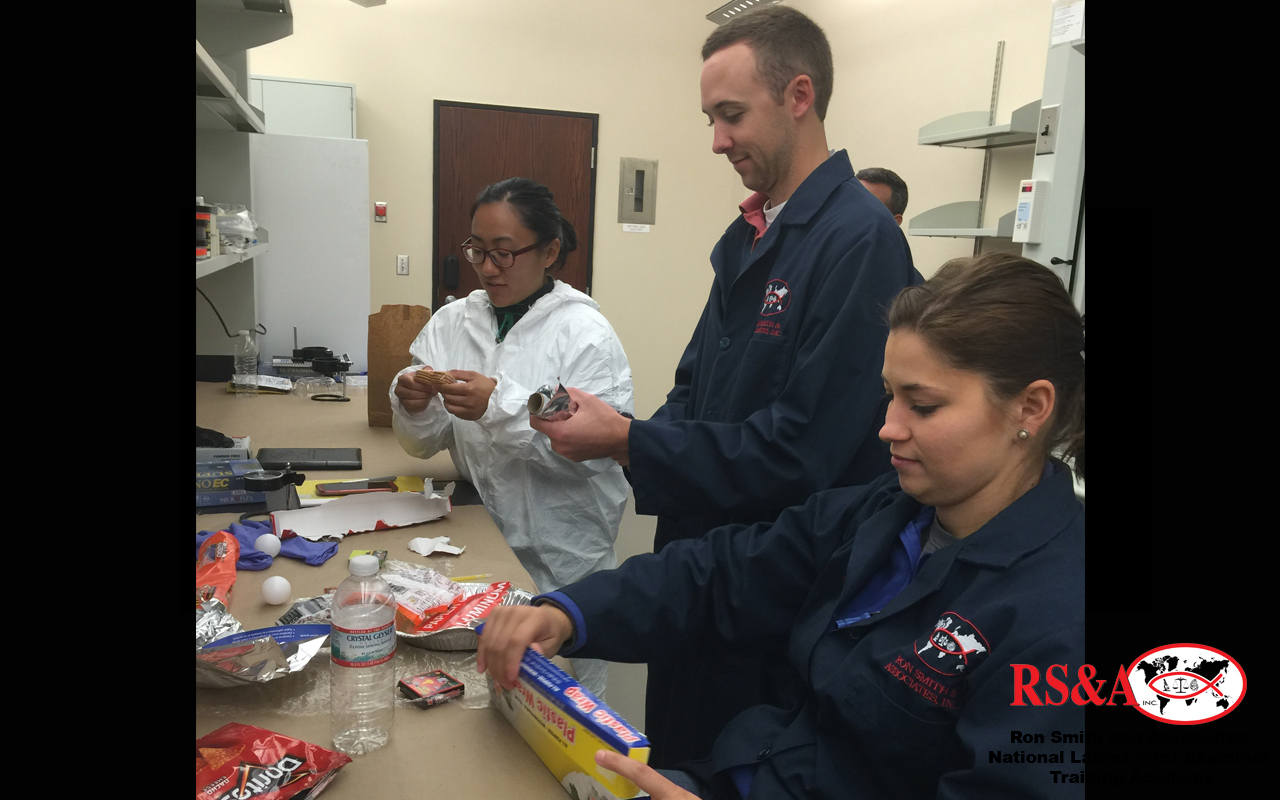
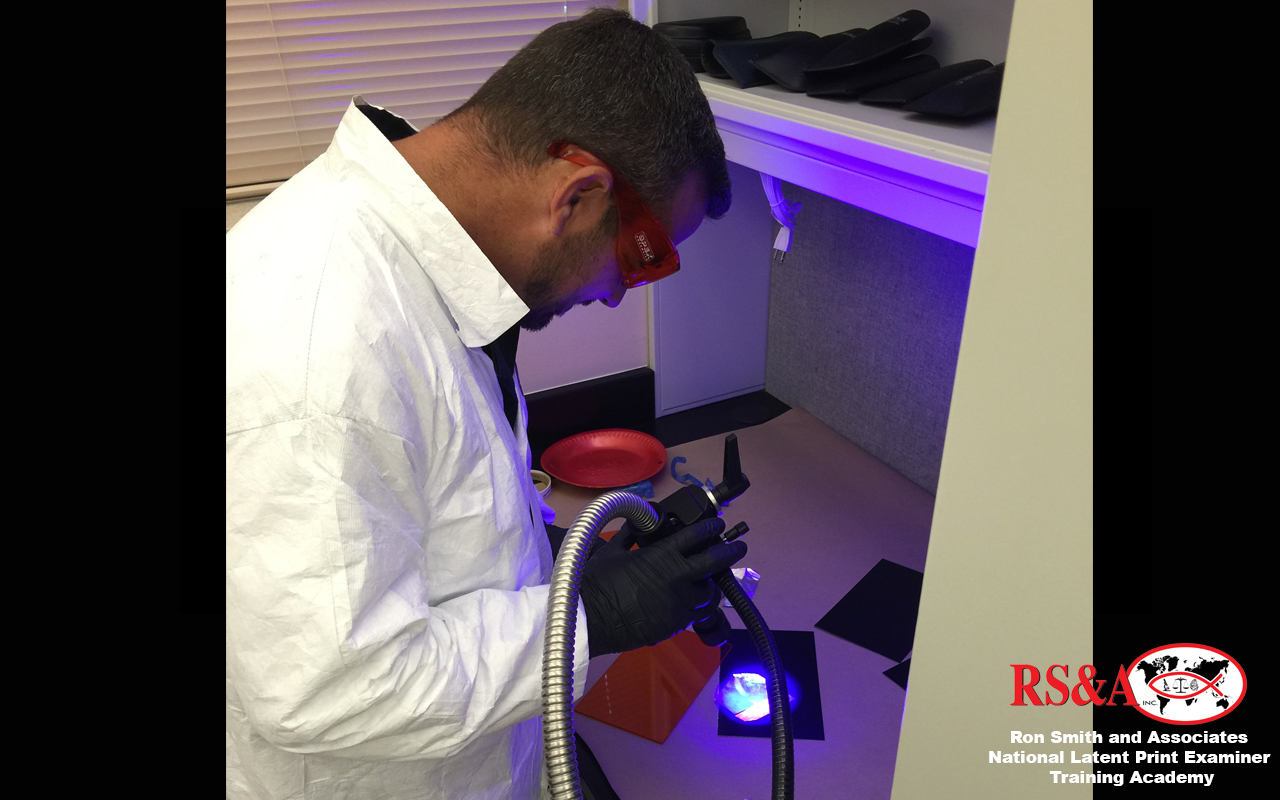
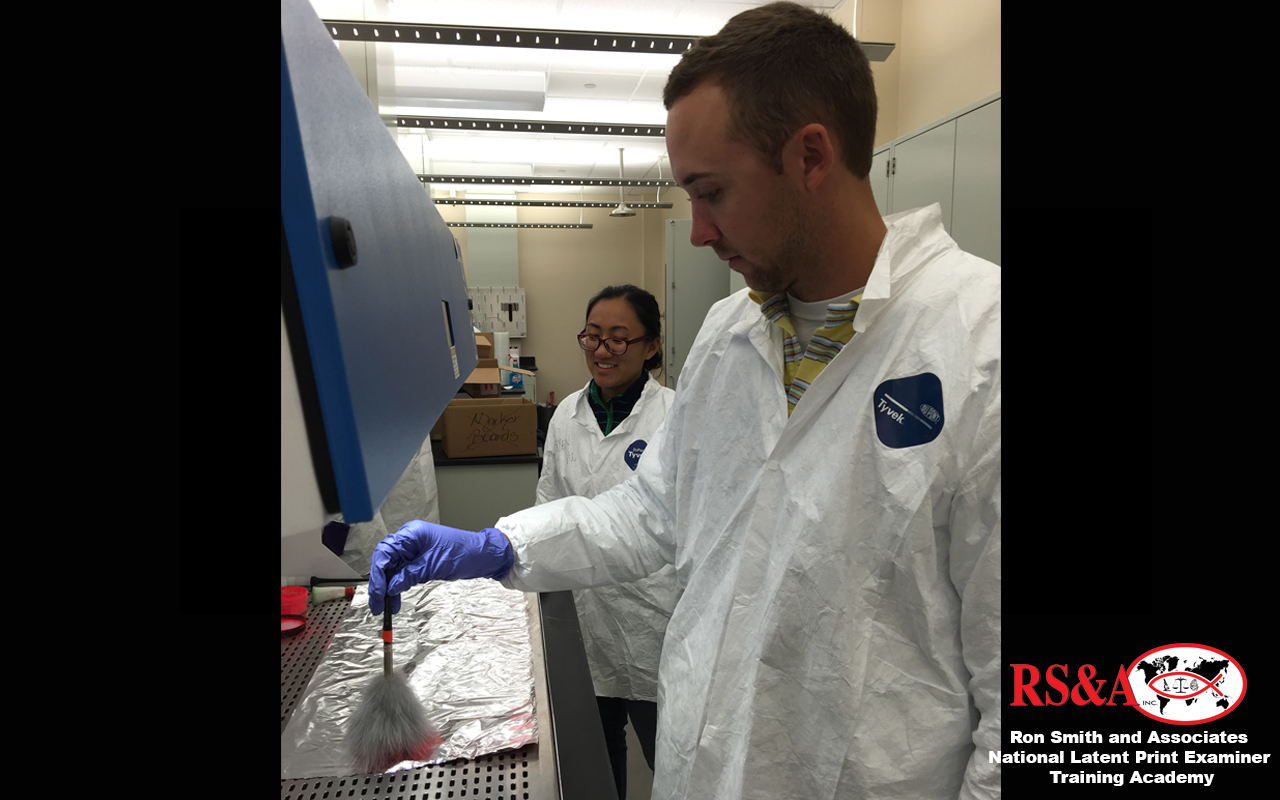
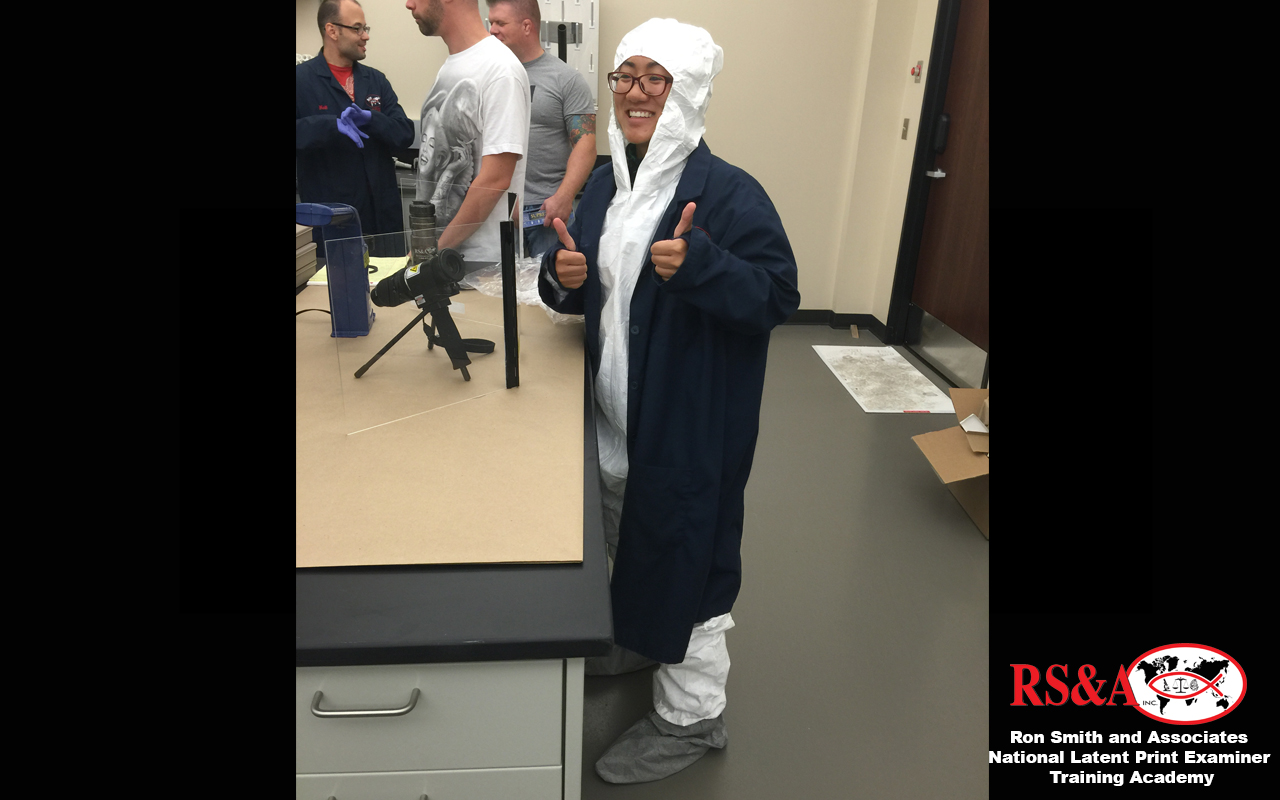
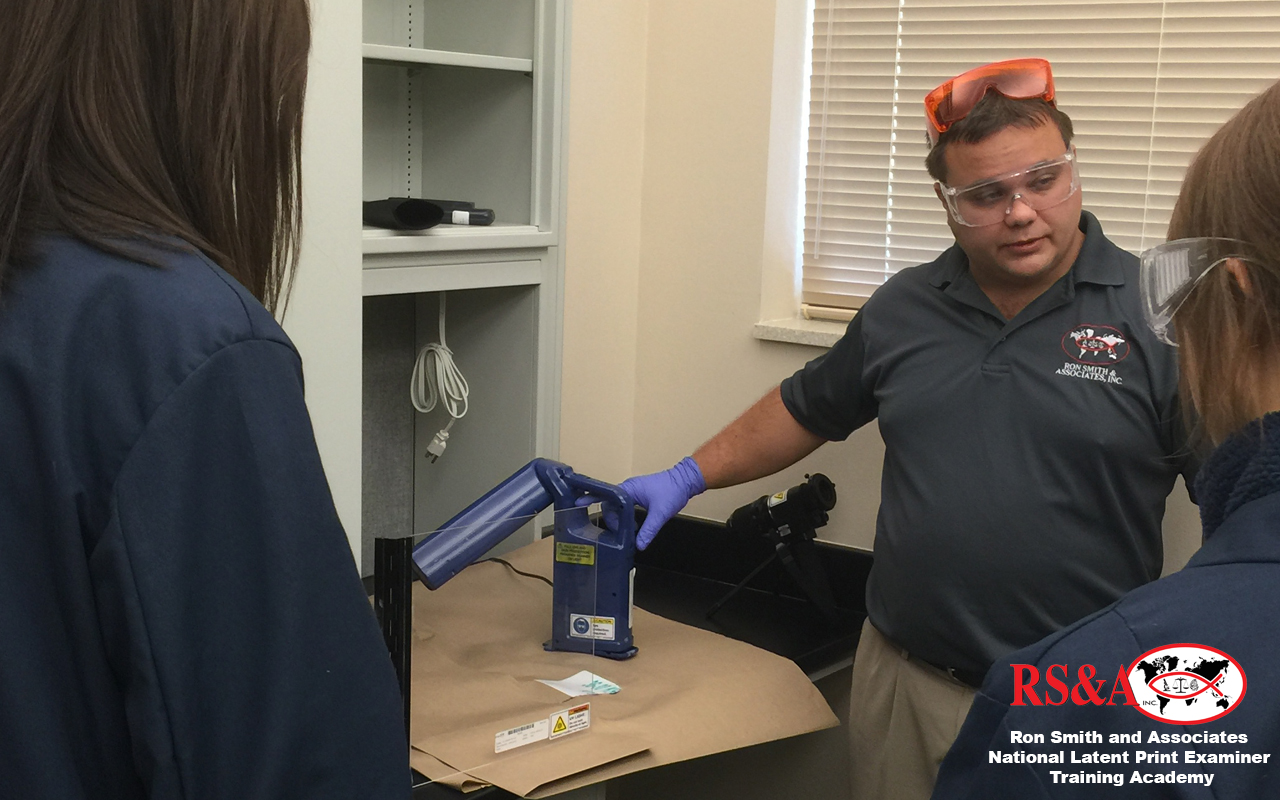
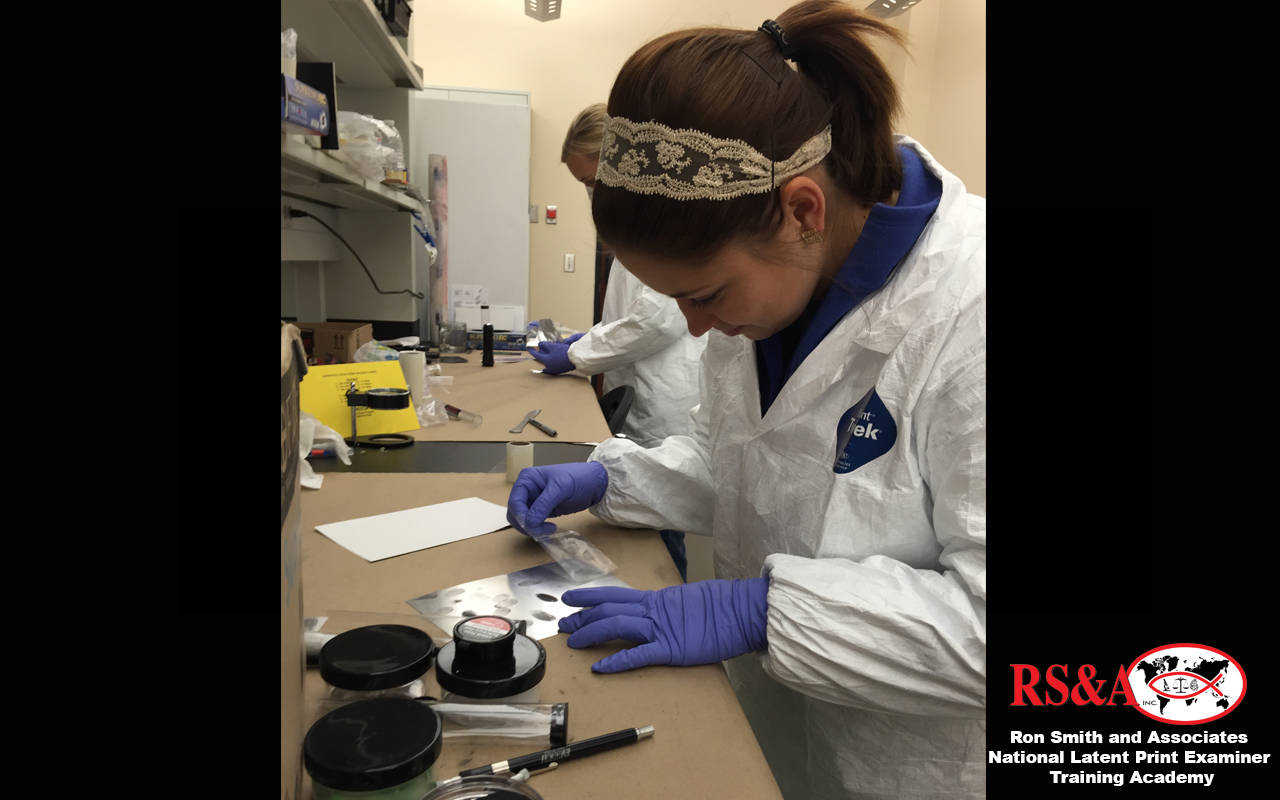
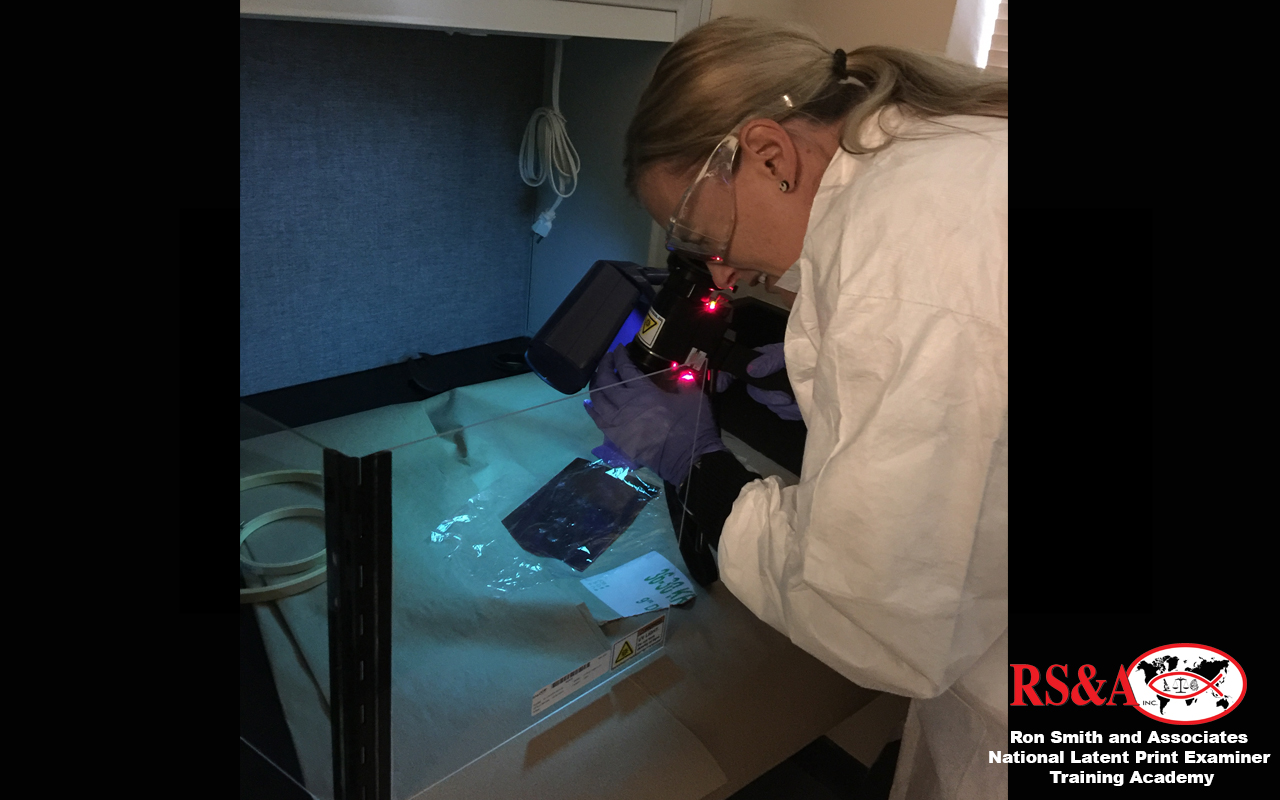
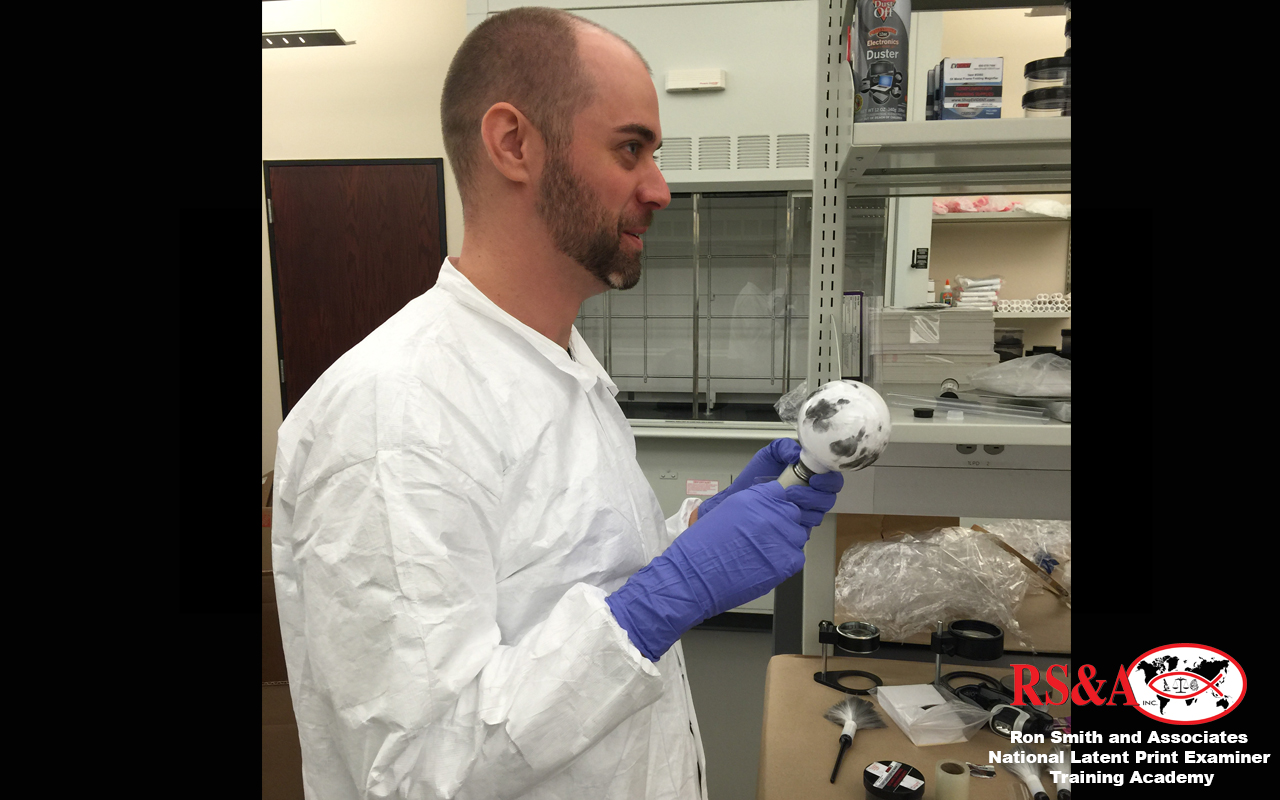
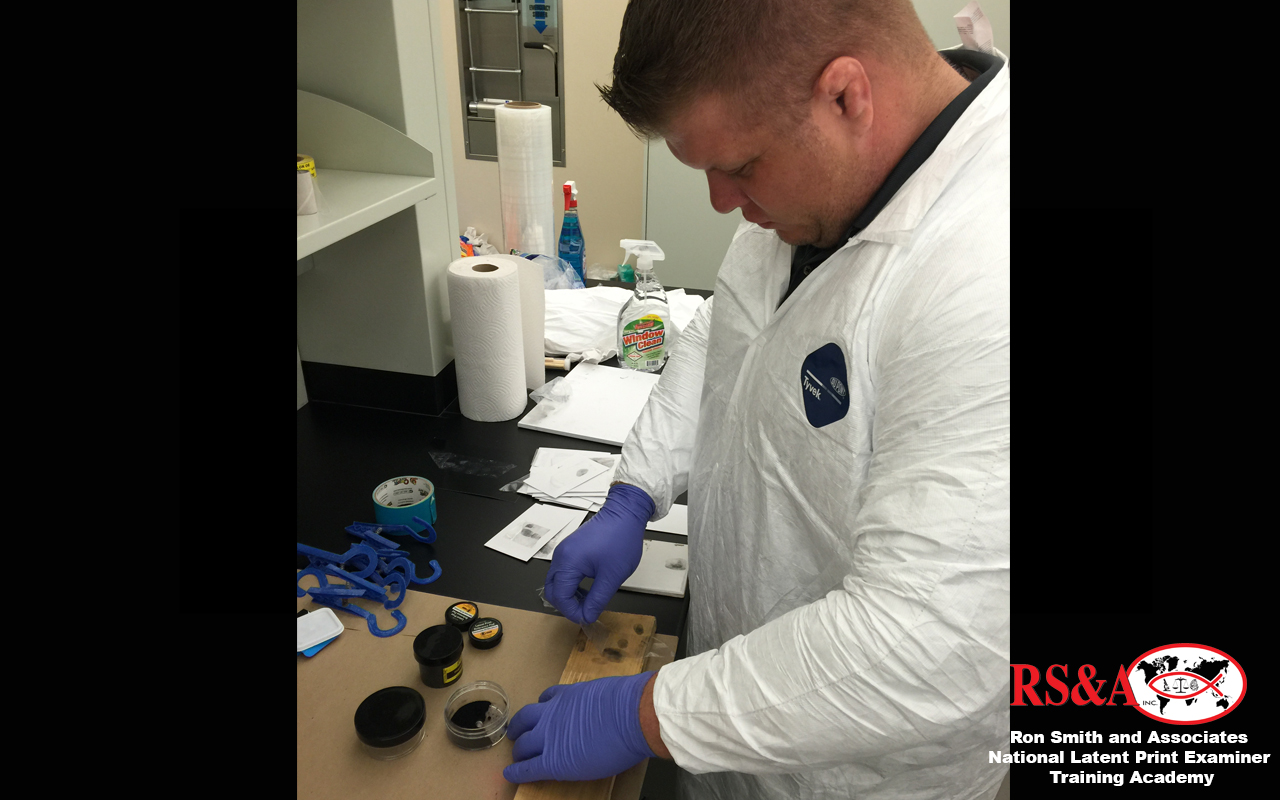
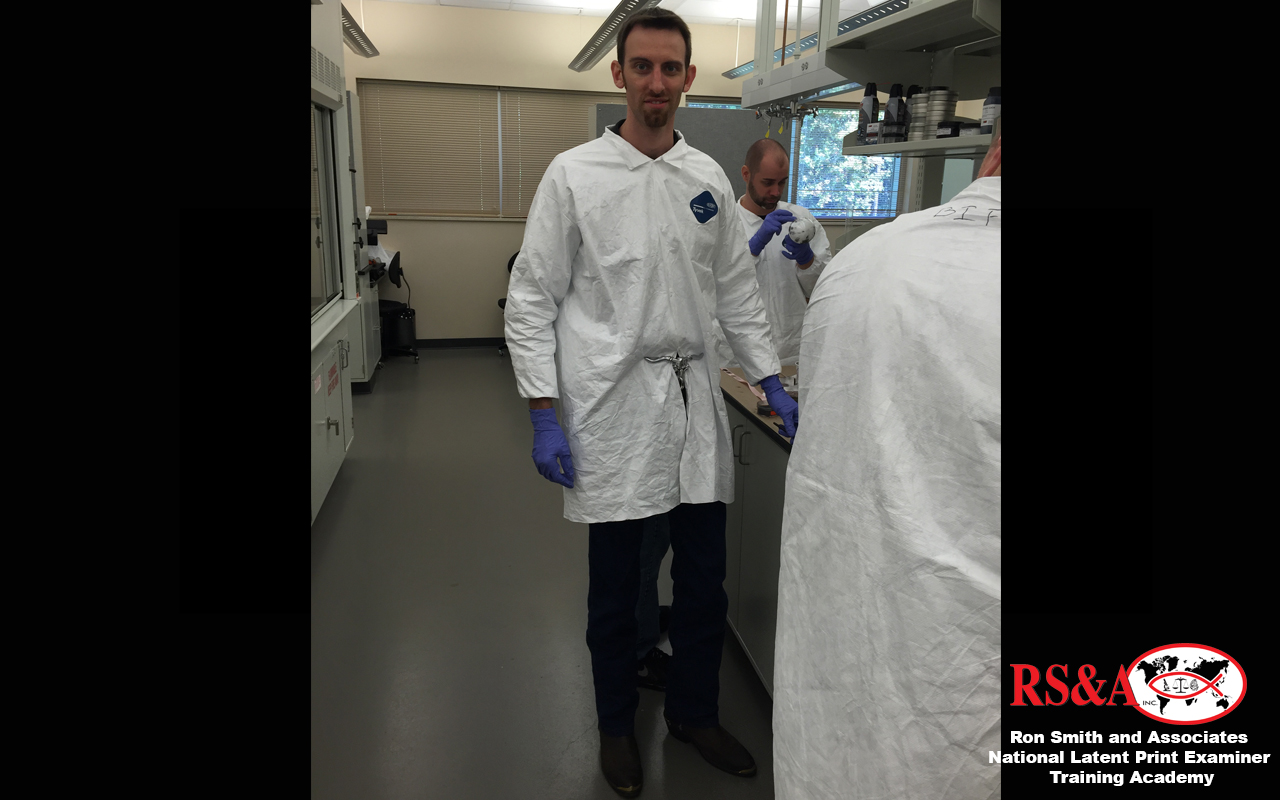
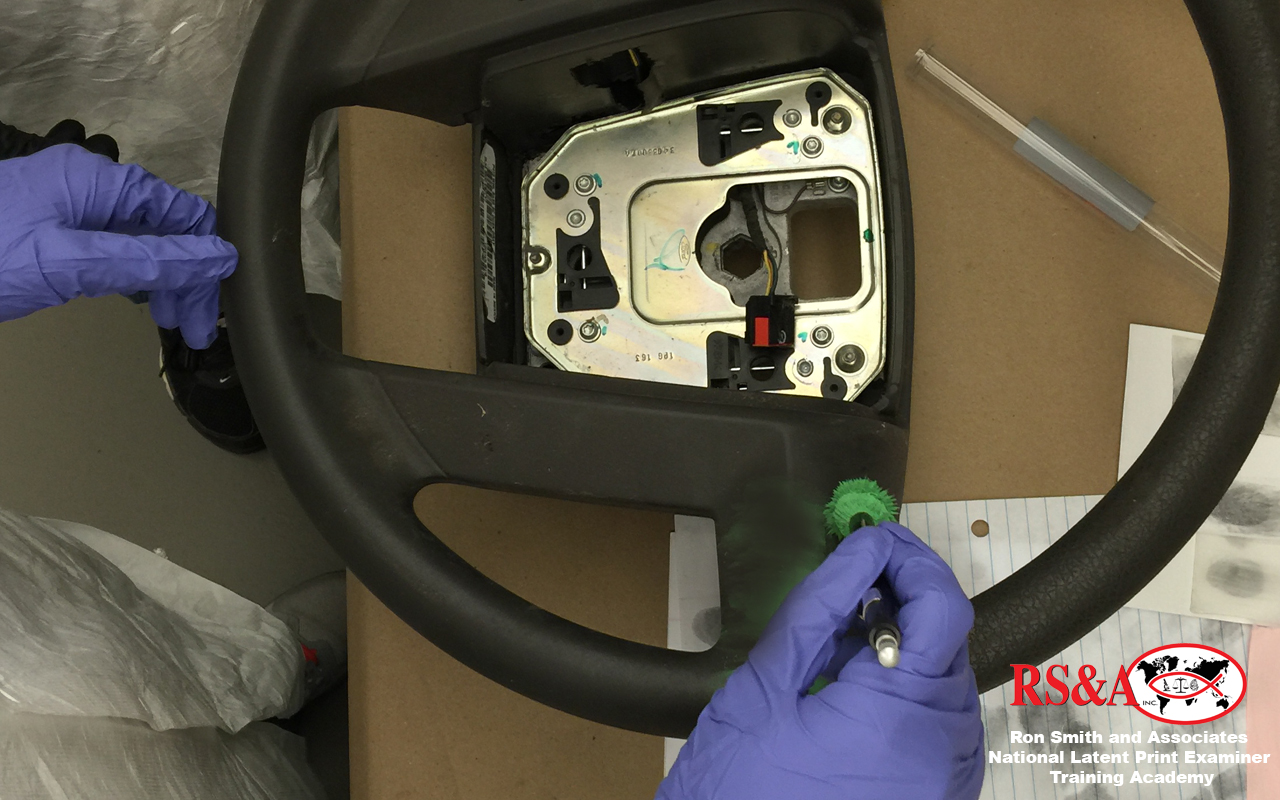
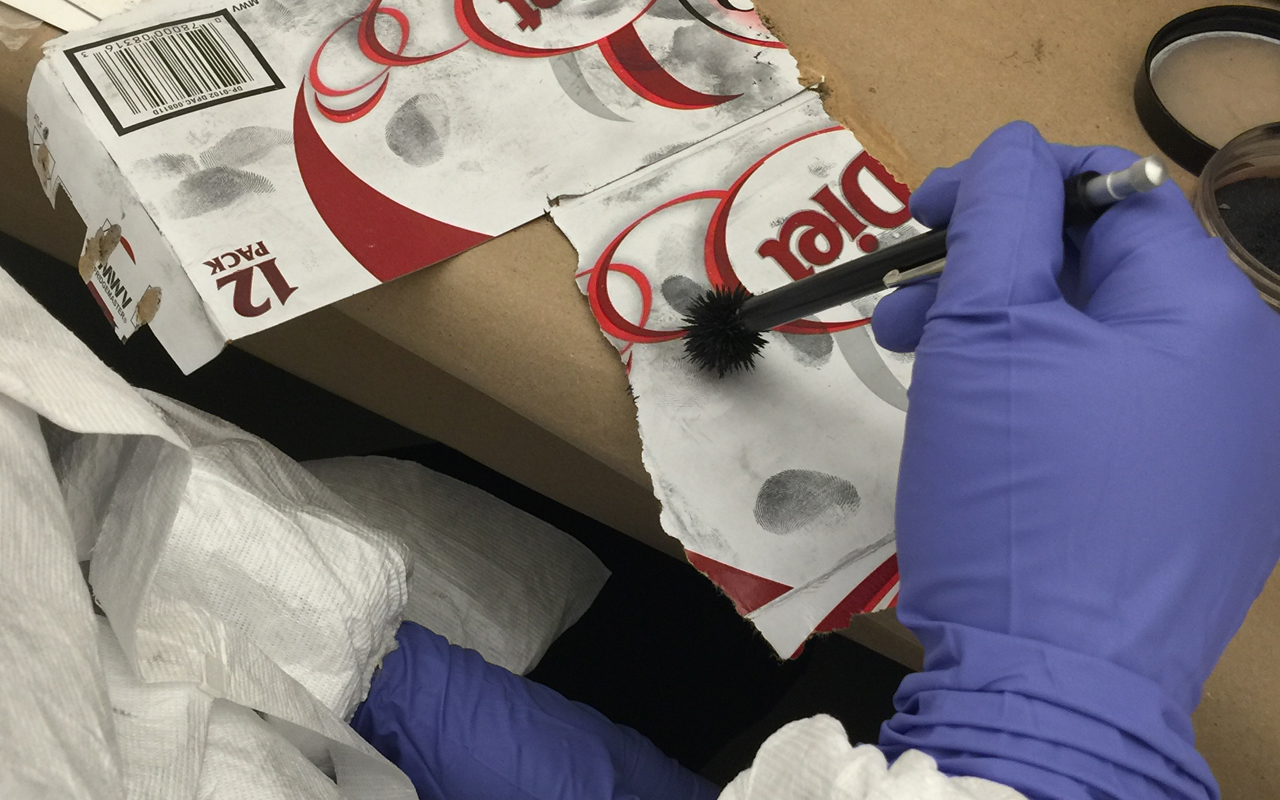
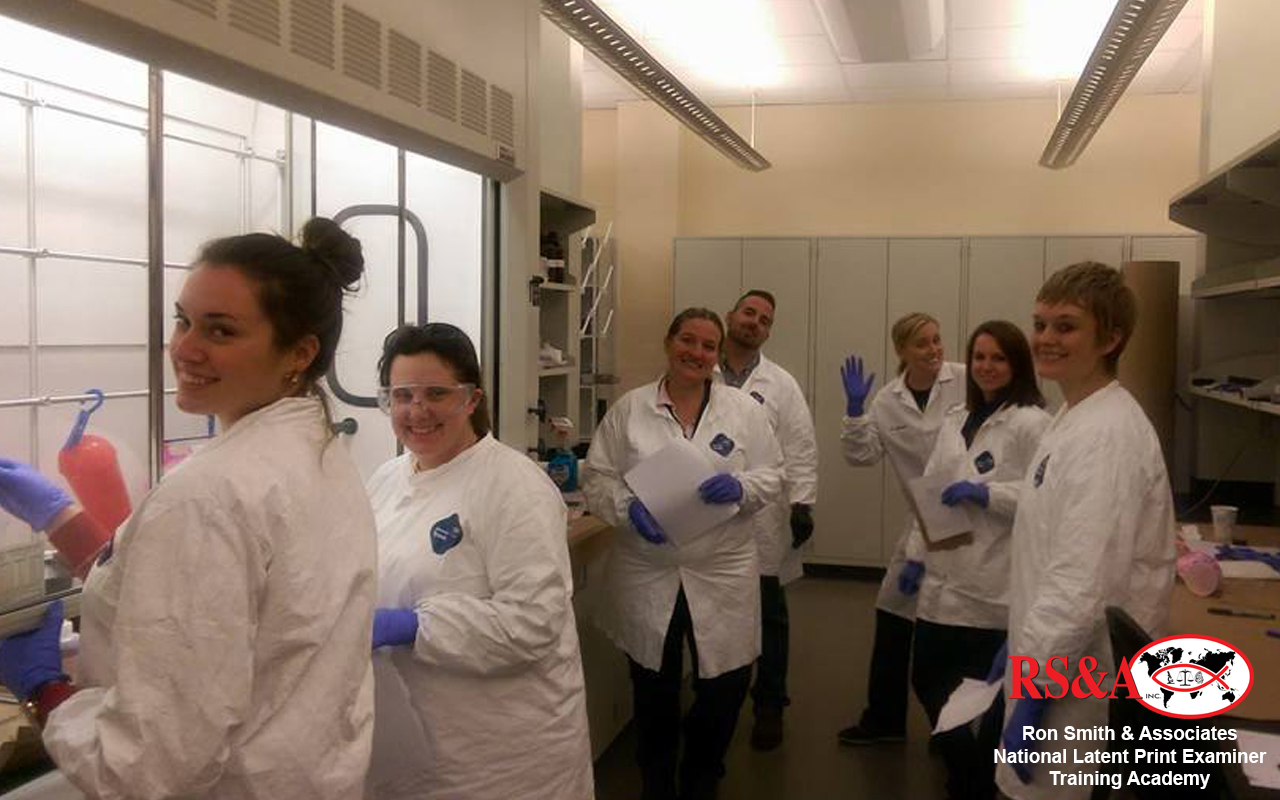
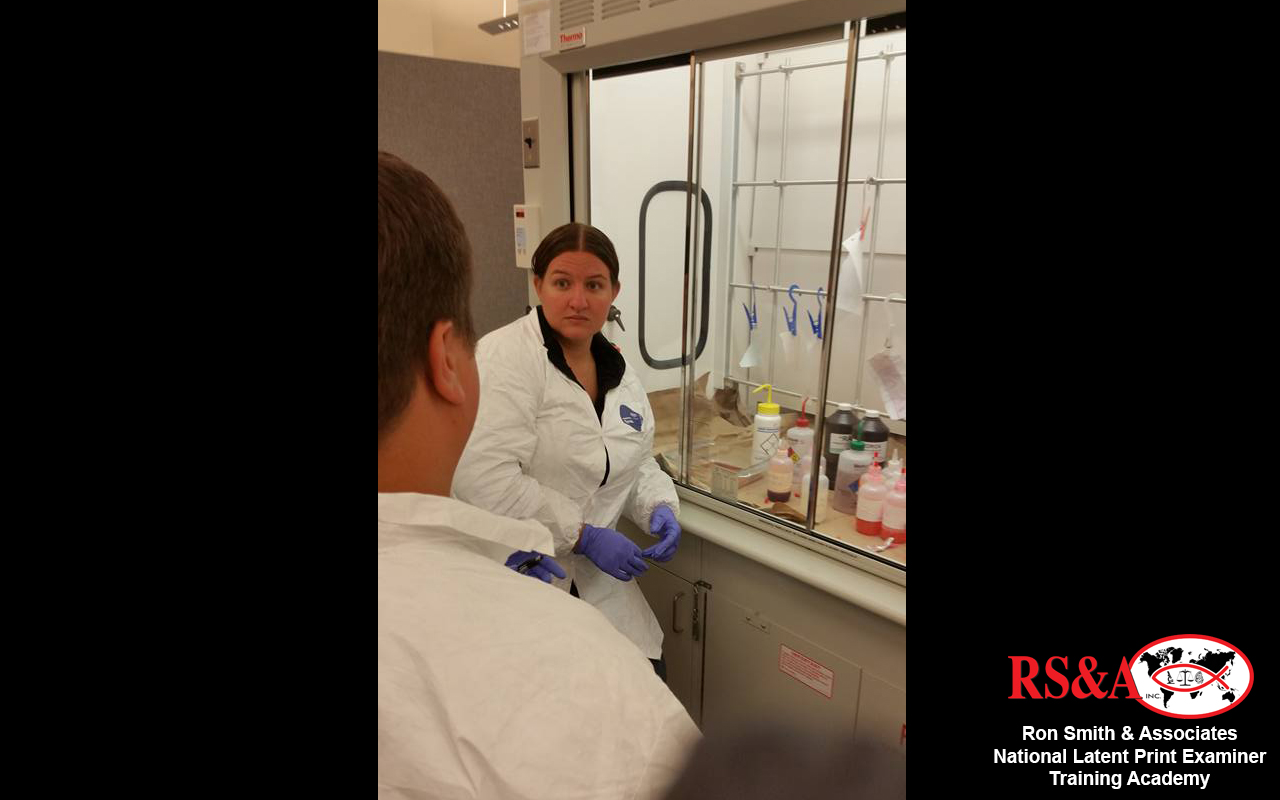
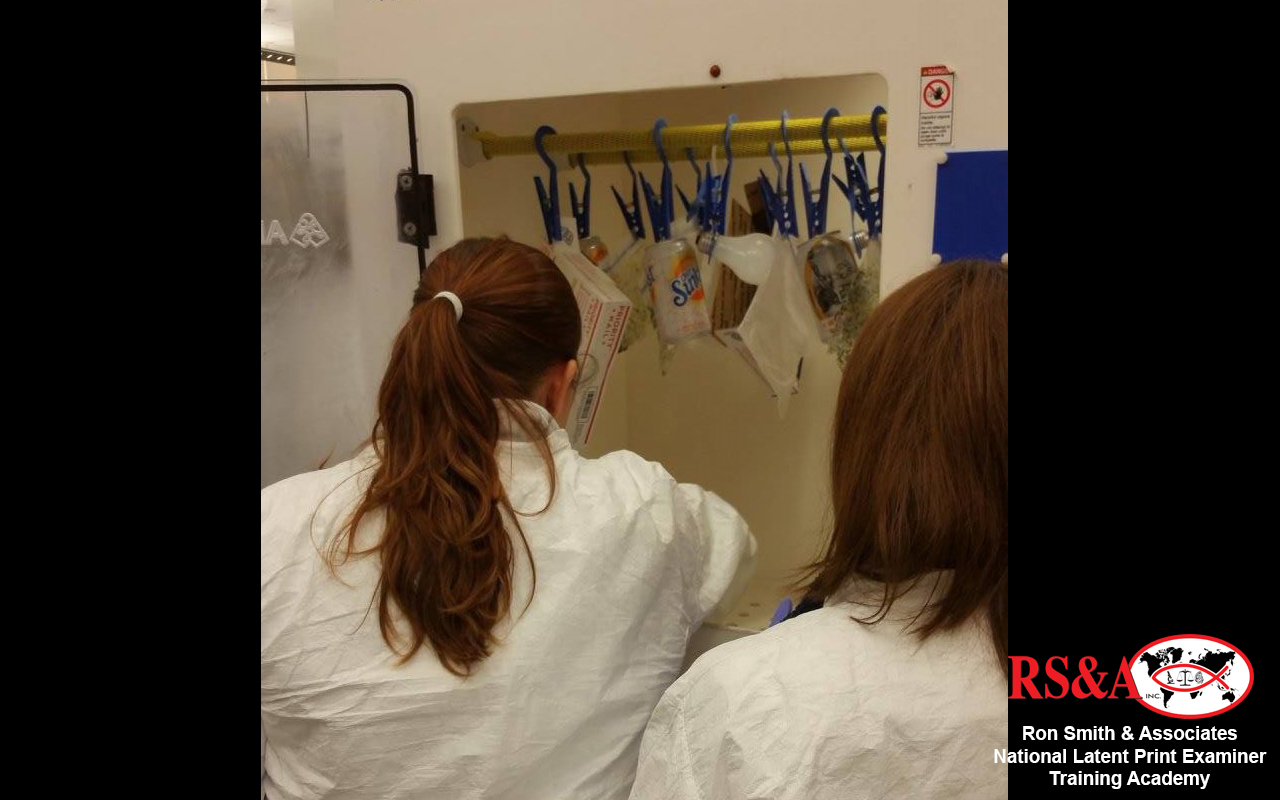
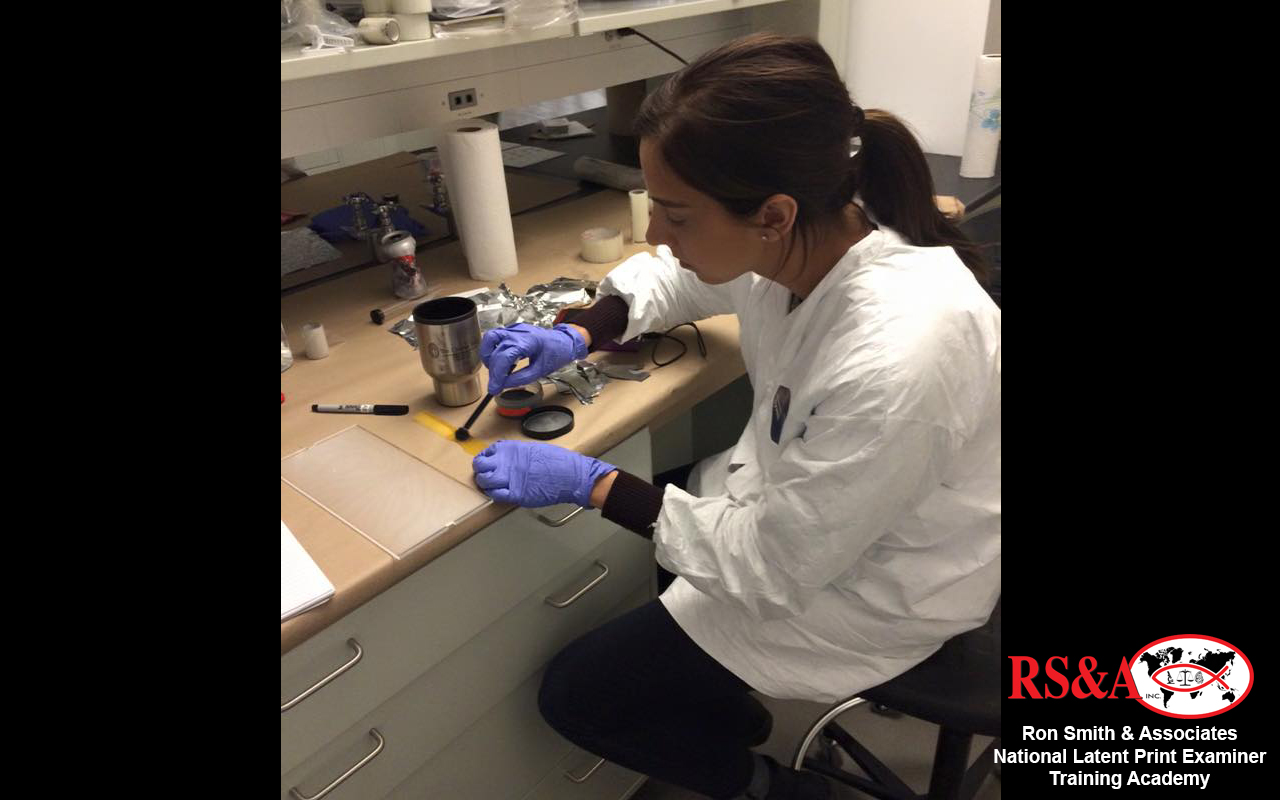
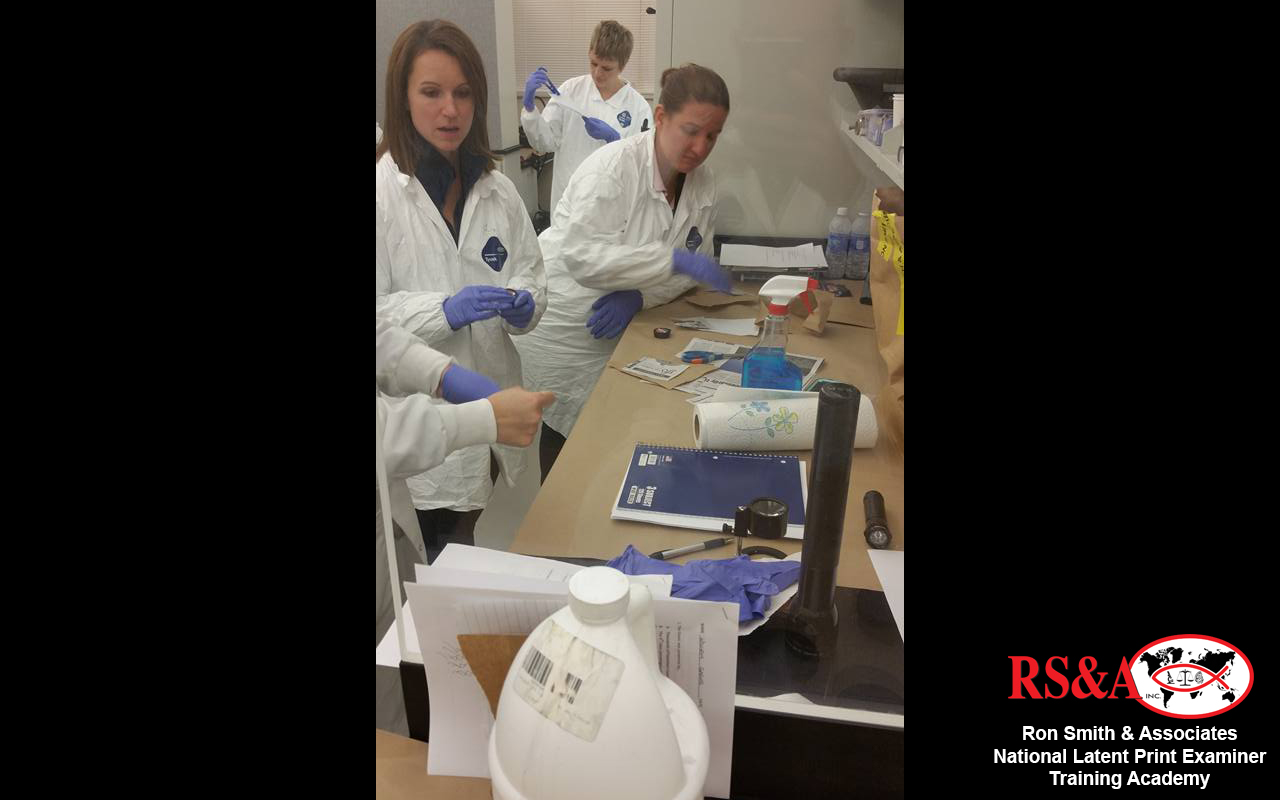
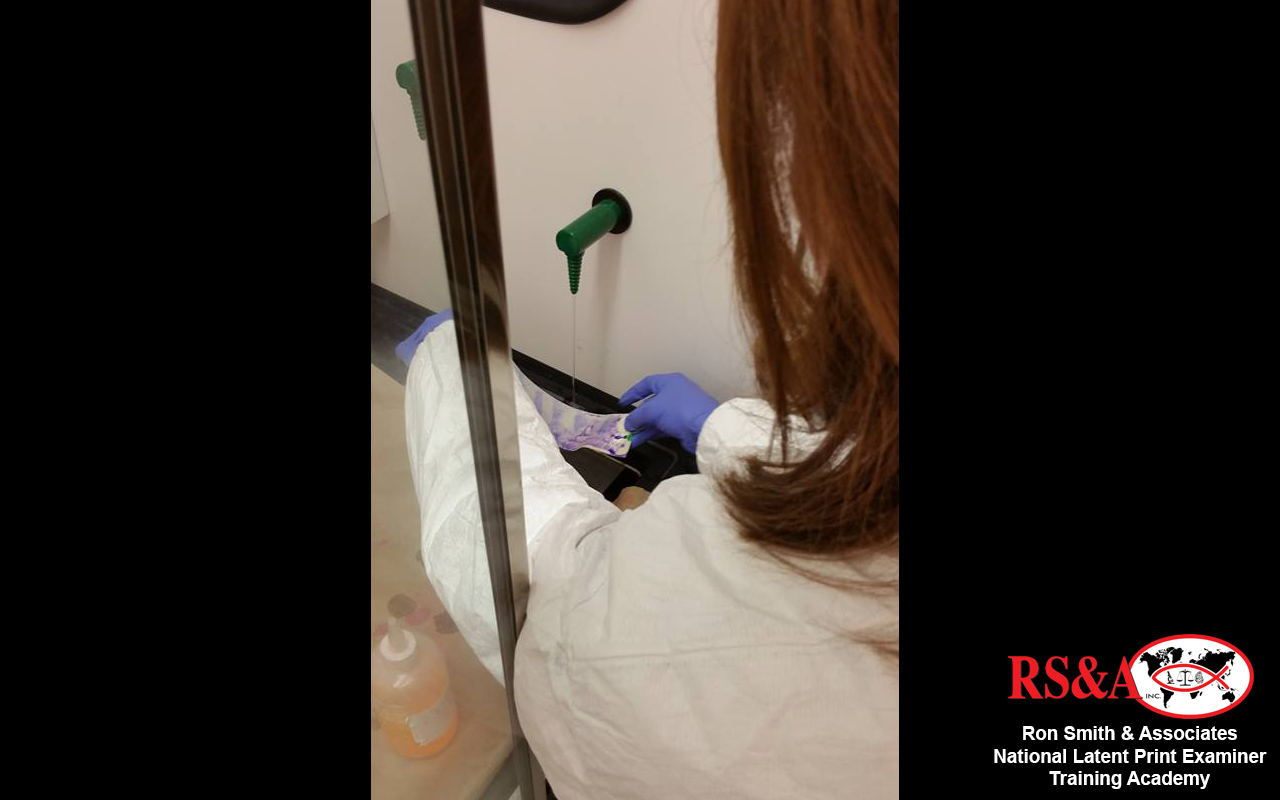
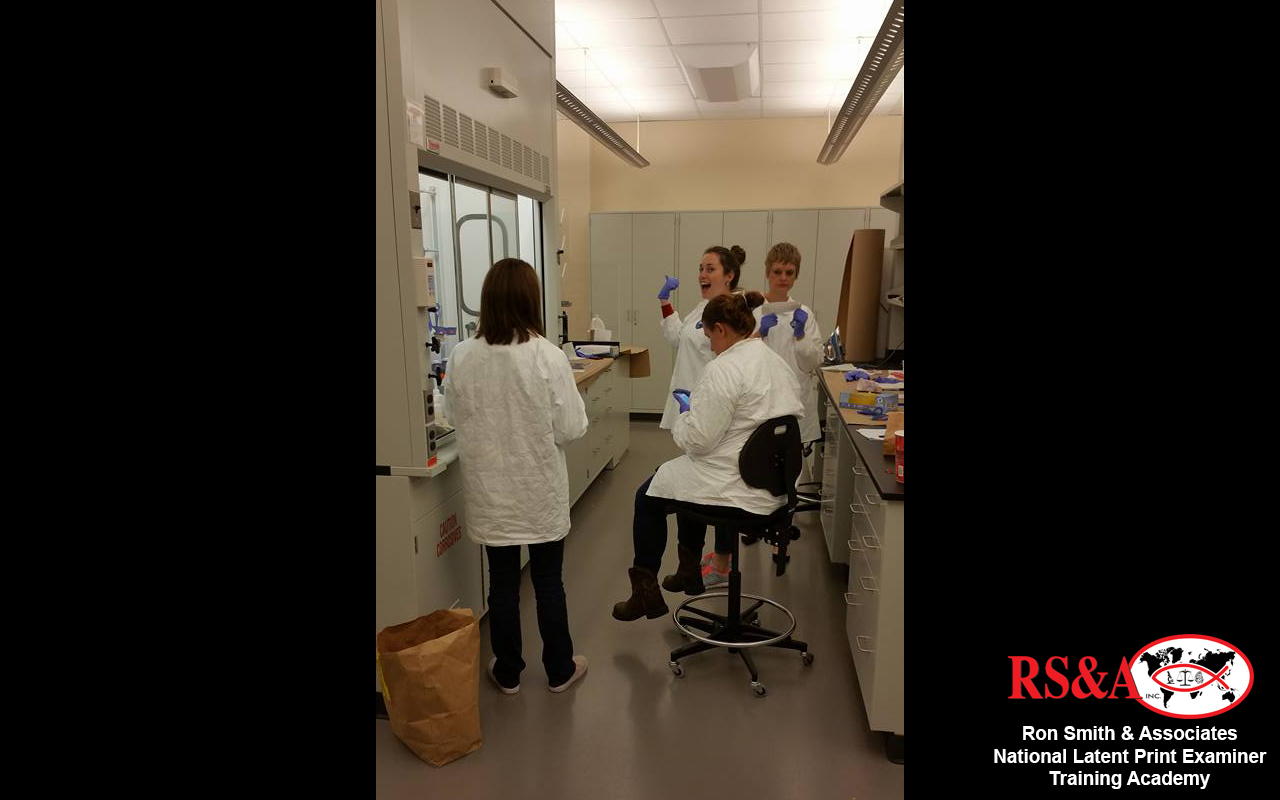
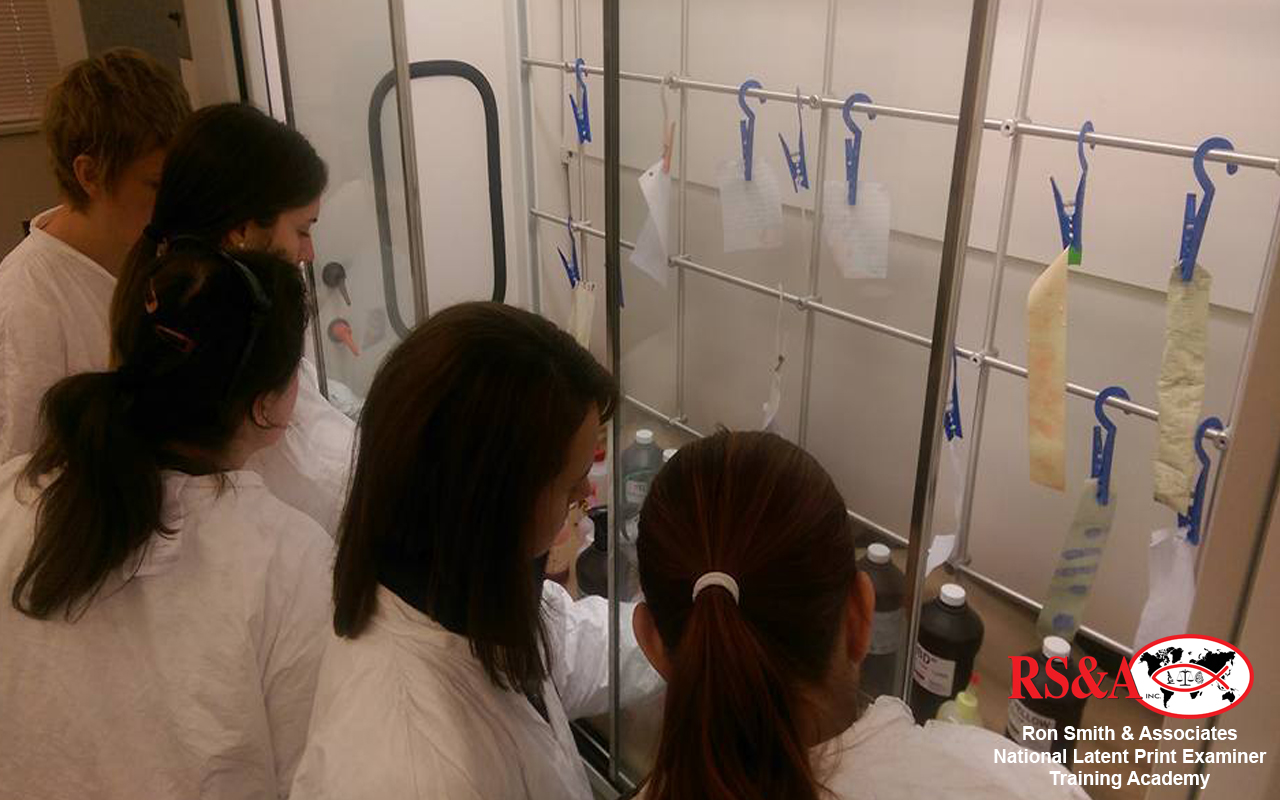
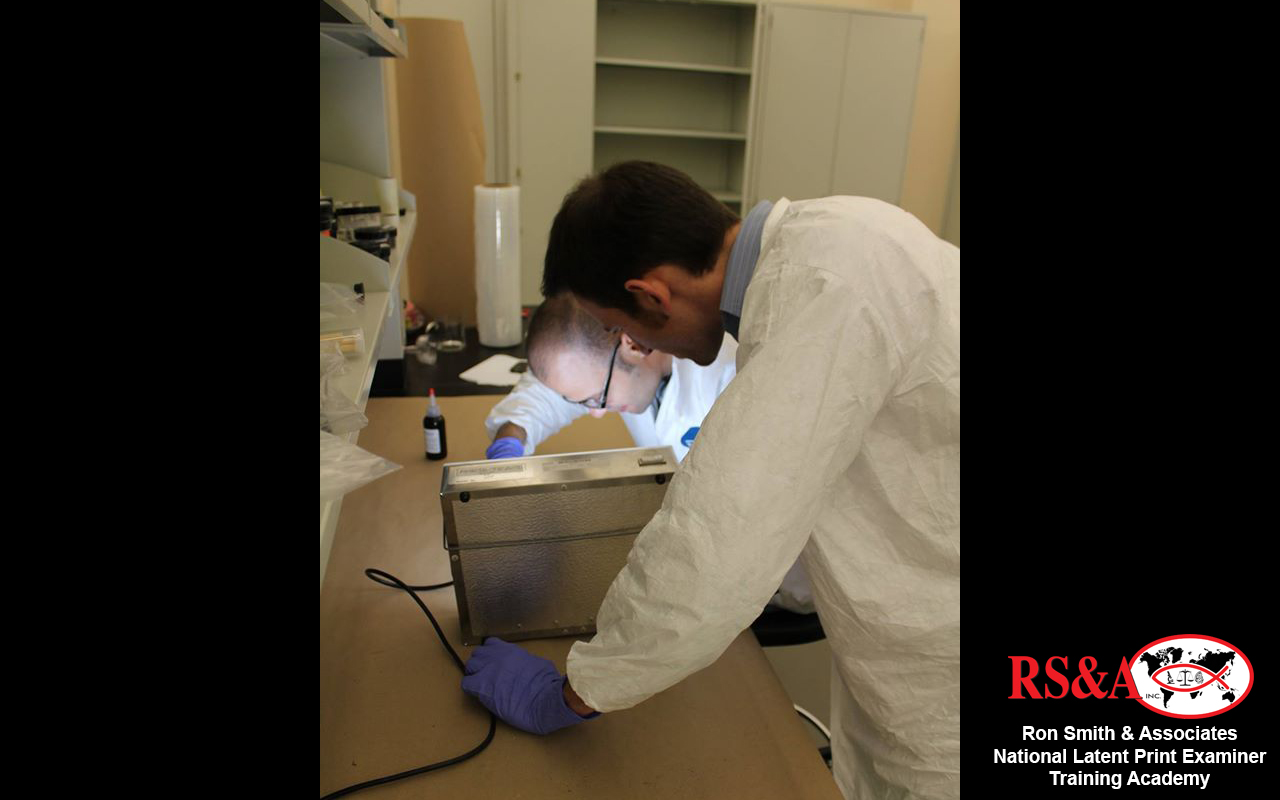
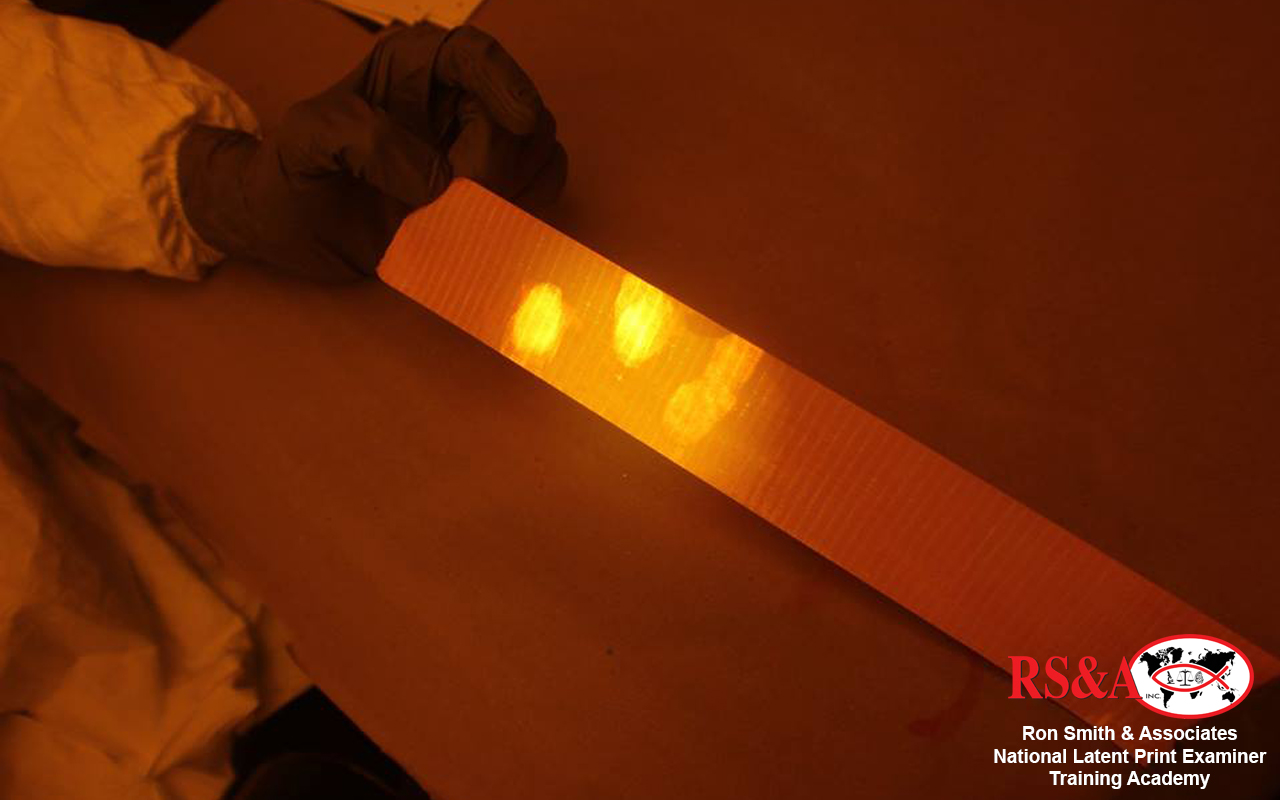
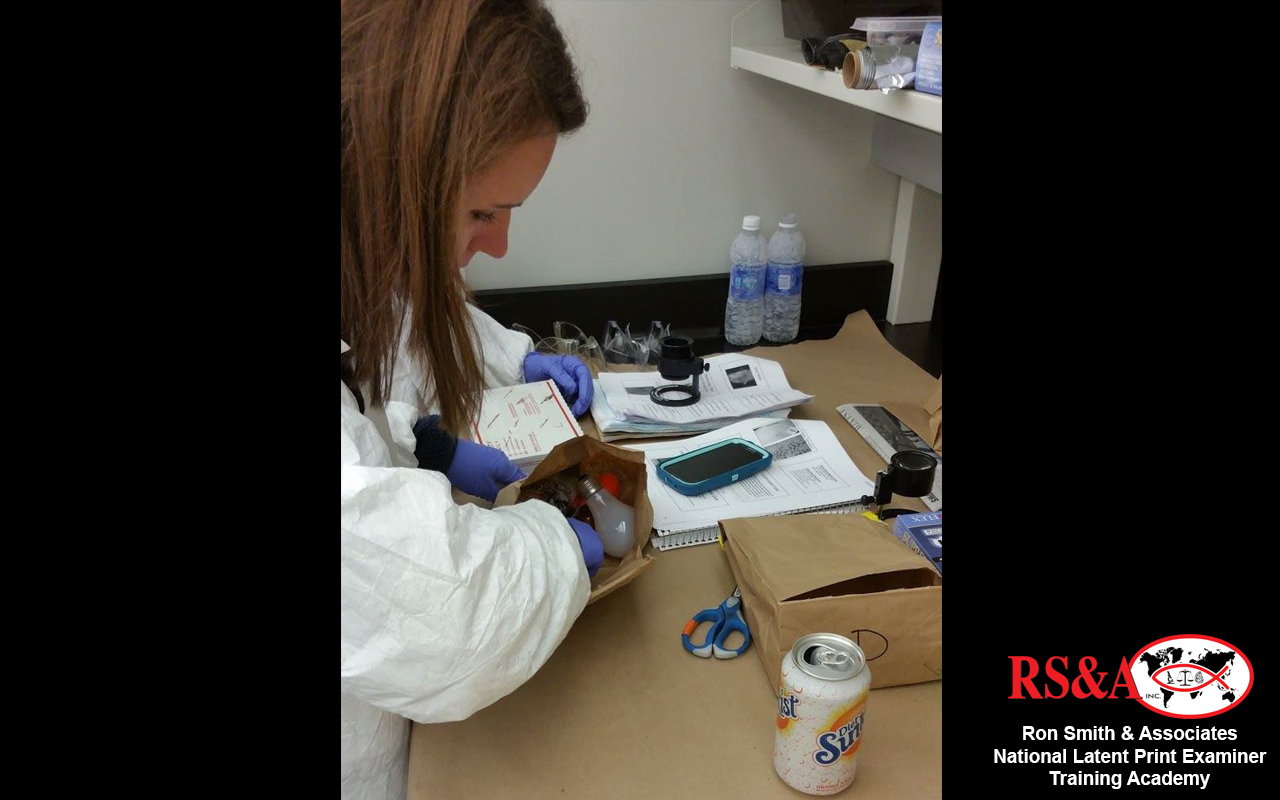
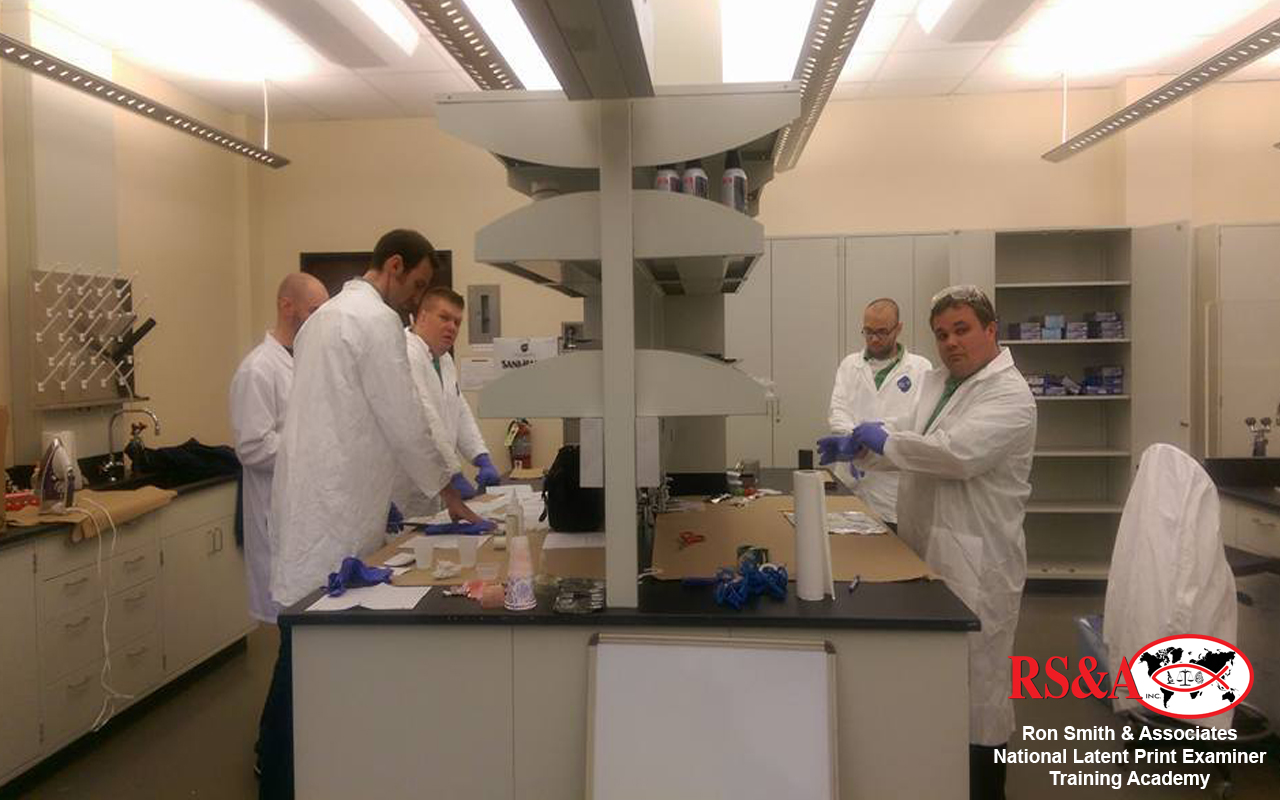
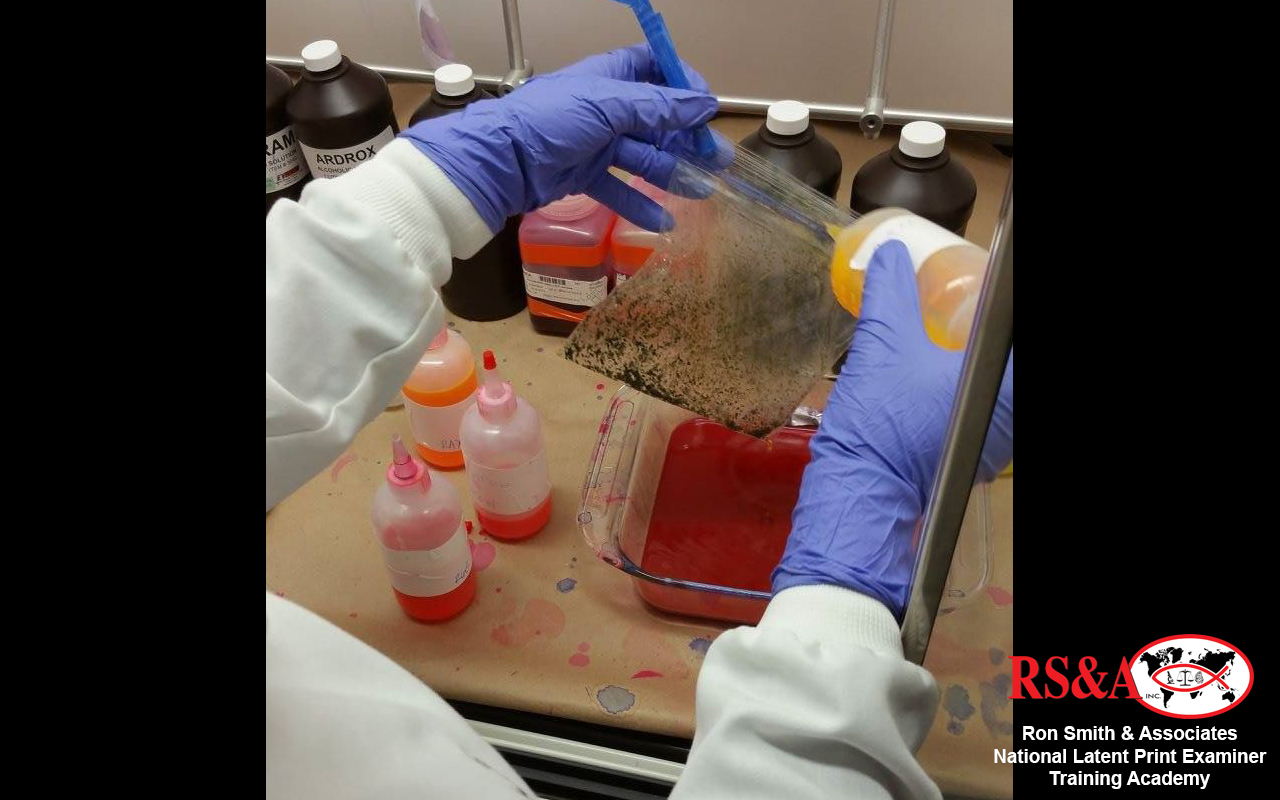
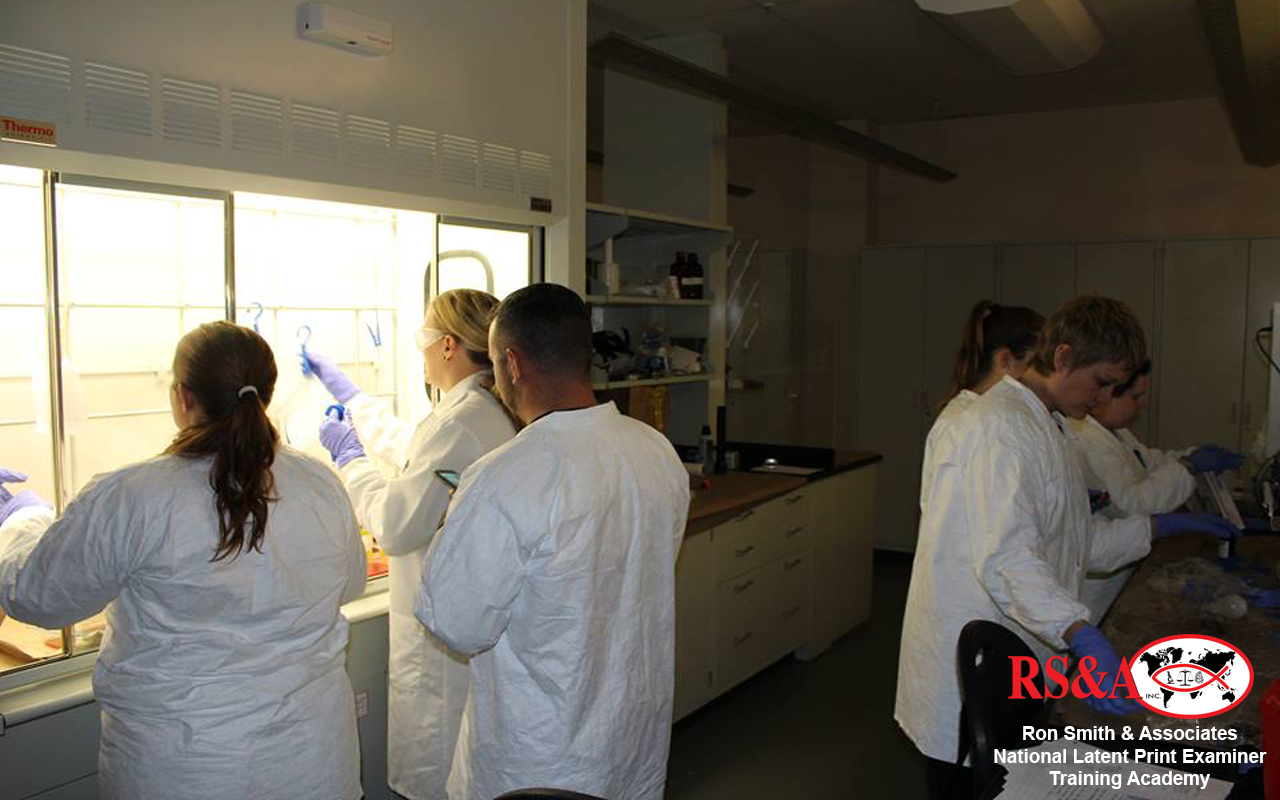
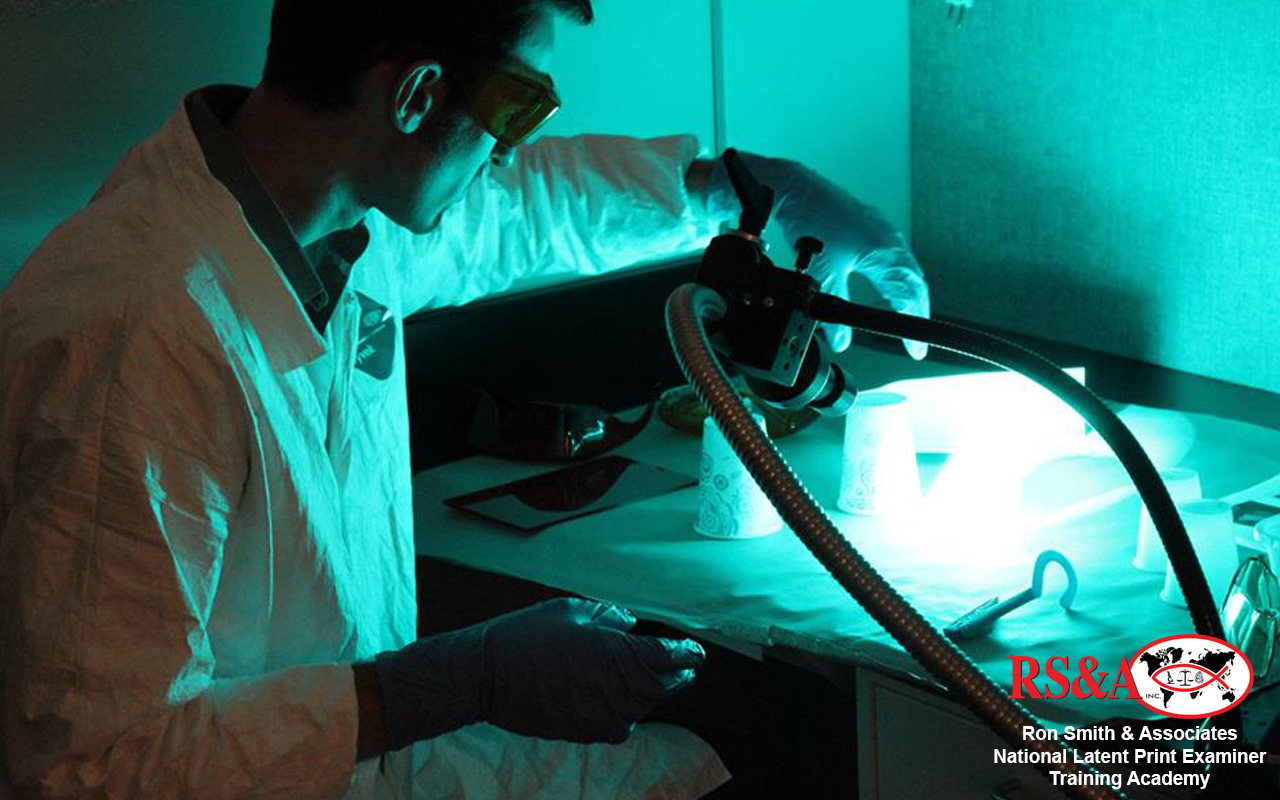
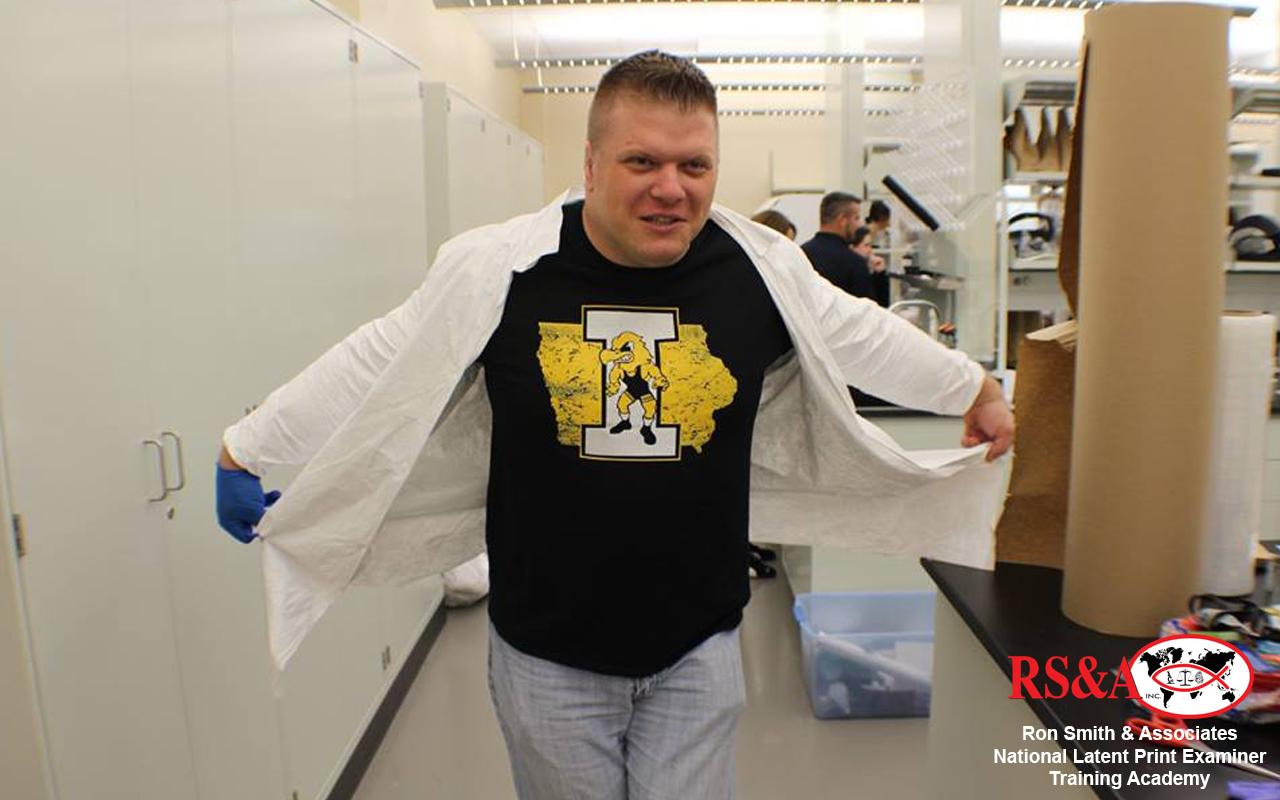
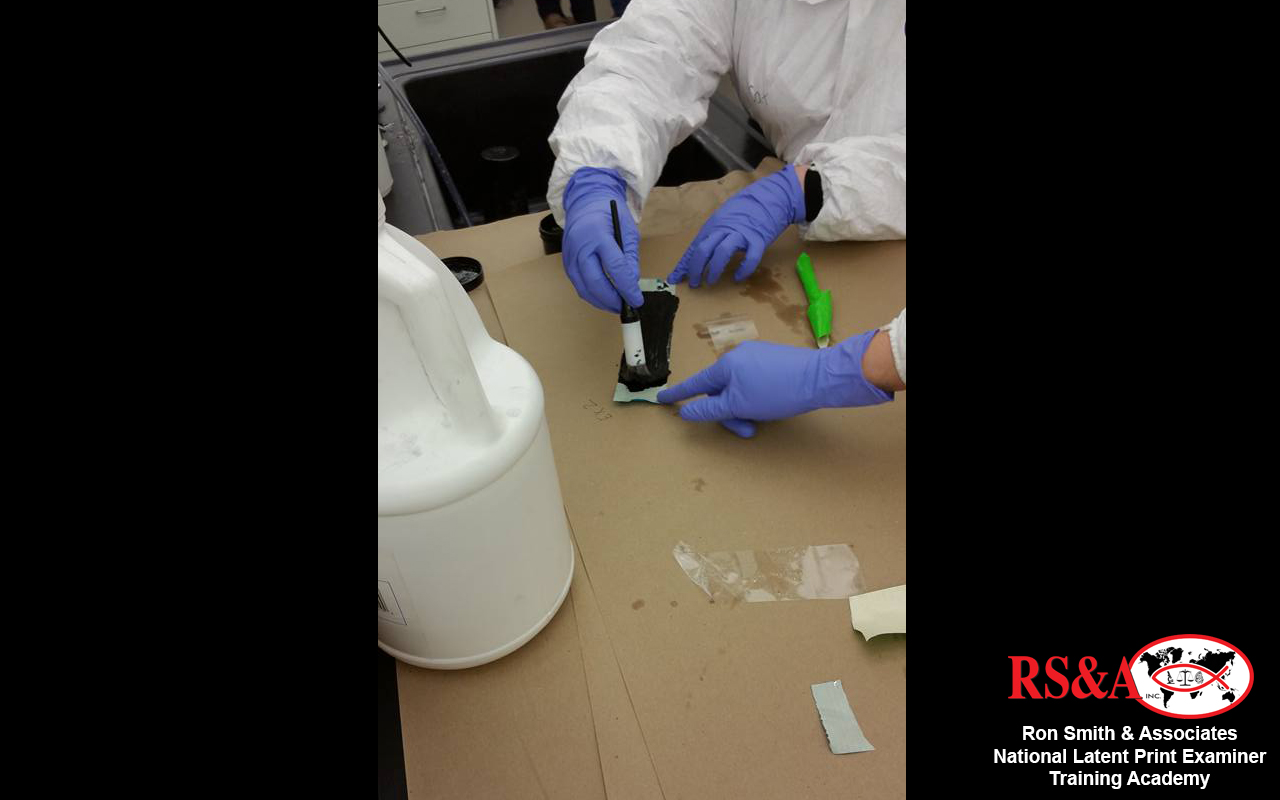
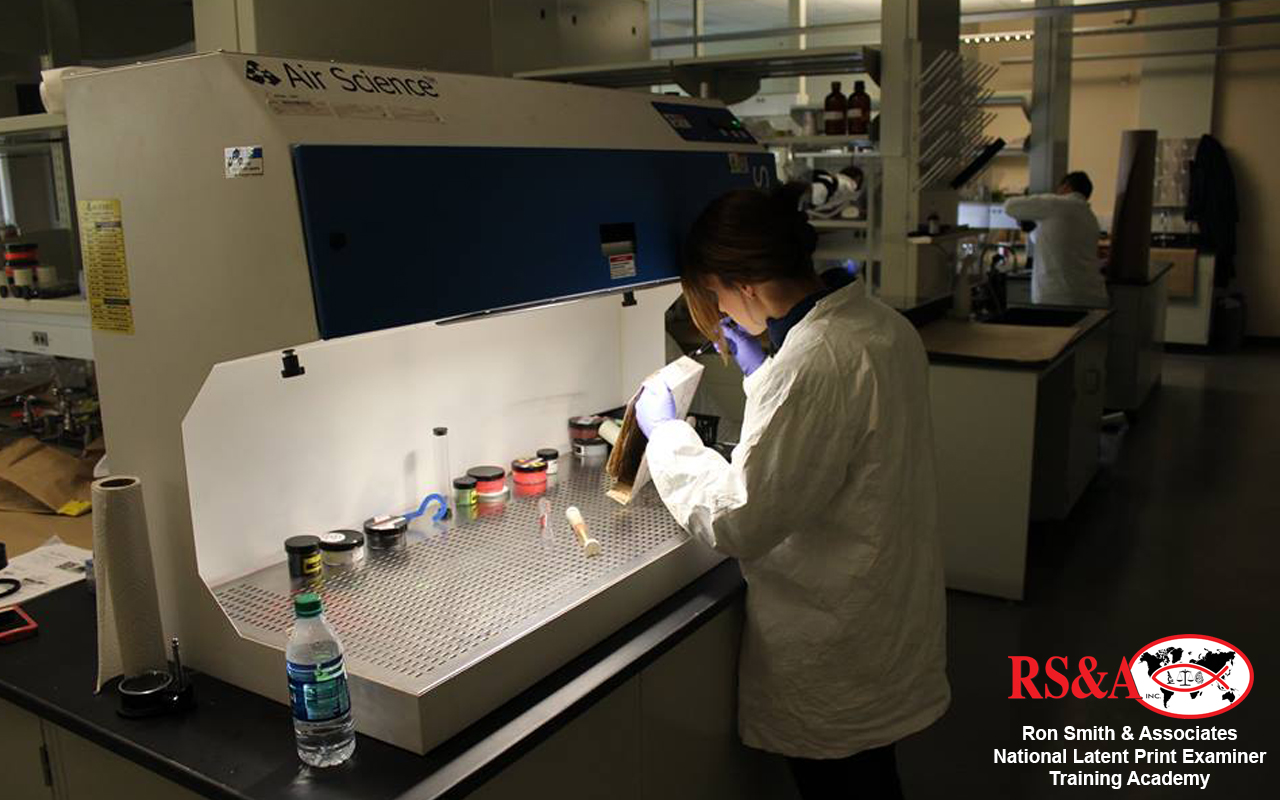
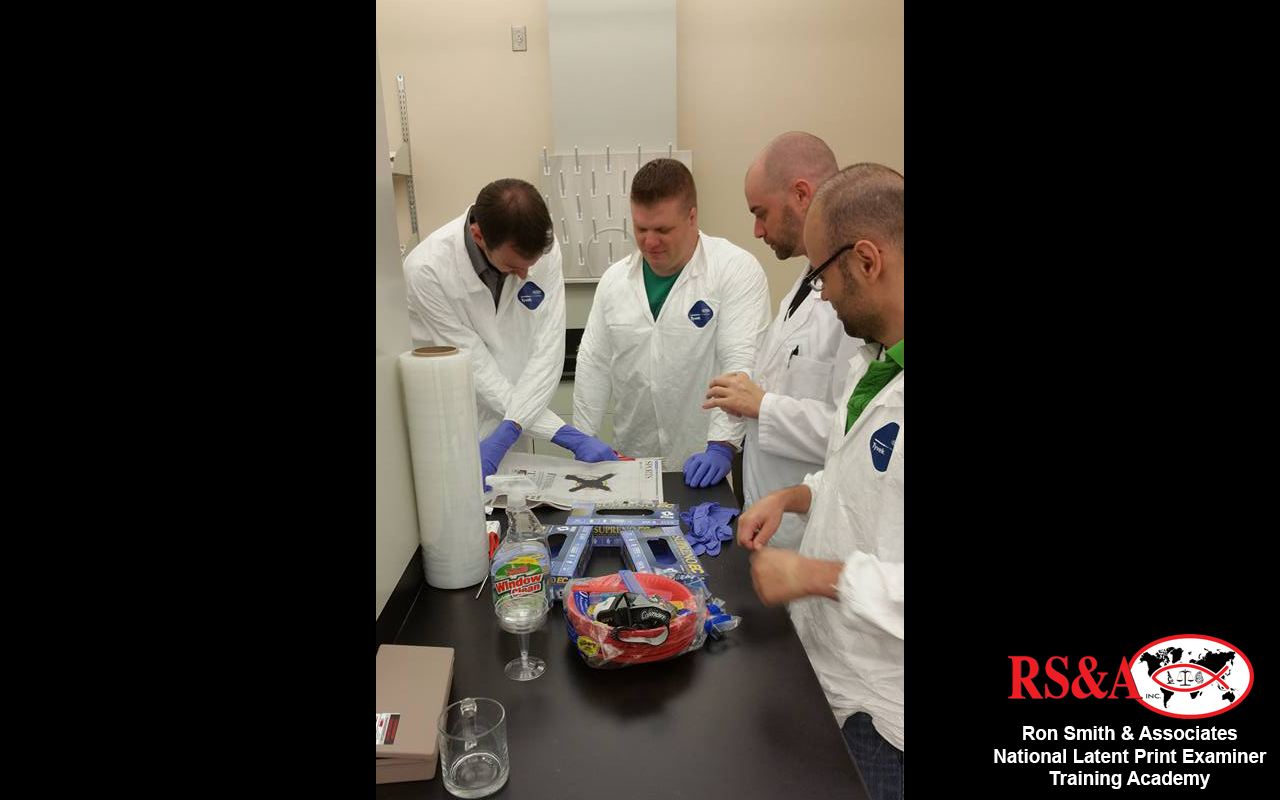
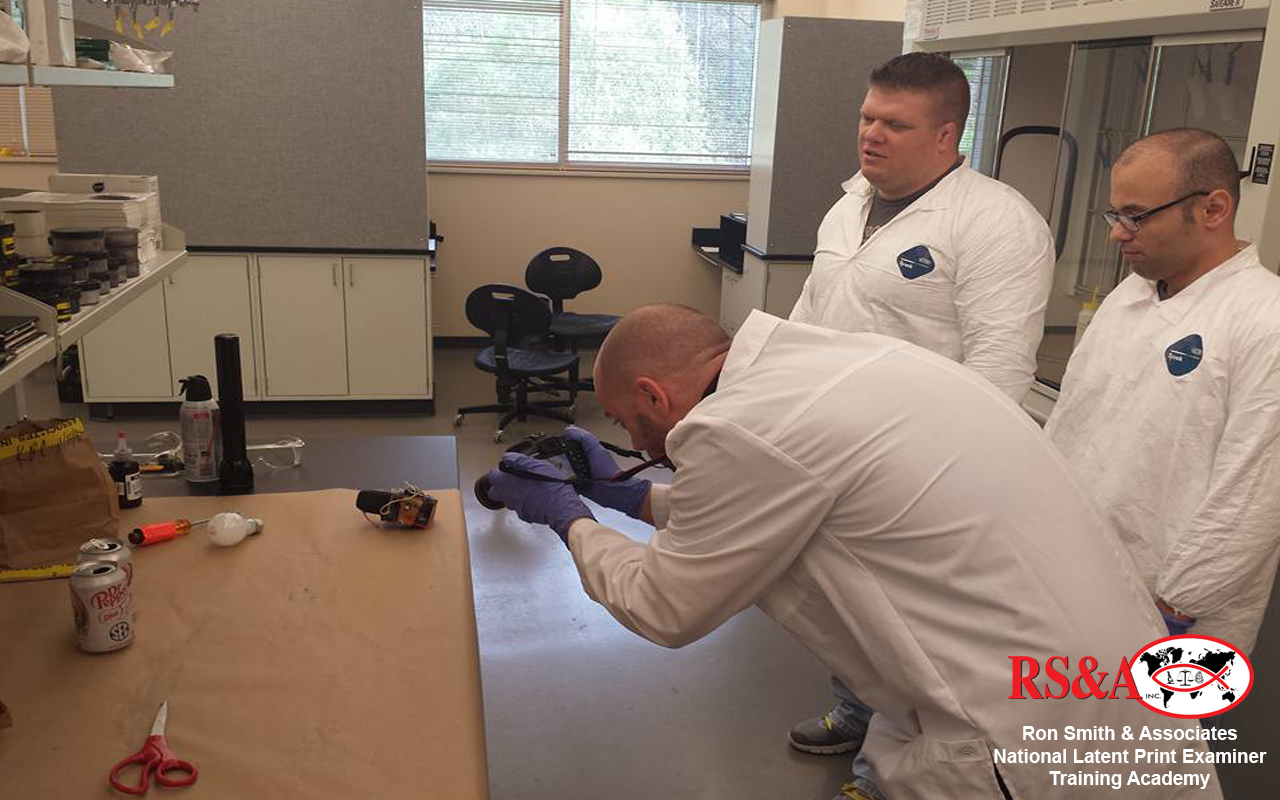
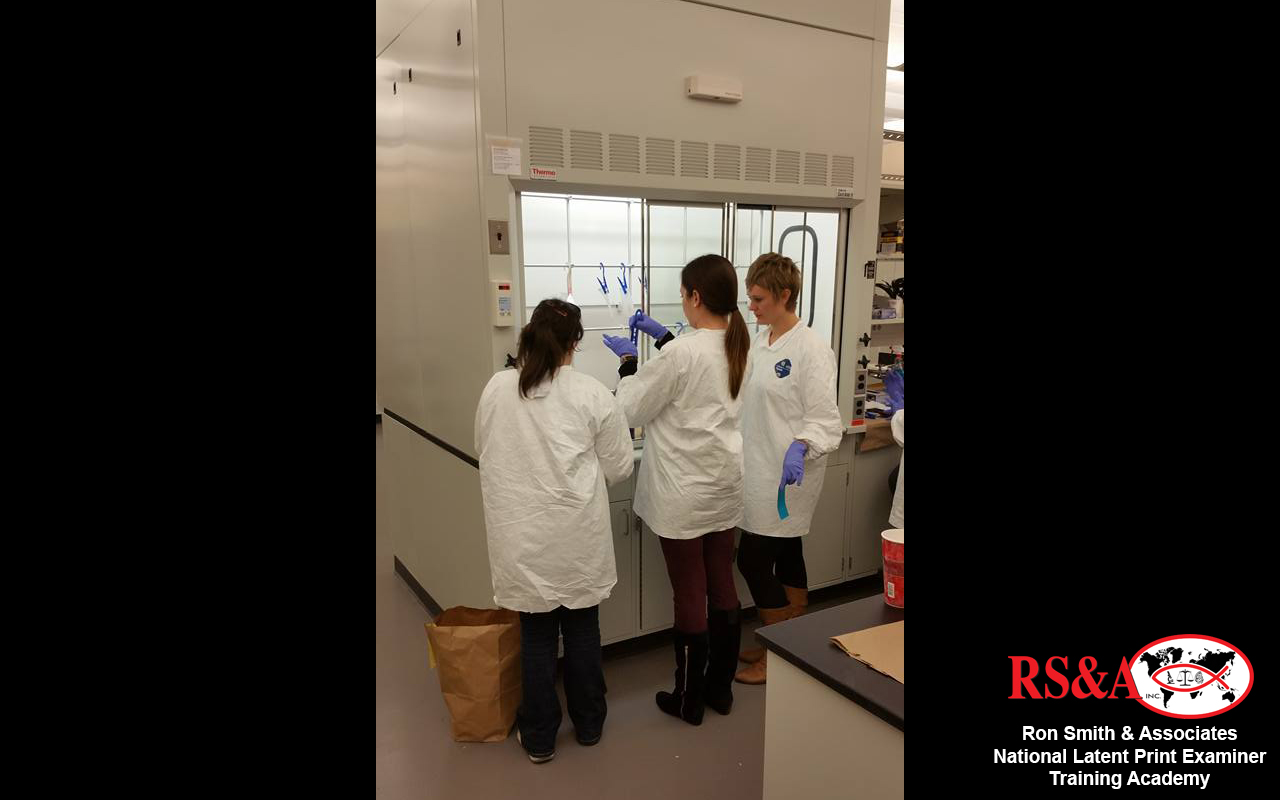
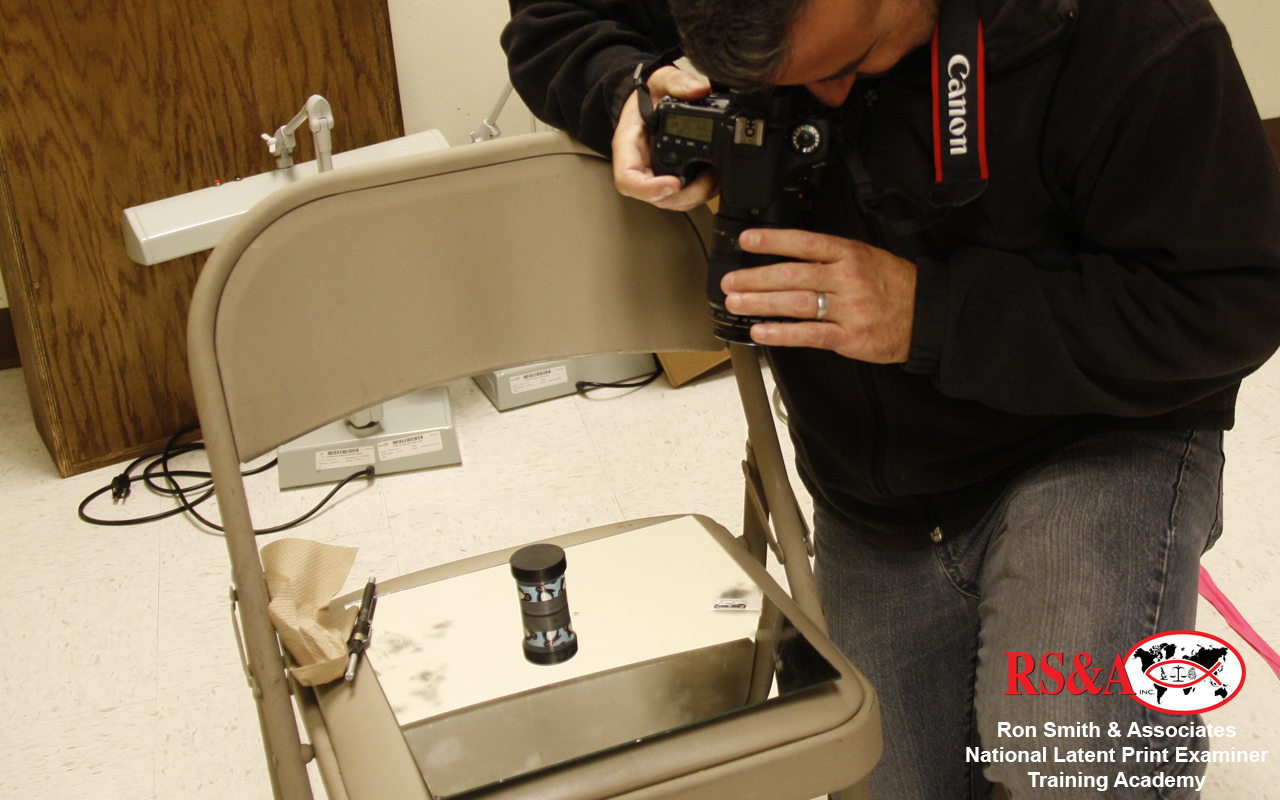
This course was designed to teach the participant the fundamentals of basic latent print development techniques through practical exercises, lectures, and discussions. An understanding of inherent florescence, cyanoacrylate fuming, RUVIS, and powder processing techniques were included as well as laboratory safety, handling of evidence, and hands on workshops that teach the student what really works in the field. Students had the opportunity to work in groups processing items that they will encounter quite often in their career and learning what to do and what not to do to successfully develop the prints that will help them catch the bad guy.
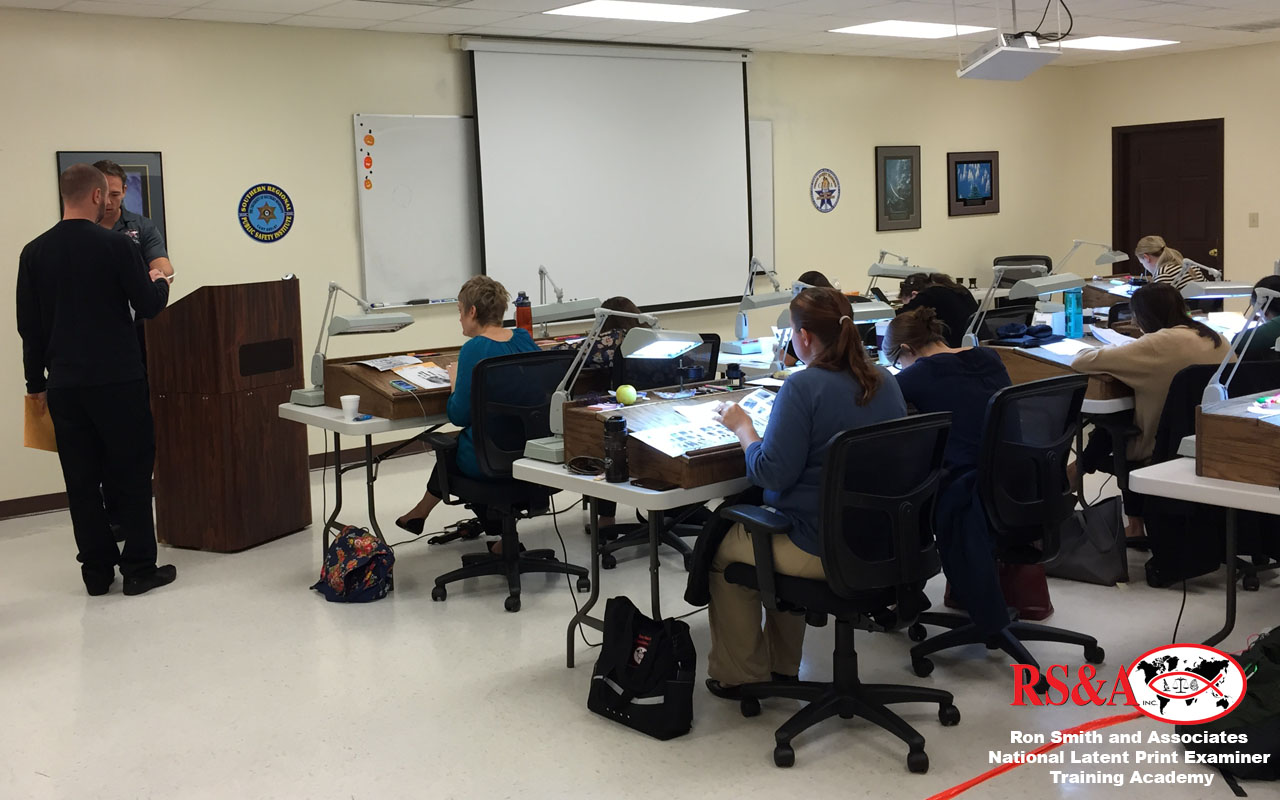
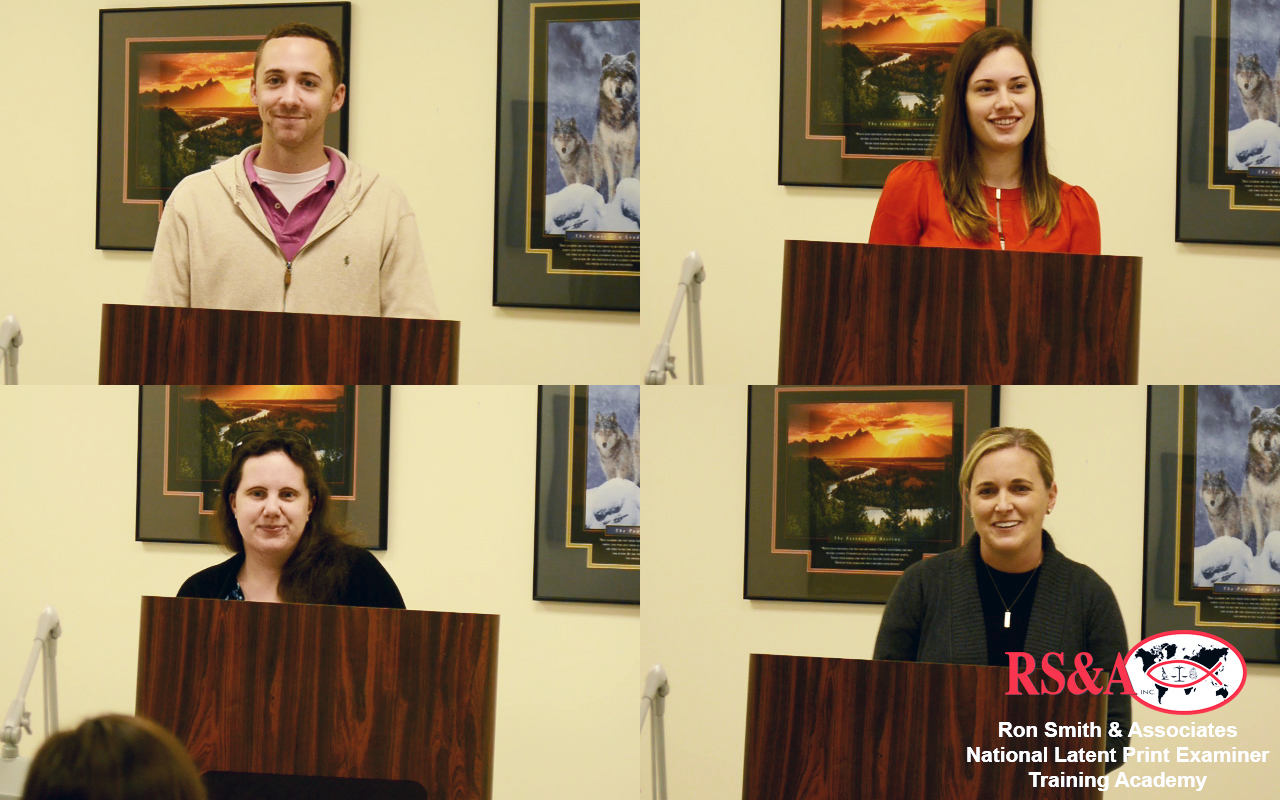
CLICK A THUMBNAIL IMAGE BELOW TO VIEW A LARGER IMAGE SLIDESHOW
All students completed the Essential Ridgeology Concepts course during Week 3. The first major block of instruction dealt with the theory behind the underlying premises of uniqueness and persistence. There was discussion and realization that while persistence has been established through numerous studies, uniqueness remains a hypothesis that has yet to be falsified. They learned about differential growth, skin structure, measurements on the skin, class, unique, and accidental characteristics.
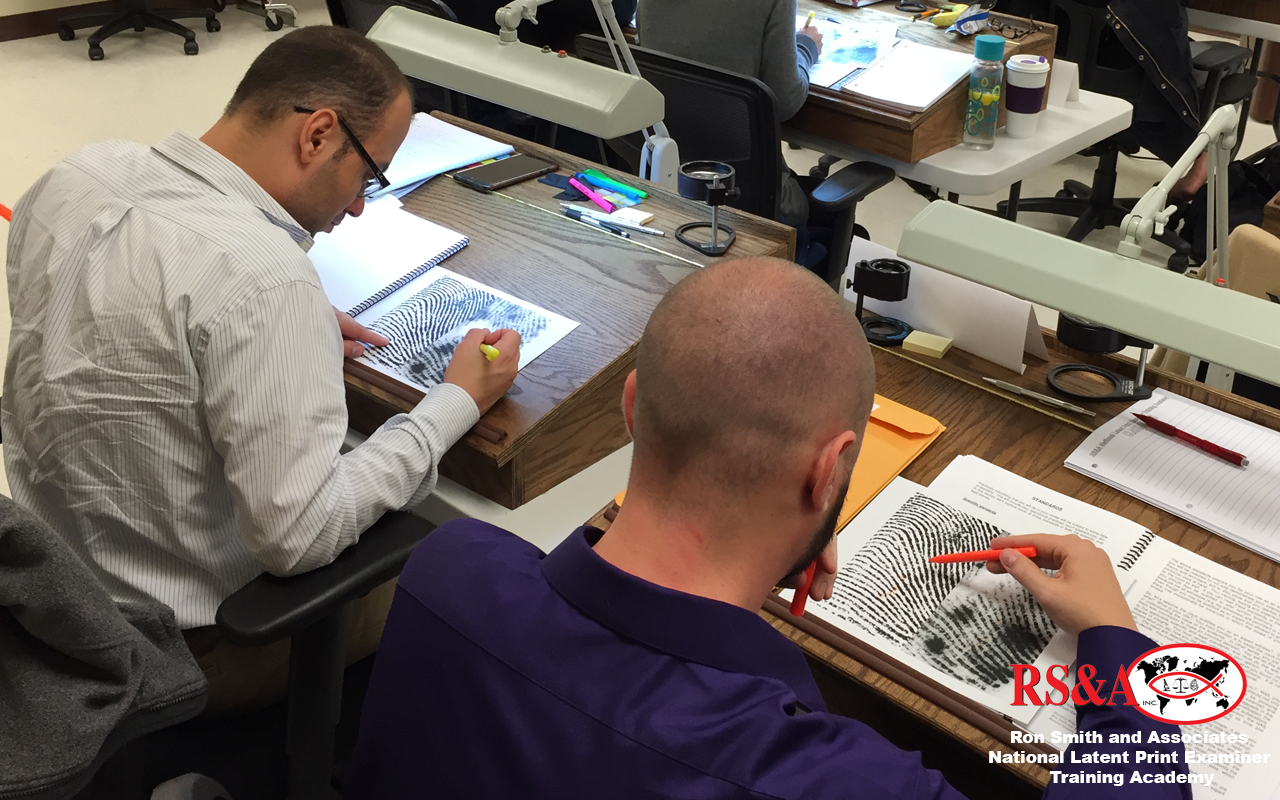
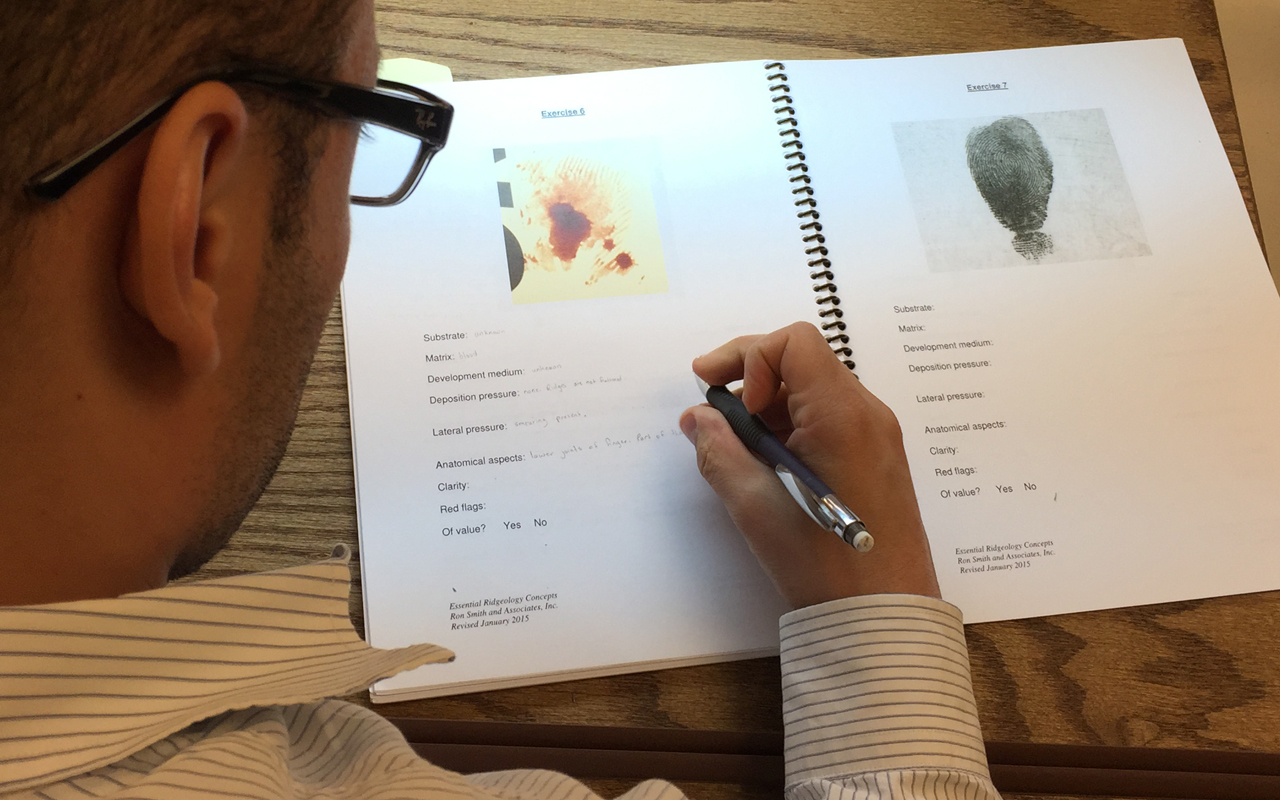
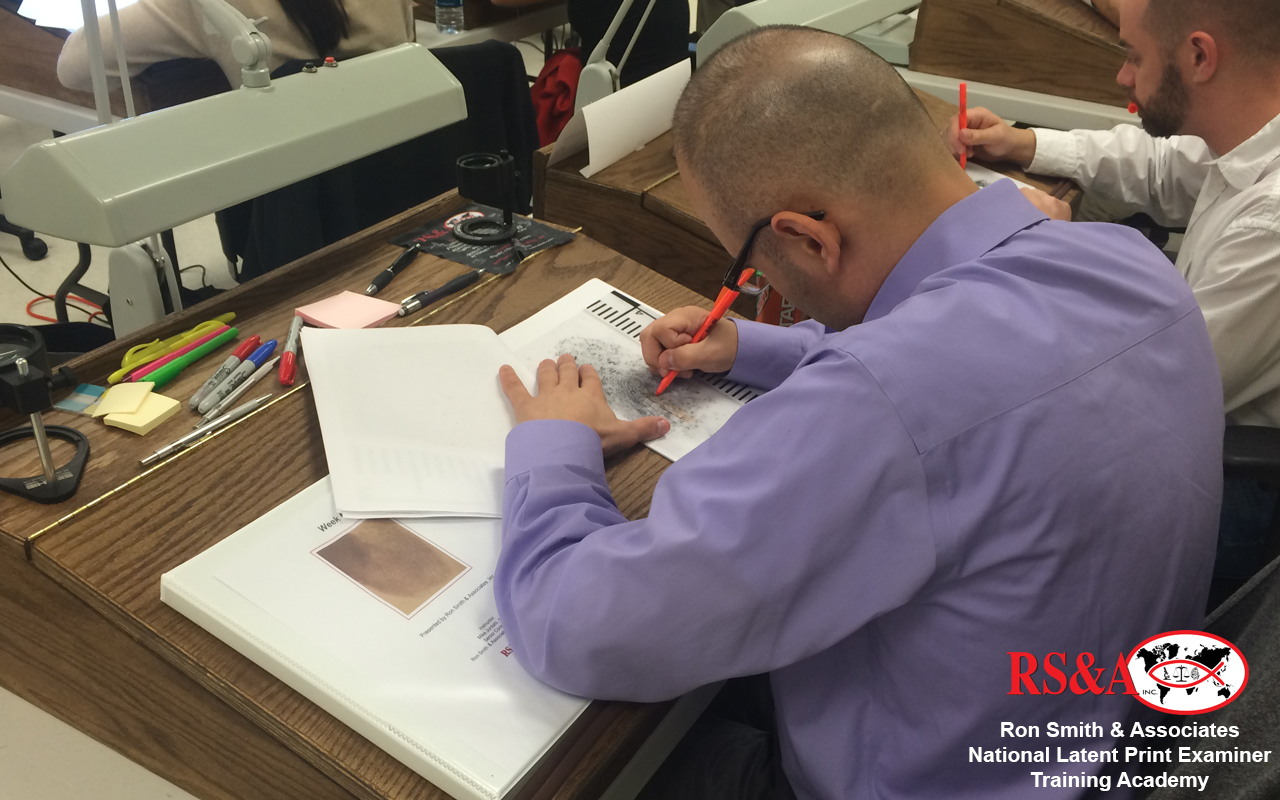
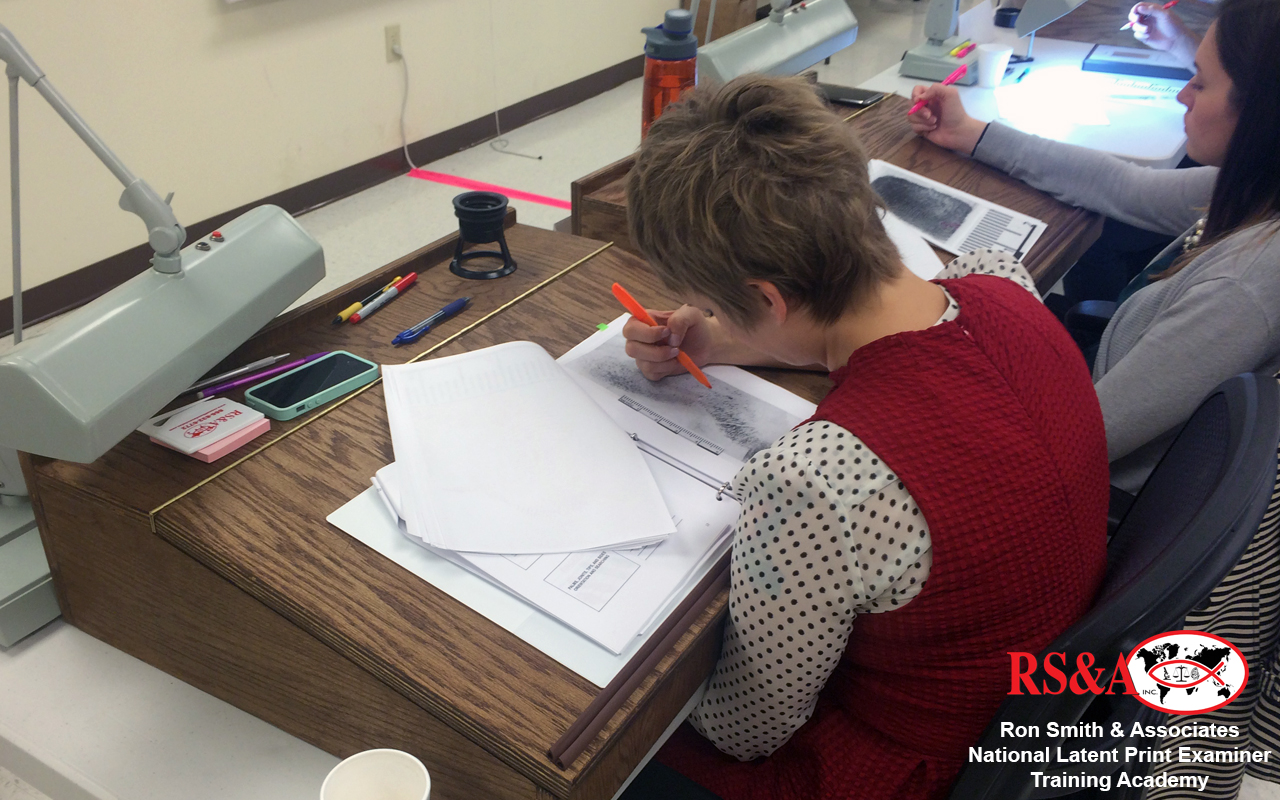
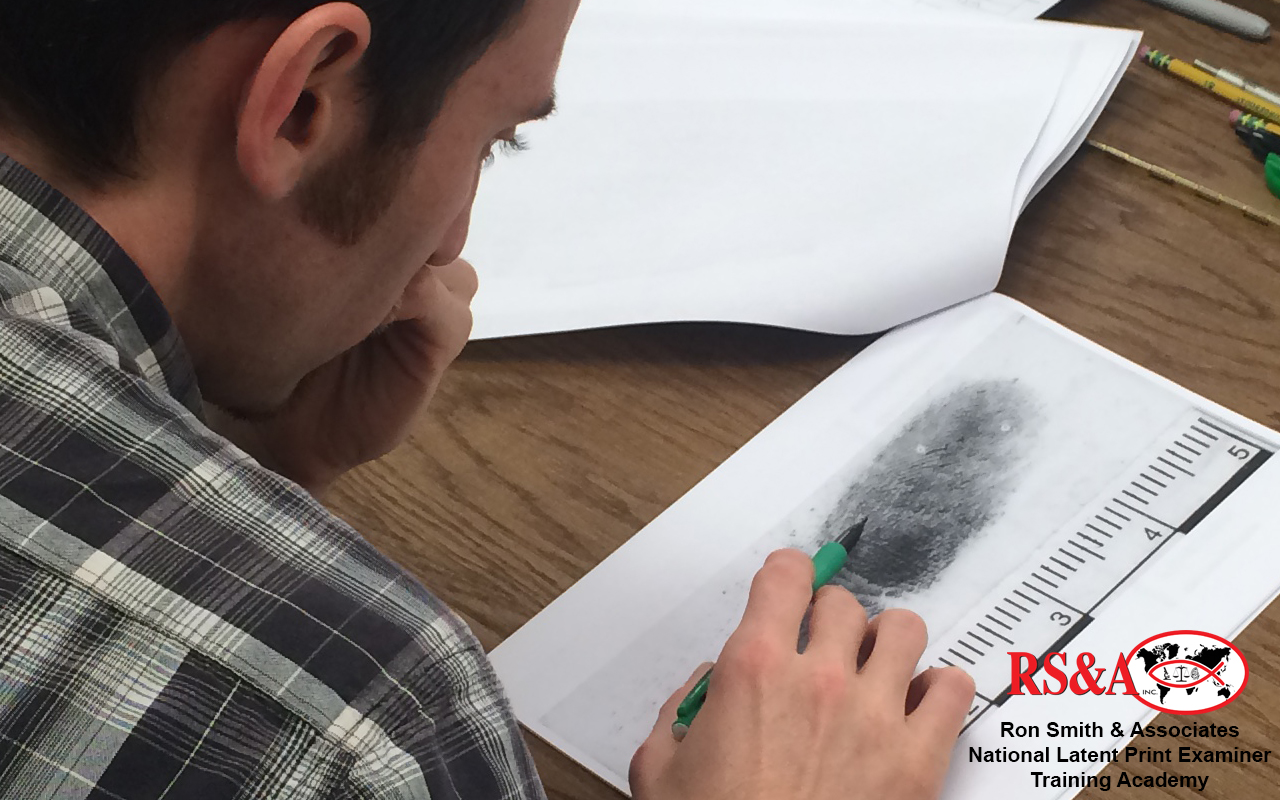
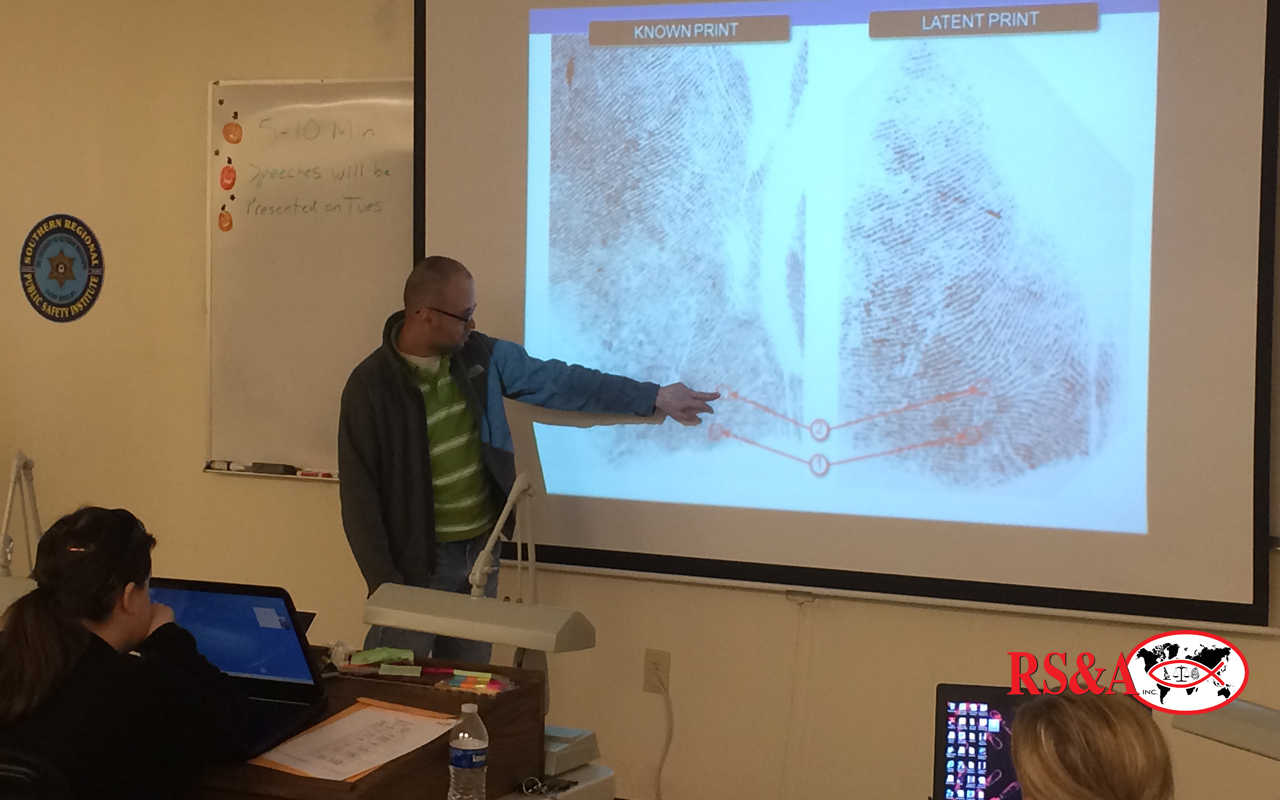
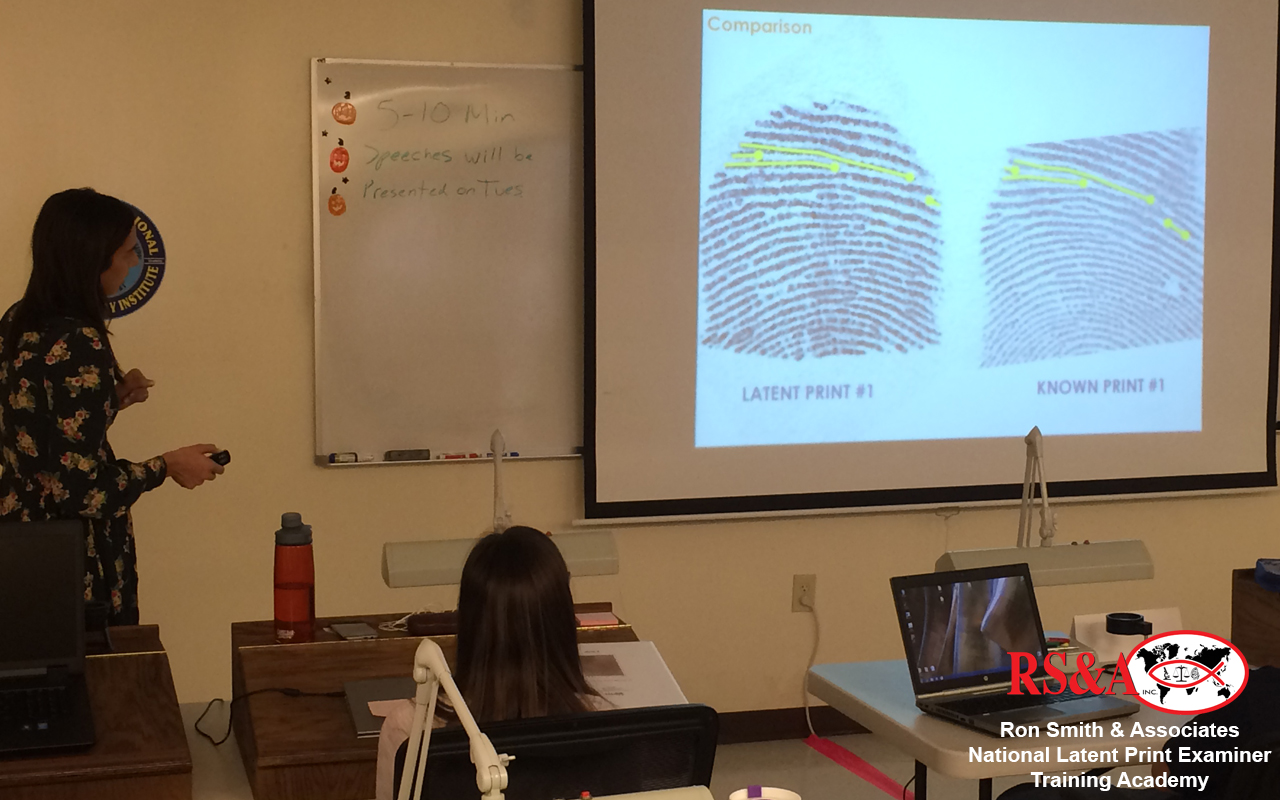
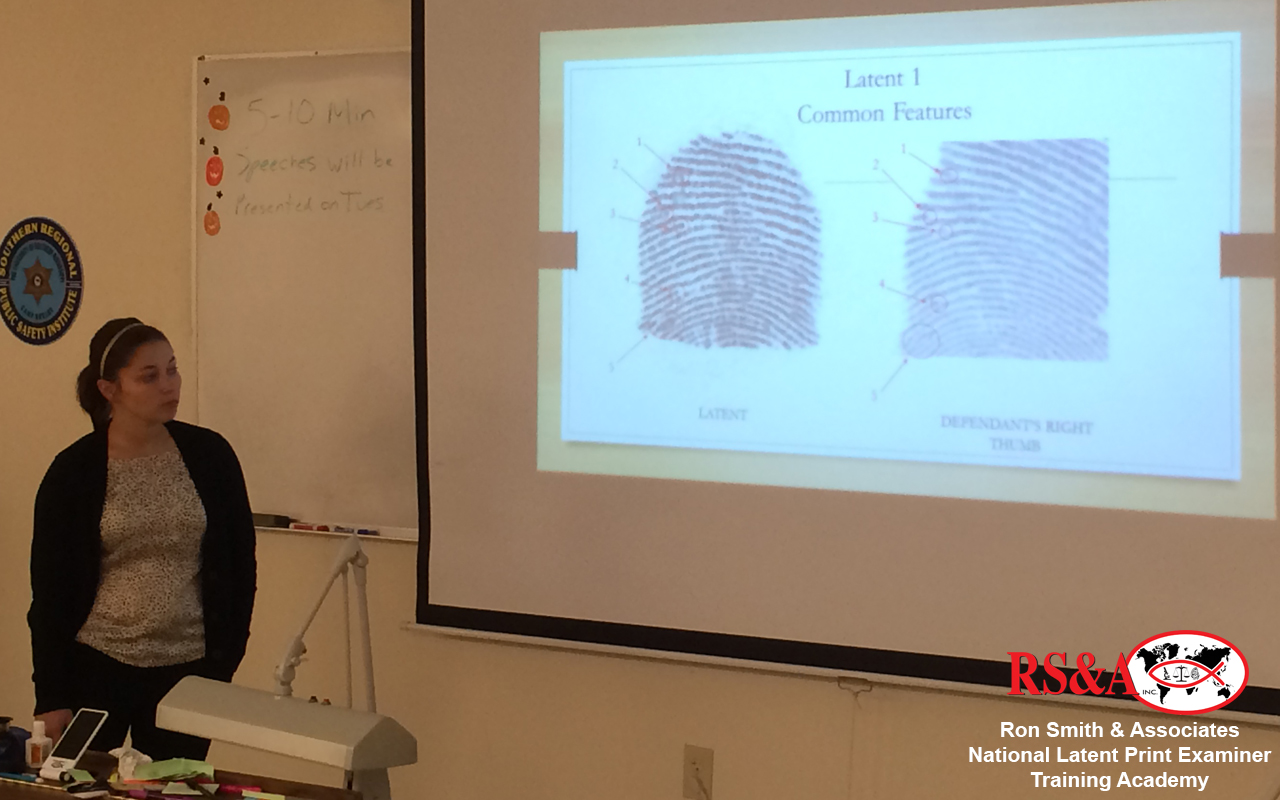
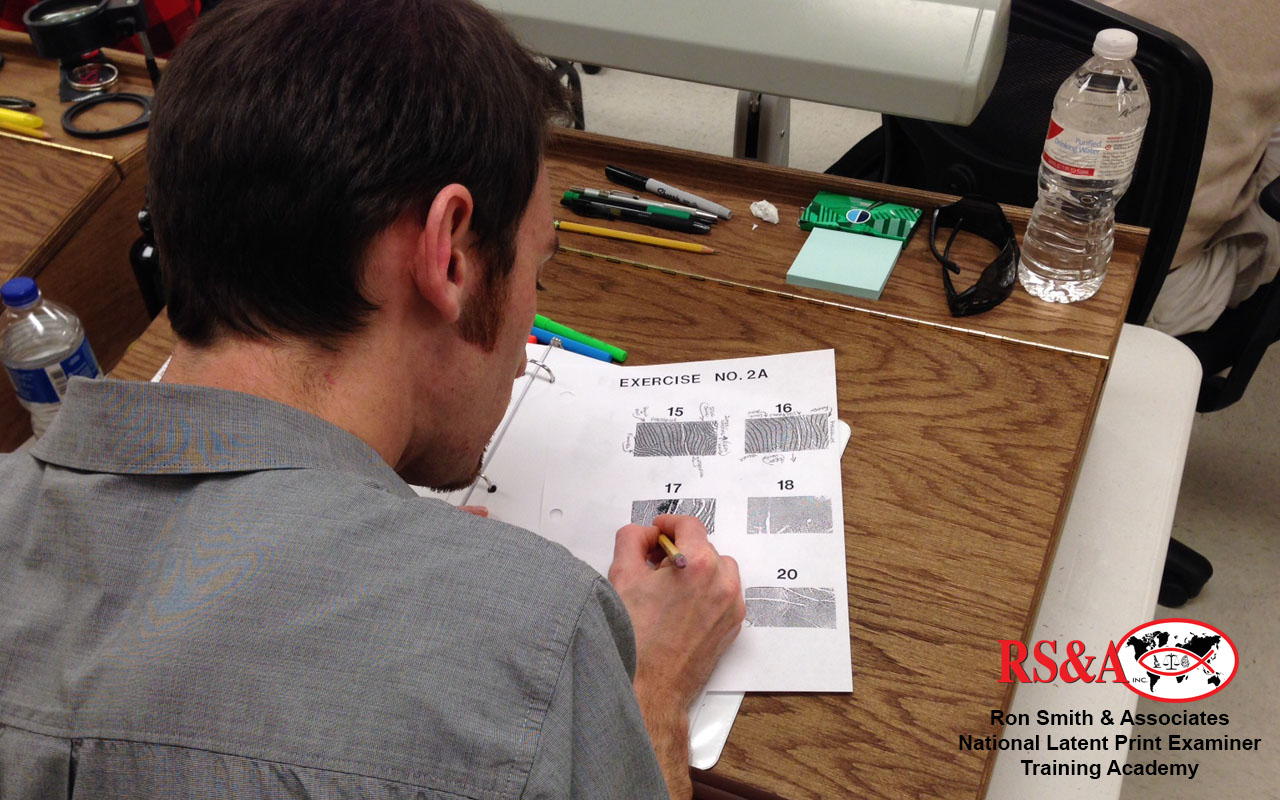
Technique comprised the second major topic for the week. Specifically, we examined ACE-V as a framework for decision-making and broke down each phase in great detail. Considerable time was spent on the analysis phase and teaching the students the importance of understanding the appearance of a given impression. They also completed 20 exercises in which they made examination notes to describe each impression in detail considering dynamics such as deposition pressure, lateral pressure, and clarity/tolerance among other factors. Students volunteered and demonstrated their analysis decisions on-screen while the other students attempted to falsify the analysis decisions. The formation of the figure-ground relationship was also emphasized and several examples were provided to nail down the concept.
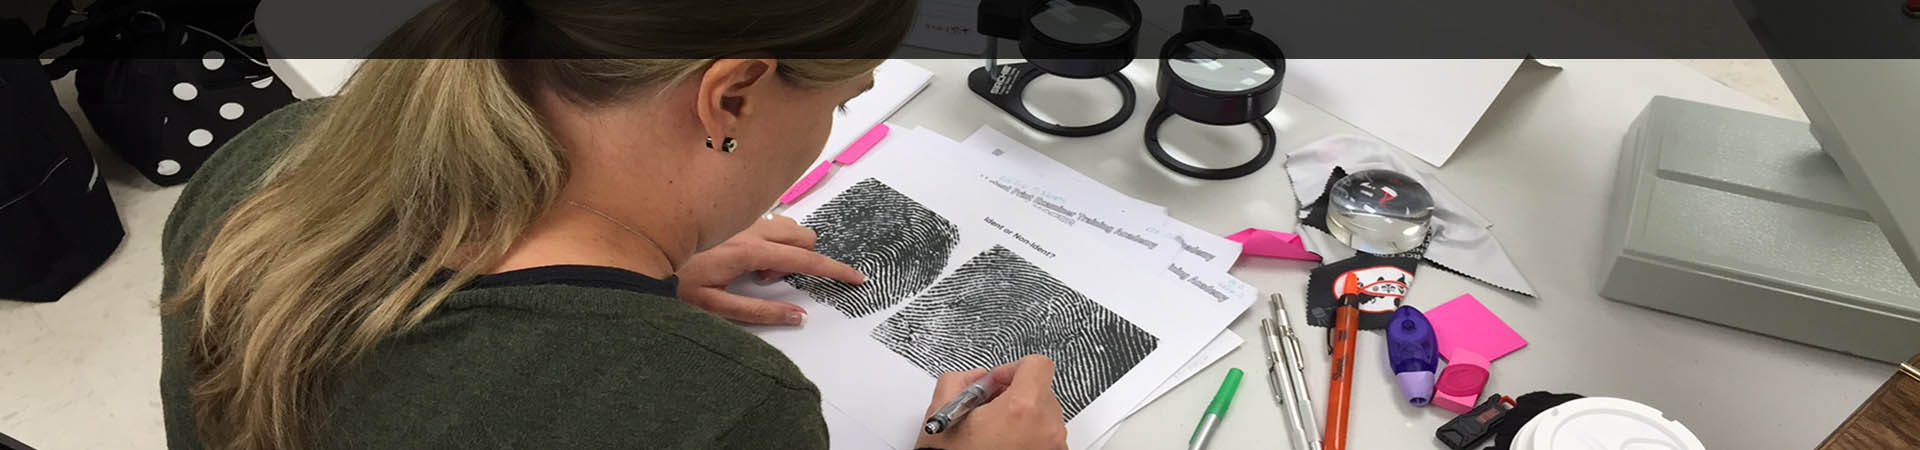
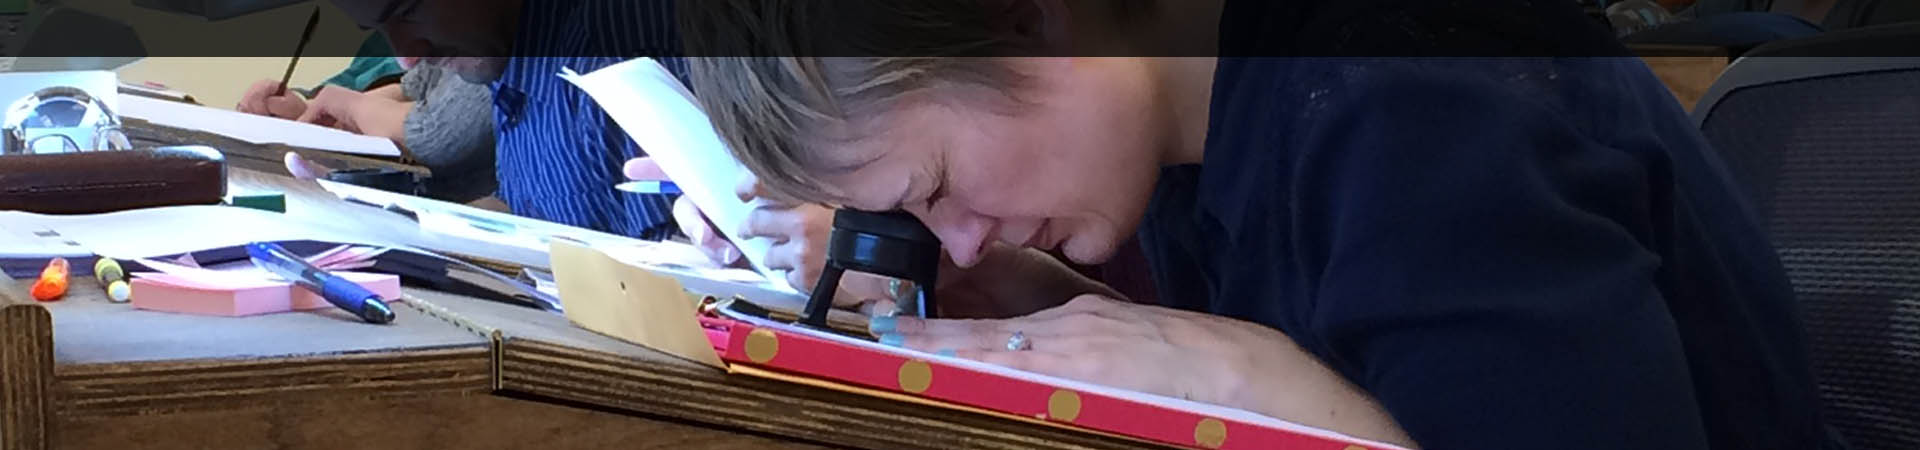
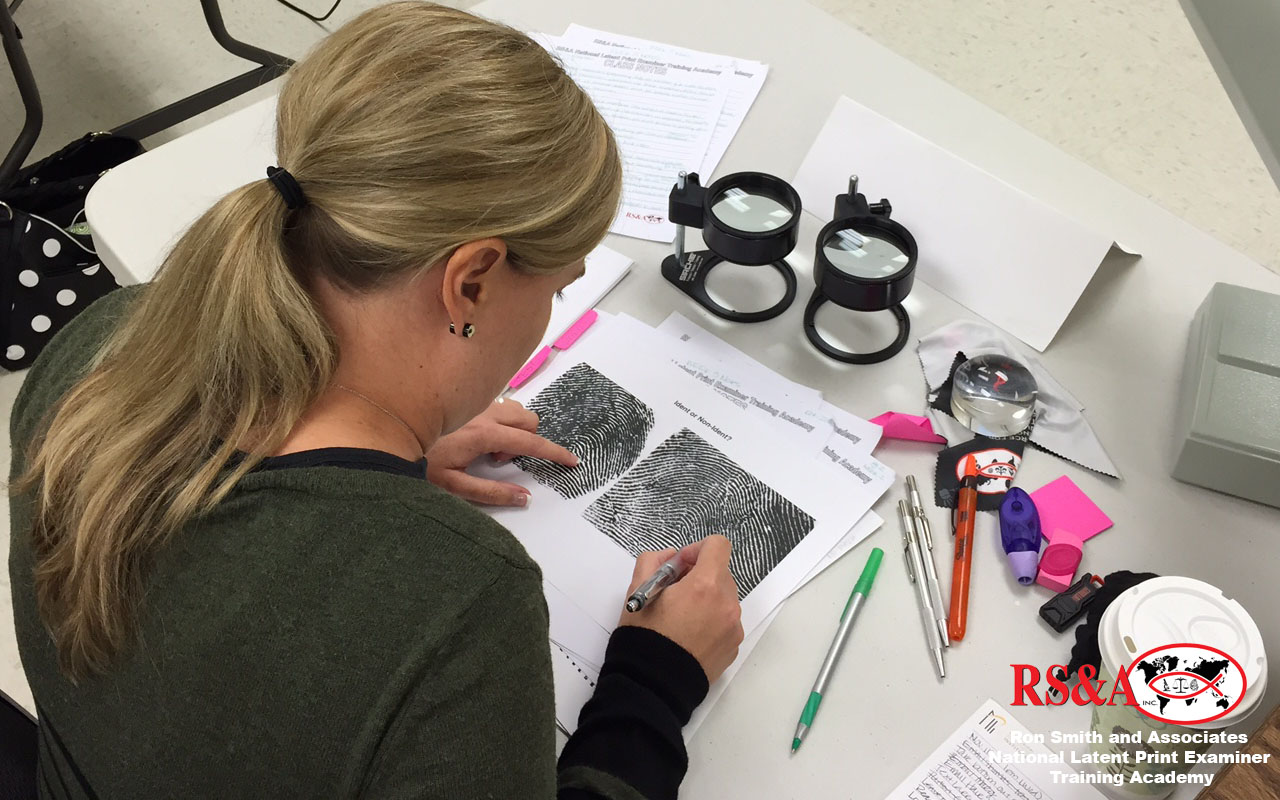
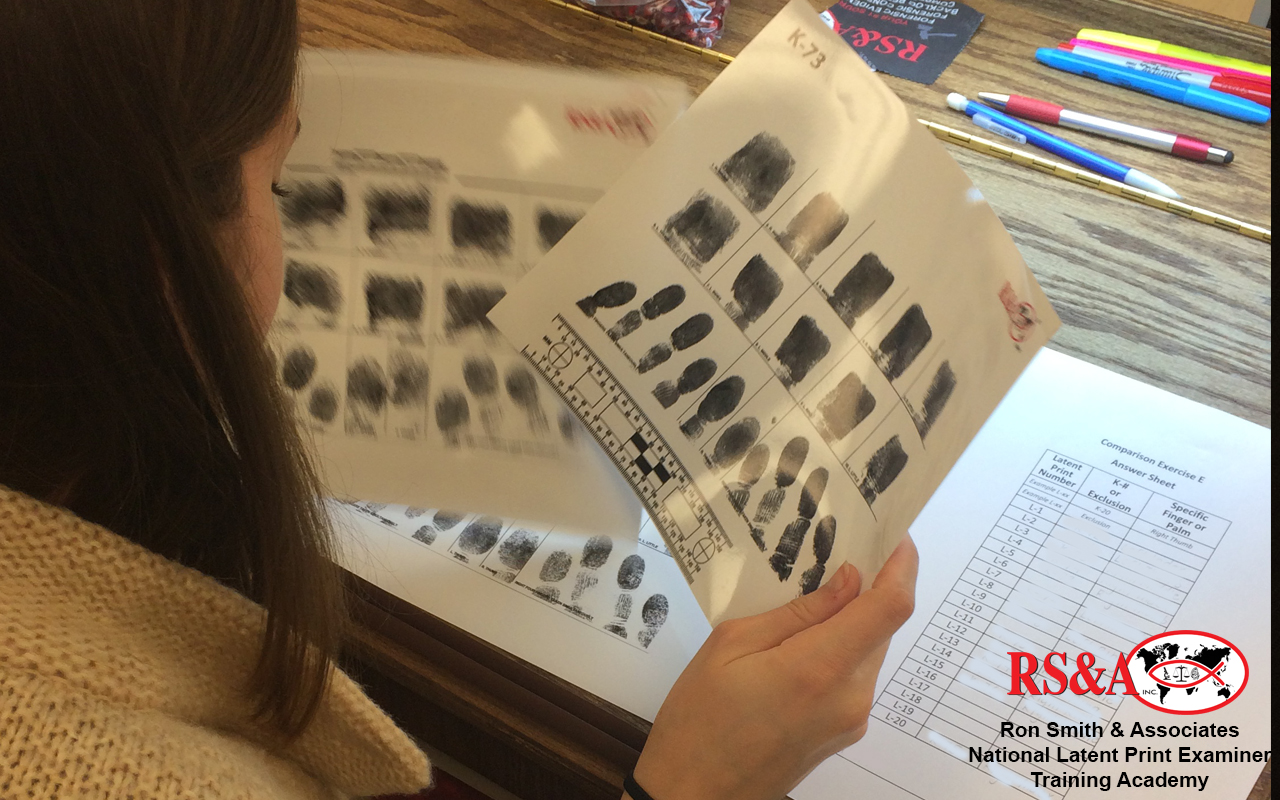
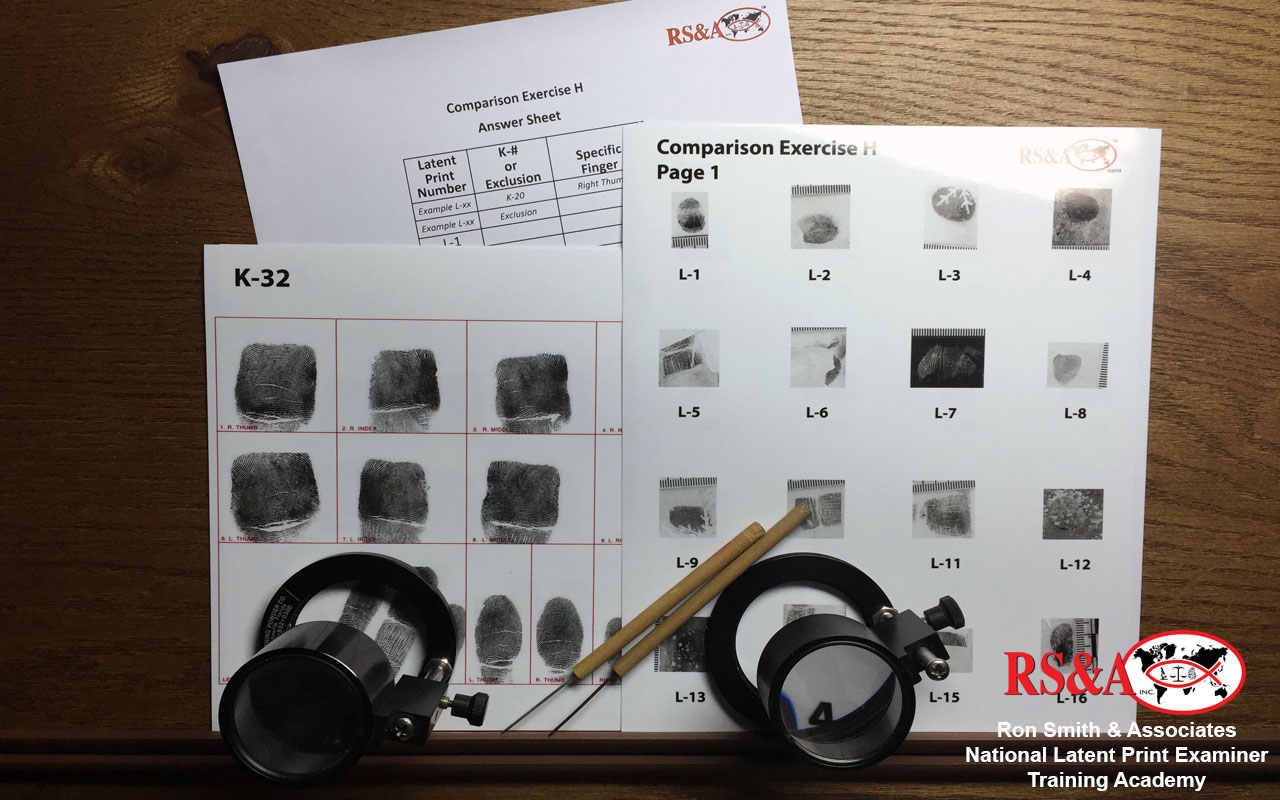
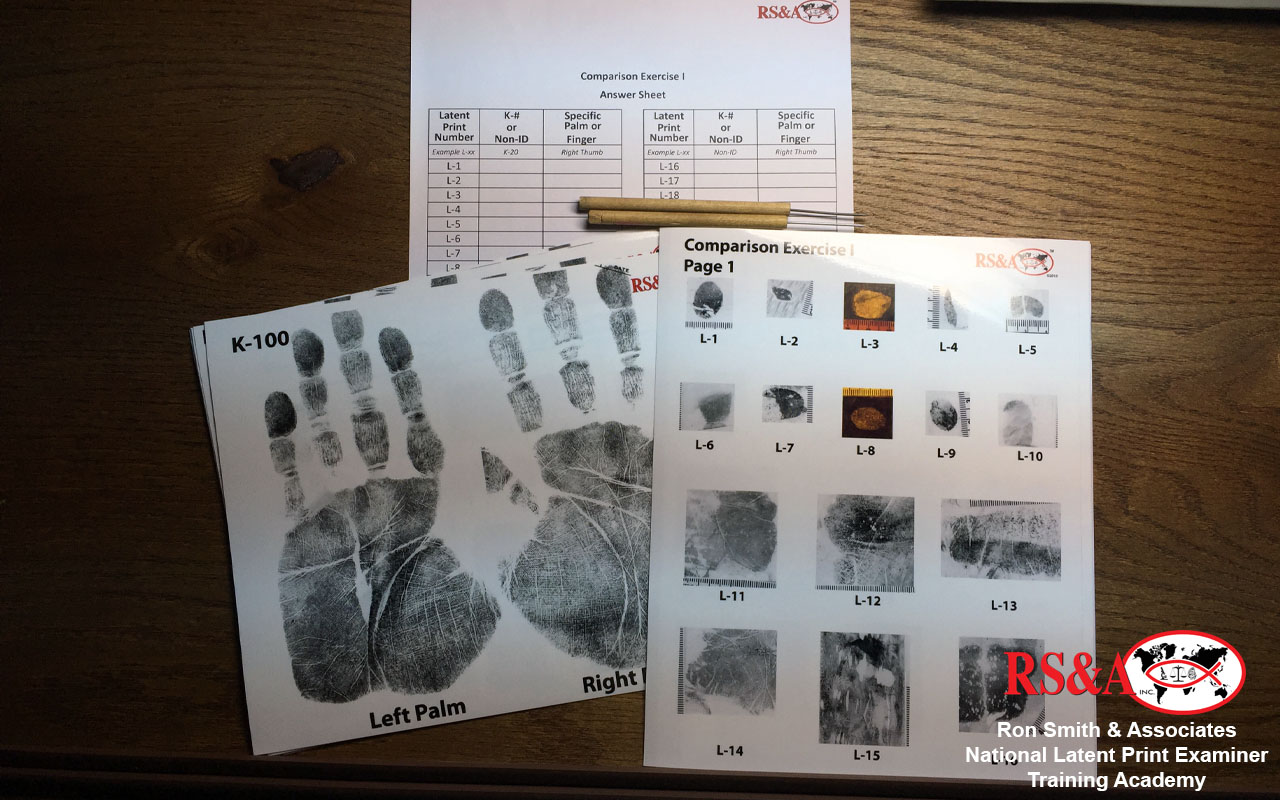
Students participated in manual comparison exercises of varying difficulty levels. They were formally graded on Exercise #2 but were also provided feedback on Exercise #1. There were also comparison exercises on-screen, again with volunteers presenting their conclusions and the remainder of students attempting to falsify. This generated a tremendous amount of discussion and allowed the students to hear different viewpoints. The important take-home message for them was that fingerprint examination is all about the objective comparative measurement of friction ridges, and not solely about a number of level 2 details. They learned the importance of running the ridges in sequence and not jumping around from feature to feature. There was also an in-depth discussion of sufficiency with the main point being that sufficiency is not static.
The third block of instruction dealt with both scientific and legal standards. We examined the different aspects of fingerprints as a forensic science and also reviewed some significant legal decisions pertaining to the admissibility of fingerprint evidence.
Standards for latent print conclusions comprised the final major topic for the week. We examined SWGFAST documents in detail and the conditions that must be satisfied in drawing different conclusions. They learned that any conclusion must always be supported by the physical evidence.
The students took a written test (short answer/essay) on Friday to demonstrate their understanding of the material presented. Many casework examples of interesting comparisons were presented to alert them to the need for caution in certain situations (e.g. skin damage, subtle distortion, etc.).
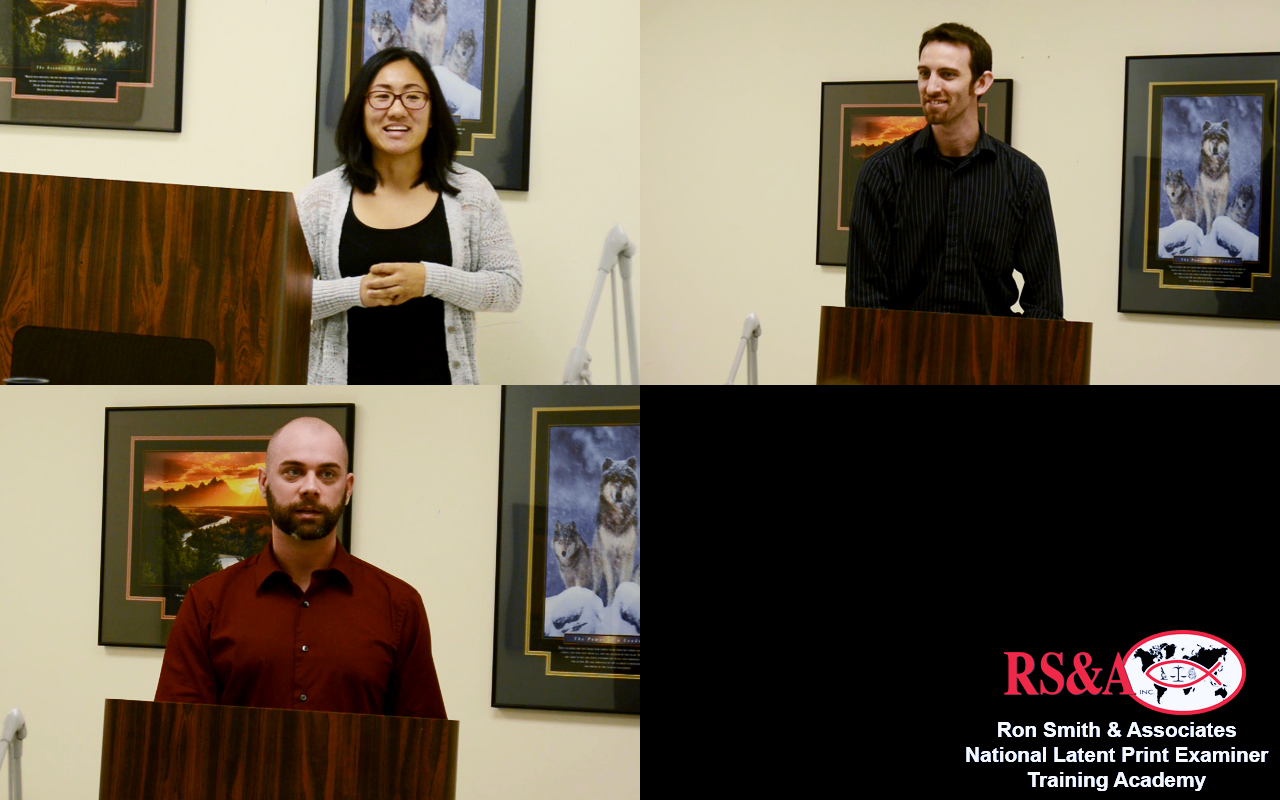
CLICK A THUMBNAIL IMAGE BELOW TO VIEW A LARGER IMAGE SLIDESHOW
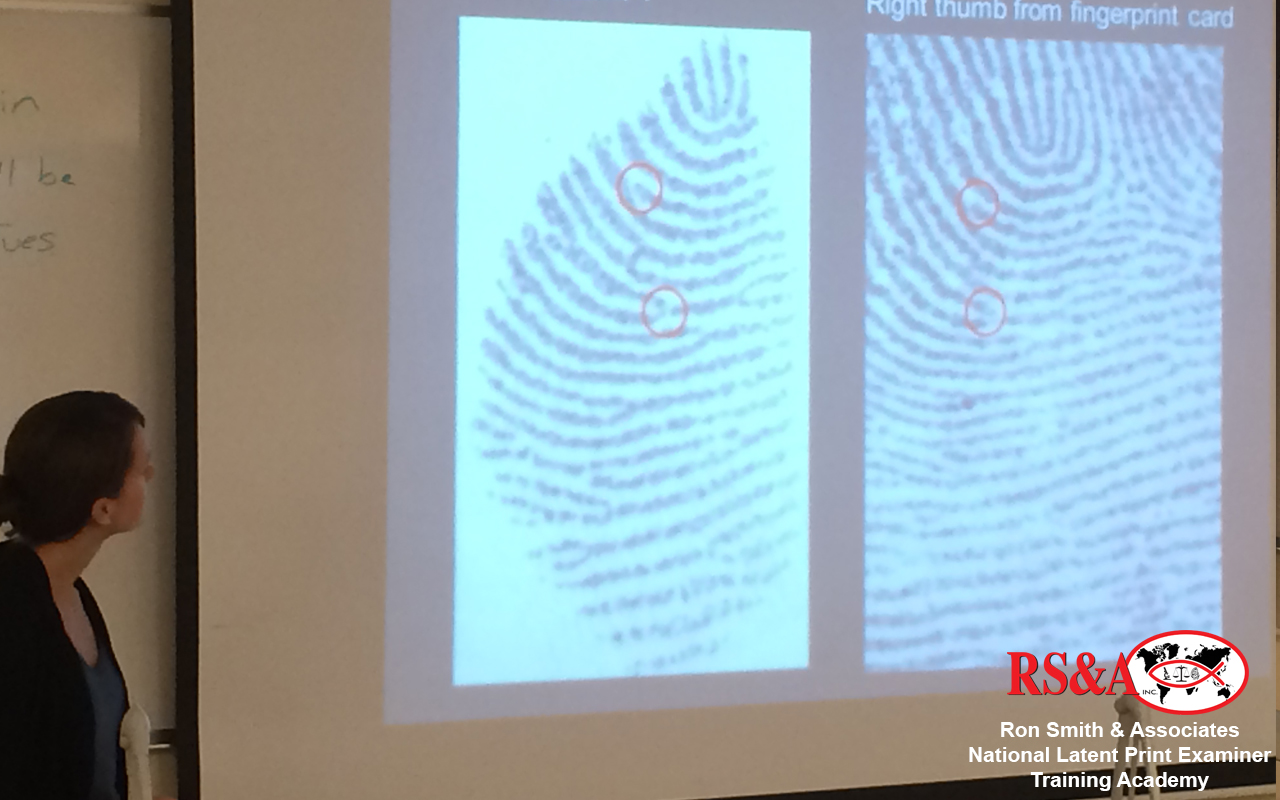
This course was designed to move the students from the conceptual understanding of the science into the practical application of their comparison skills. The knowledge base continued to grow as we dove head-long into the science behind uniqueness and persistence of friction ridge skin. We covered embryology, histology, glands, secretions, wound healing, and diseases of the skin in an attempt to grow the confidence of the students in the science behind their conclusions. The errors from previous weeks were reviewed. We had discussions on why the errors occurred and trends that existed between the prints that were causing difficulty. Significant effort was put toward searching smart, orientation, target selection, and methods of comparisons. The students were challenged during week 4 with up to six hours of comparisons in a single day.
CLICK A THUMBNAIL IMAGE BELOW TO VIEW A LARGER IMAGE SLIDESHOW
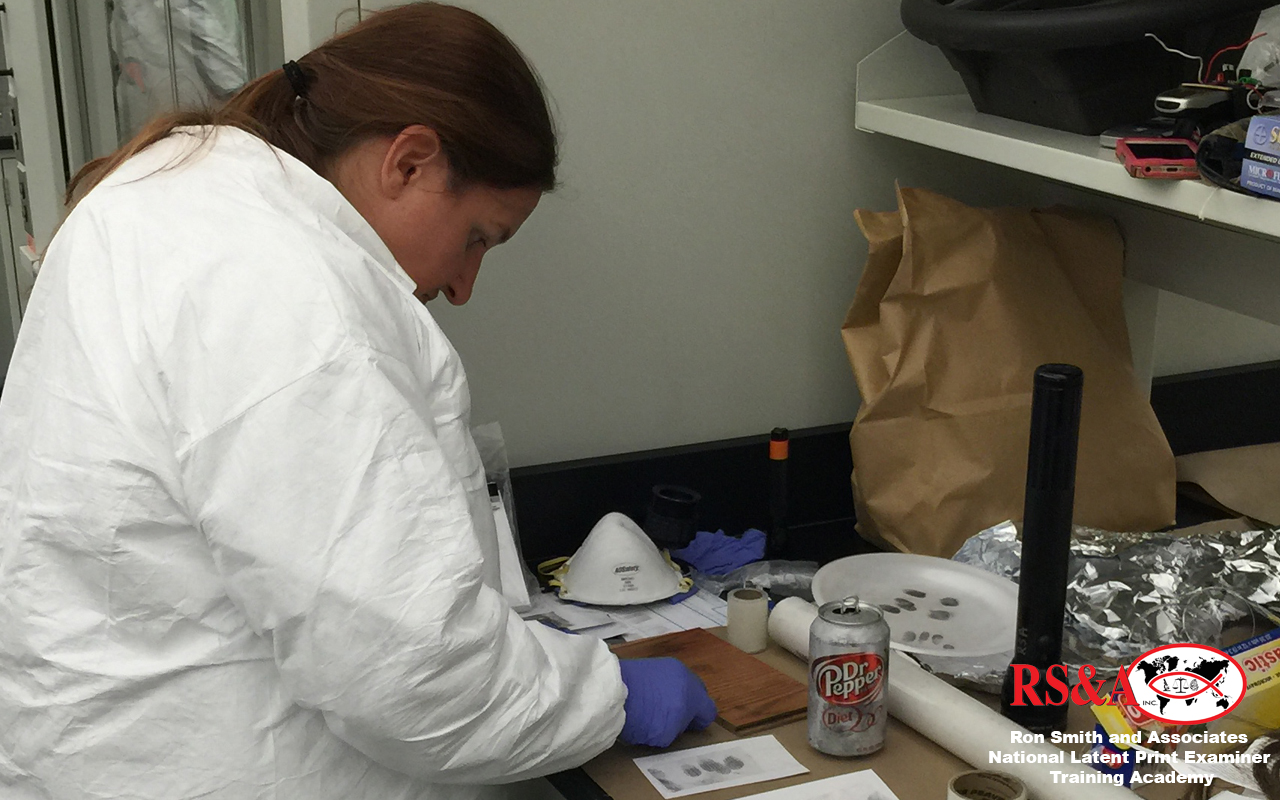
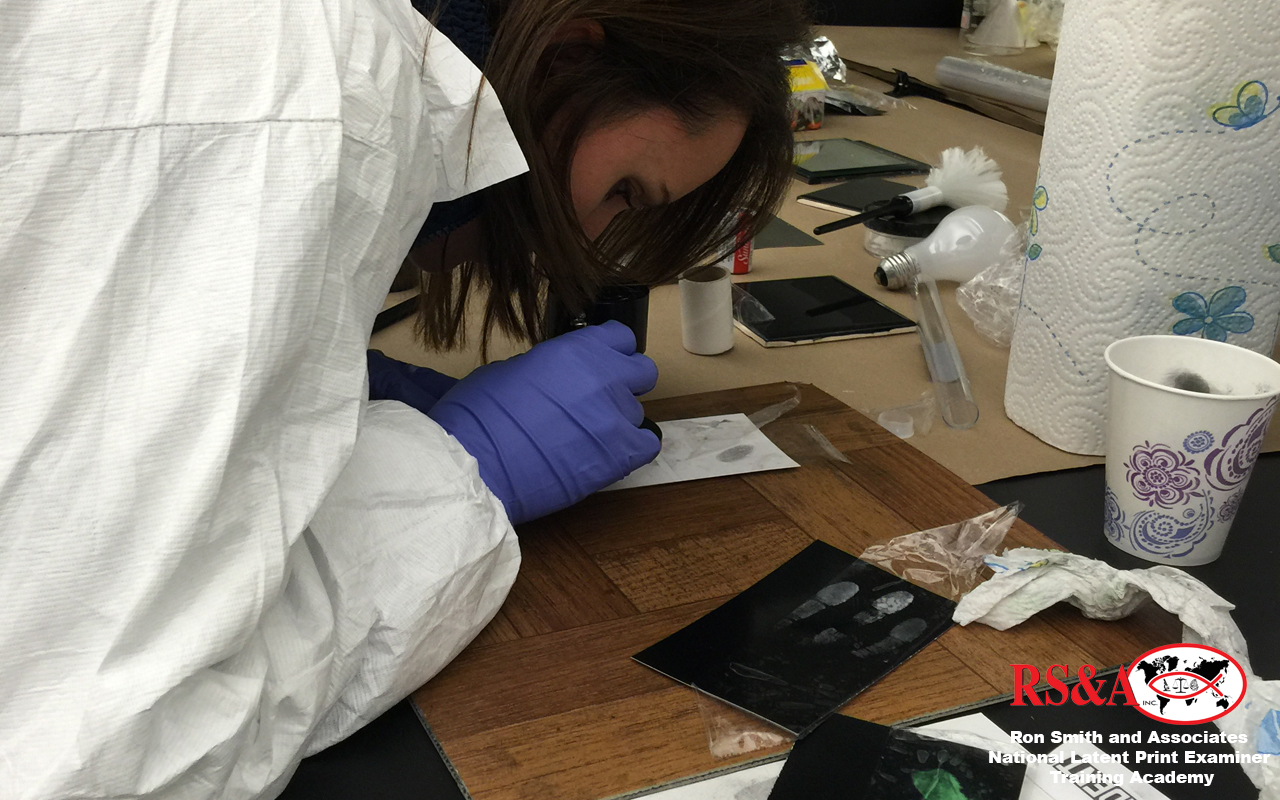
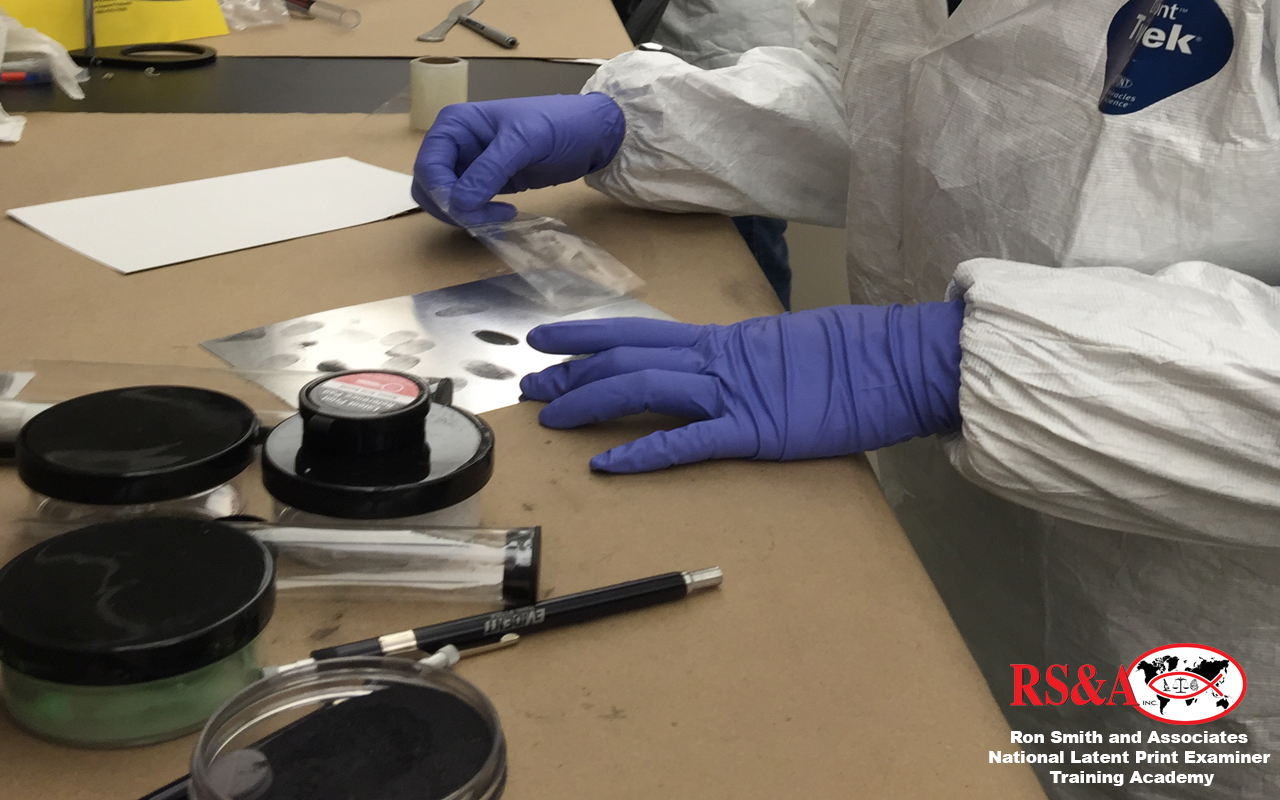
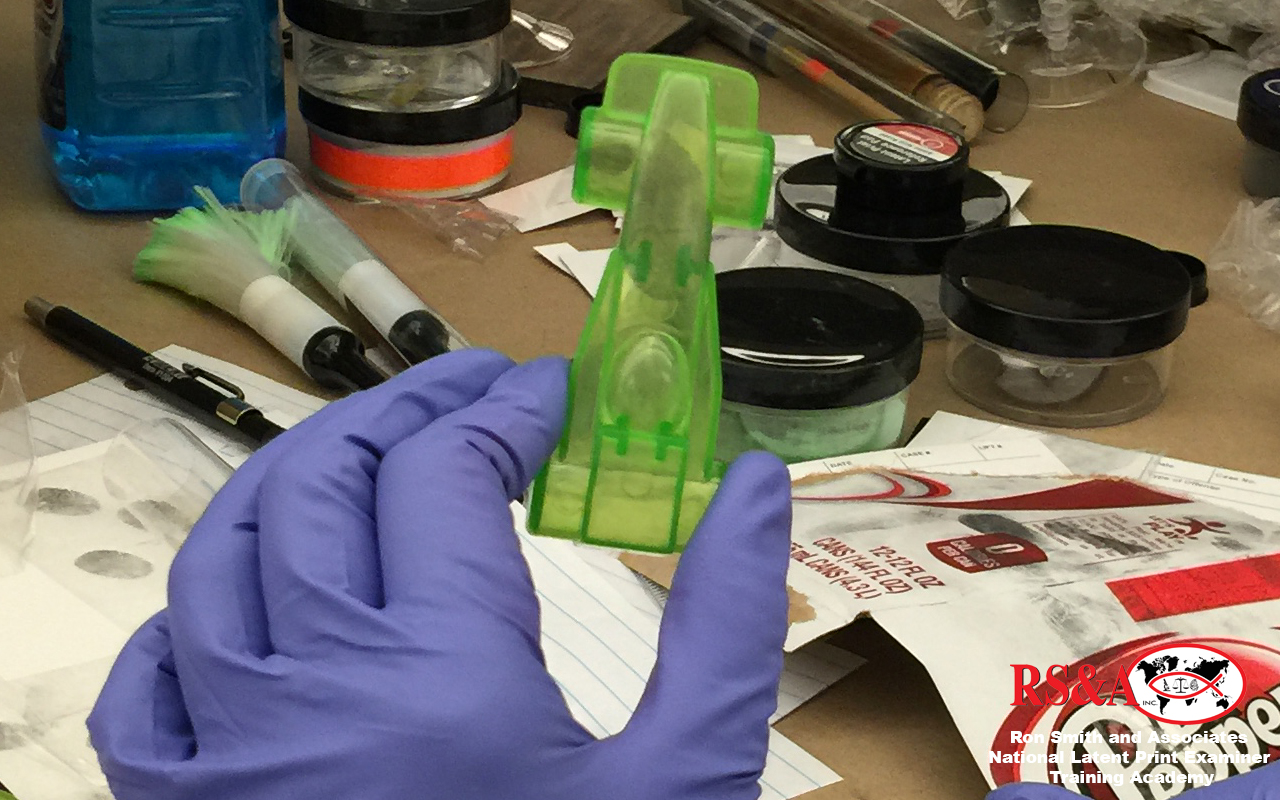
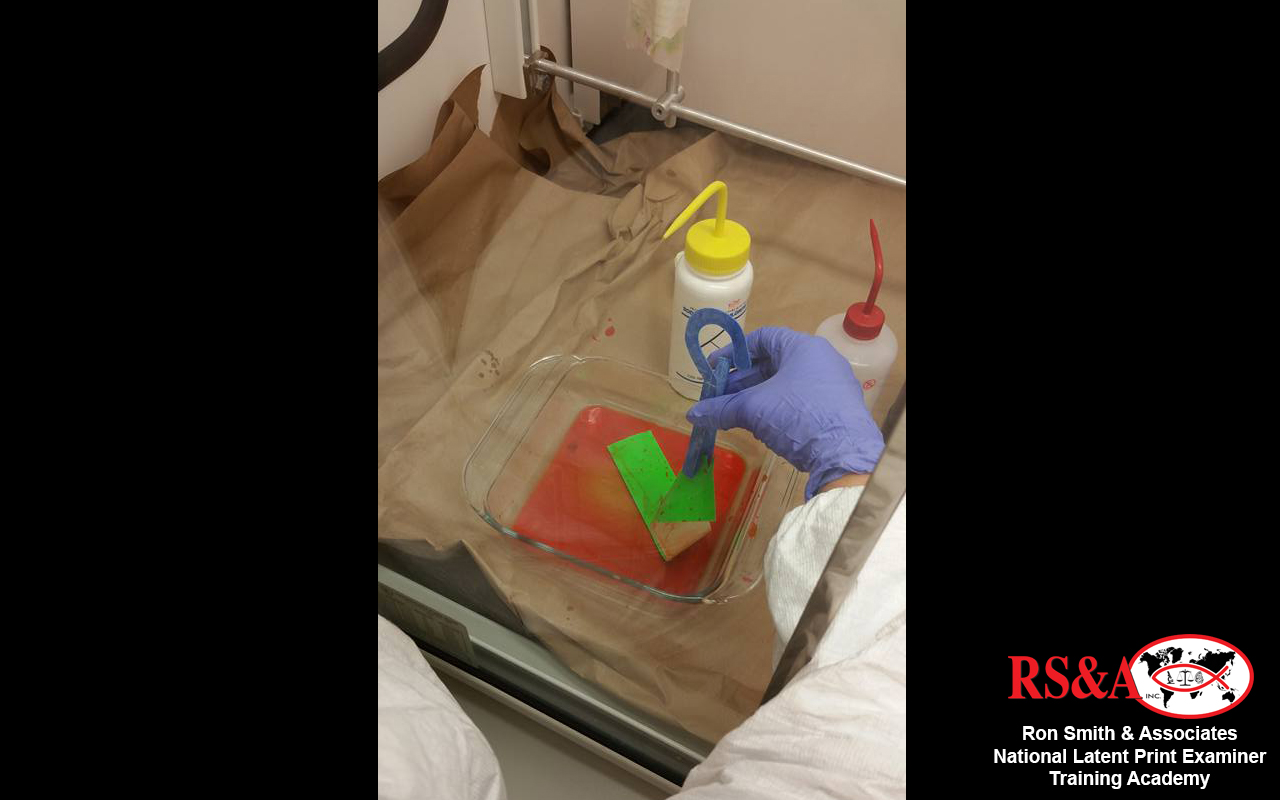
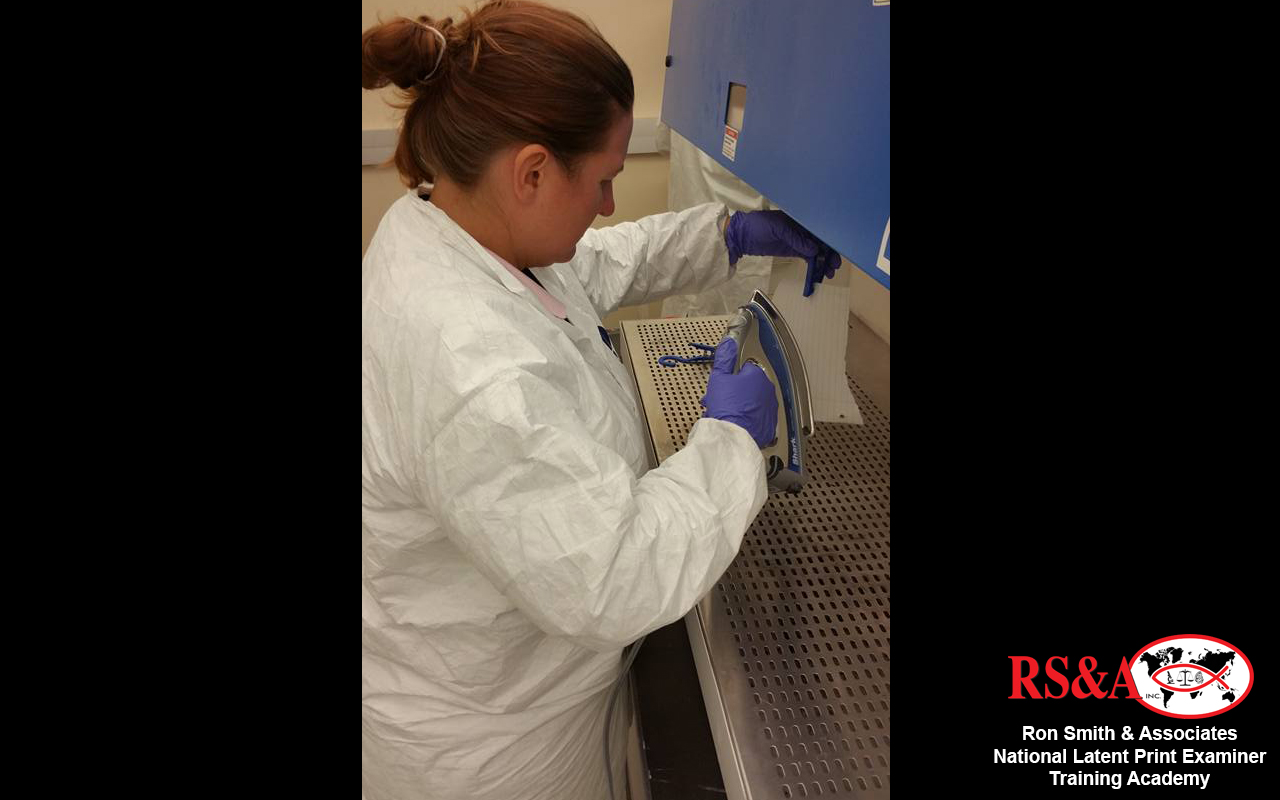
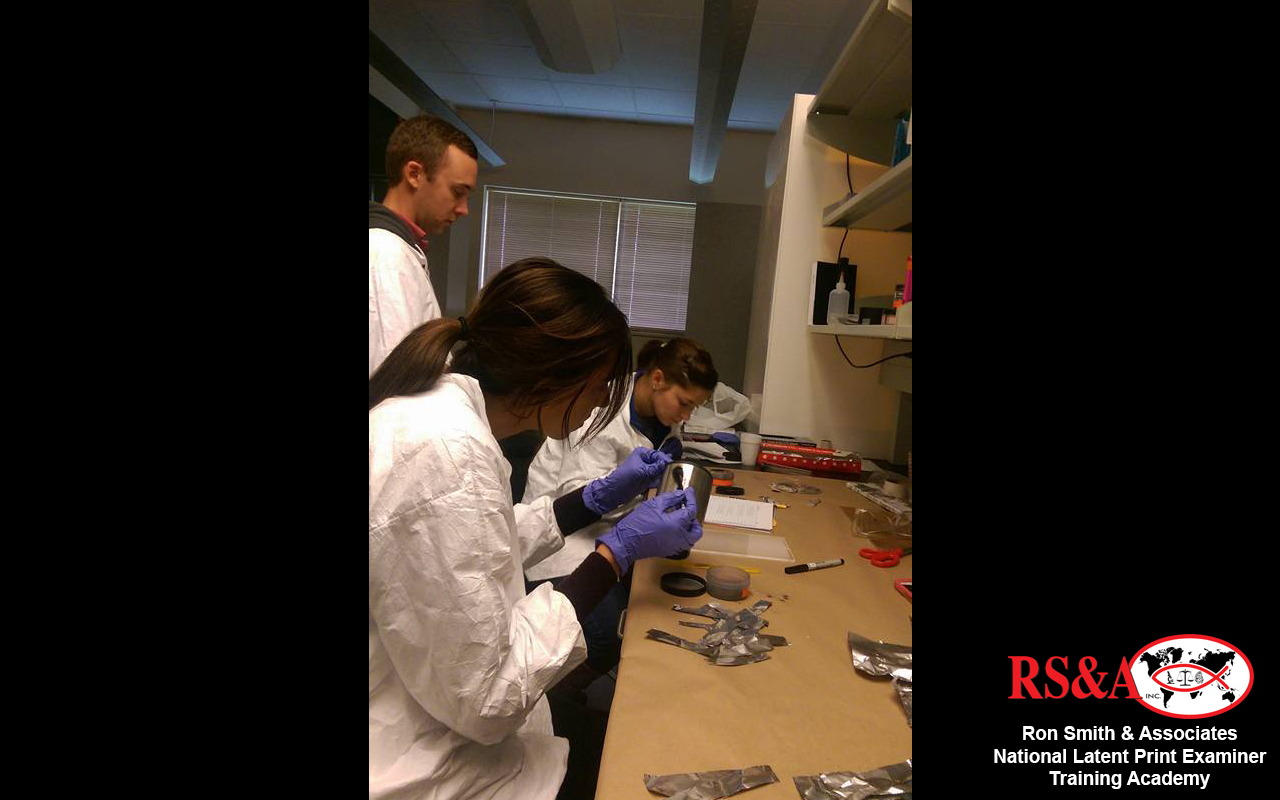
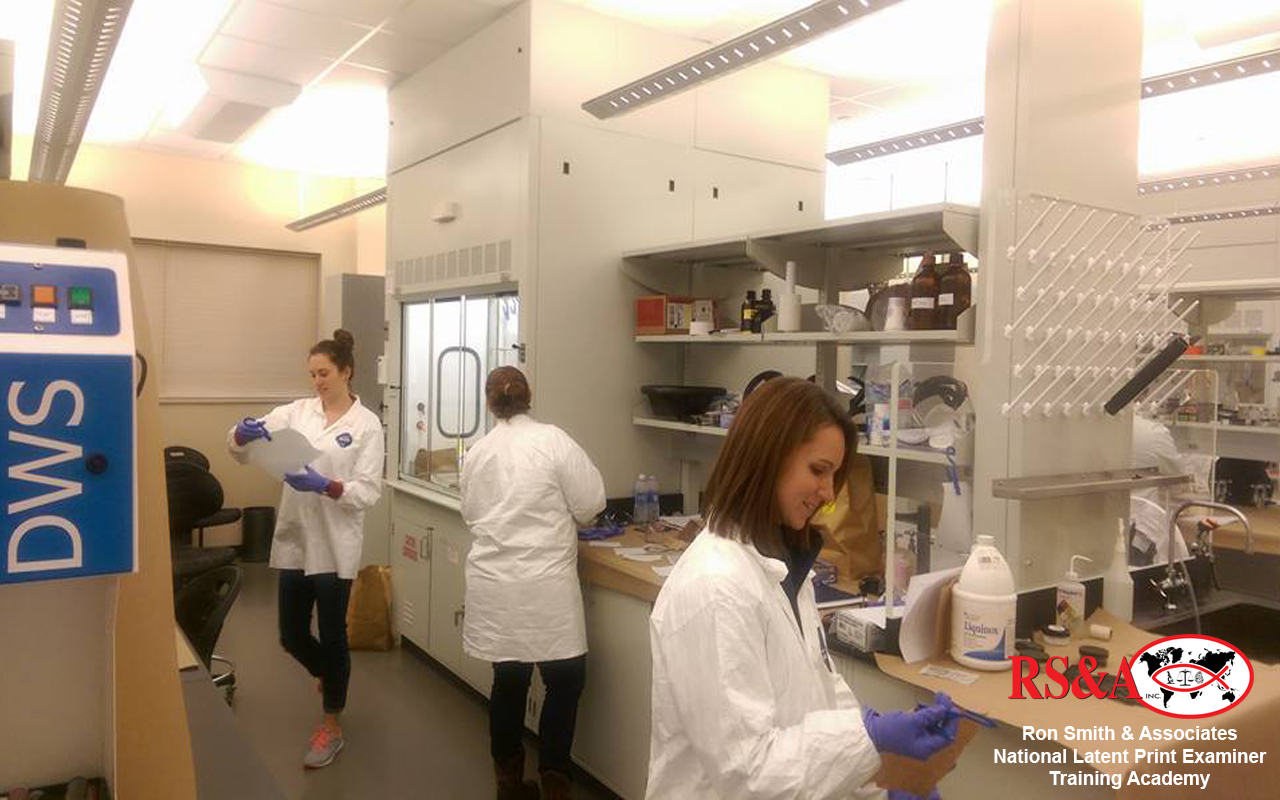
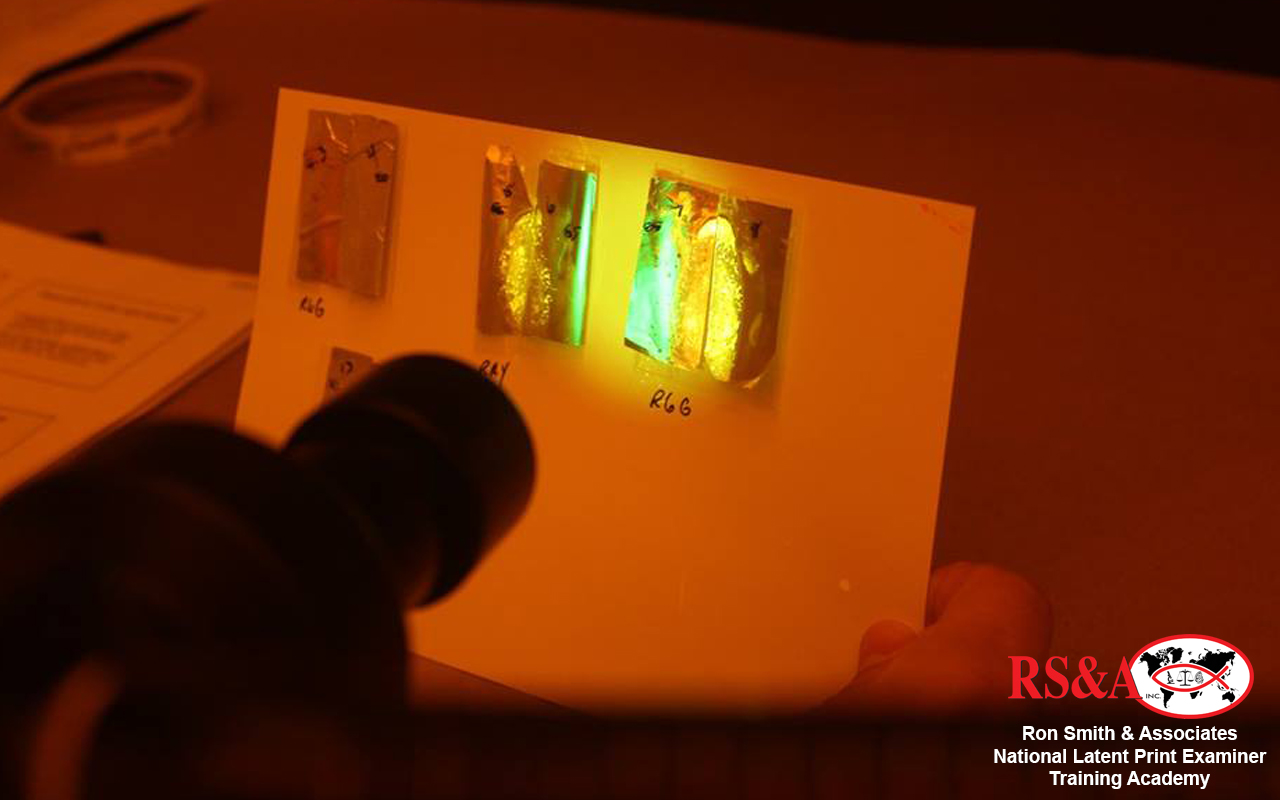
This course was designed to teach the participant the fundamentals of latent print development techniques for porous and non-pours items of evidence as well as exhibits that are not so routinely submitted to the laboratory for latent print processing through practical exercises, lectures, and discussions in a state of the art laboratory.
An understanding of the following principles were taught and applied through hands on workshops that demonstrated:
- Dynamic range, advantages of multiple cyanoacrylate dye stains such as RAM, RAY, rhodamine 6g, basic red, basic yellow, ardrox, MBD and the importance of their carriers.
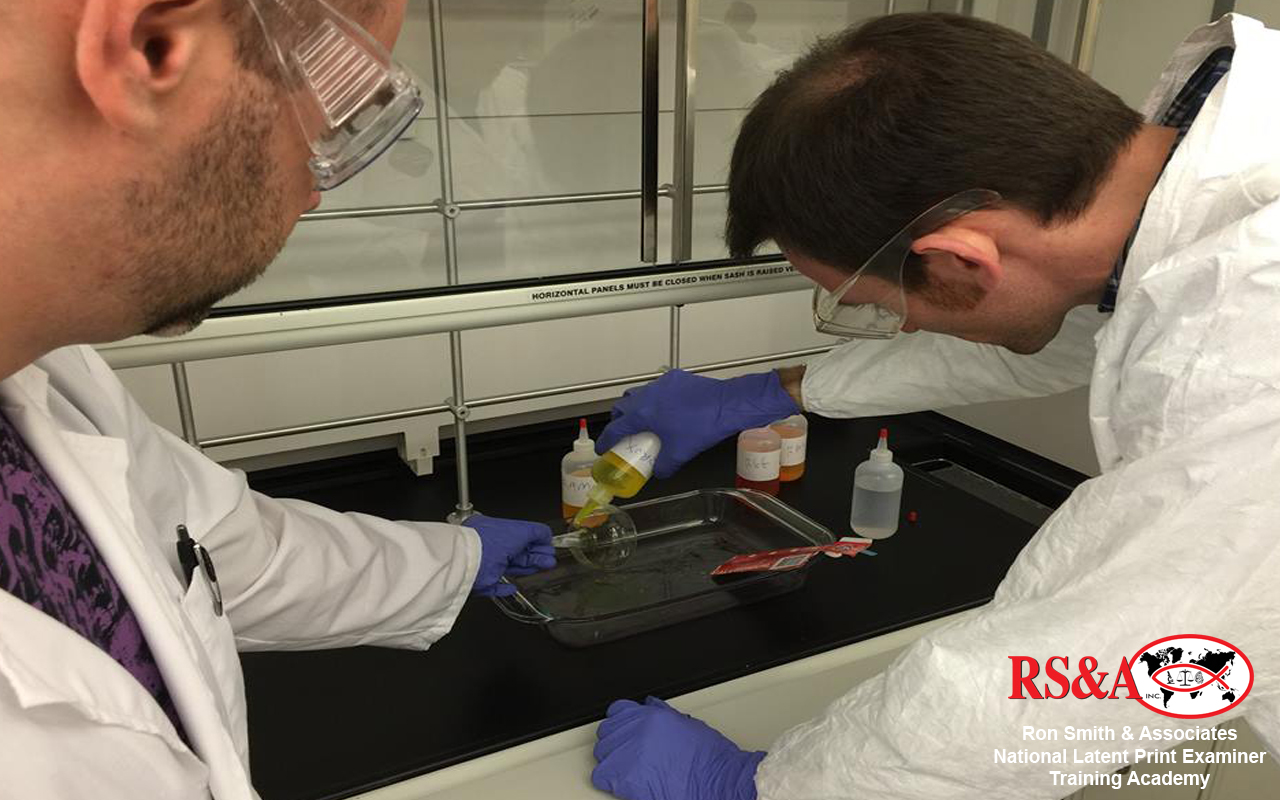
- Porous latent print processing techniques such as 1,2-indanedione, DFO, ninhydrin, and 5-methylthioninhydrin (5-MTN). Blood specific latent print development techniques such as amido black, leucocrystal violet, titanium dioxide, and acid yellow.
- Processing techniques that included best practices for removing tape from evidence and processing the adhesive side for latent prints using sticky side powder, TapeGlo and Gentian Violet.
- How to process porous and non-pours items of evidence that have been wet using latent print development techniques involving Oil-Red-O and small particle reagent.
- Processing techniques for oily and greasy items of evidence using latent print development techniques such as sudan black and best practices for developing latent prints on thermal paper receipts.
Students had the opportunity to work in groups processing items that they will encounter quite often and not so often in their career.
CLICK A THUMBNAIL IMAGE BELOW TO VIEW A LARGER IMAGE SLIDESHOW
During week 6, the students were given instruction on the analysis, comparison, and evaluation processes. Determining prints of value, ACE-V methodology, orientation, and reporting conclusions were the main topics of lecture.
Practical exercises on value, sufficiency, and the comparison of fingers, tips, and joints were conducted throughout the course.
An understanding of courtroom preparation including the use of PowerPoint and charted enlargements was introduced in this course along with a presentation by the students of those identification conclusions in front of the class.
The instructor and students had a question/answer discussion on the NAS report to give the them an overview of the current and future challenges in the fingerprint and forensic fields. Each student completed a series of ten questions based on the NAS report that they would ask an examiner in a courtroom.
CLICK A THUMBNAIL IMAGE BELOW TO VIEW A LARGER IMAGE SLIDESHOW
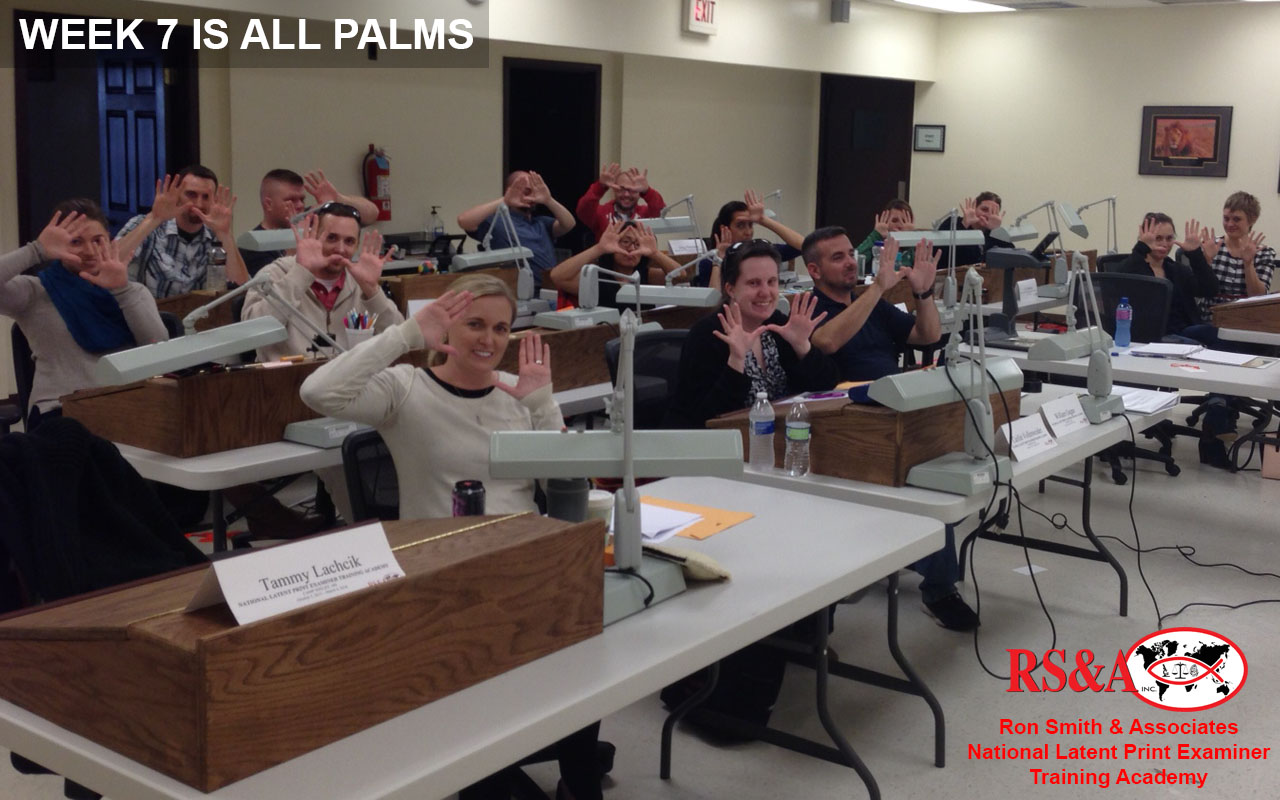
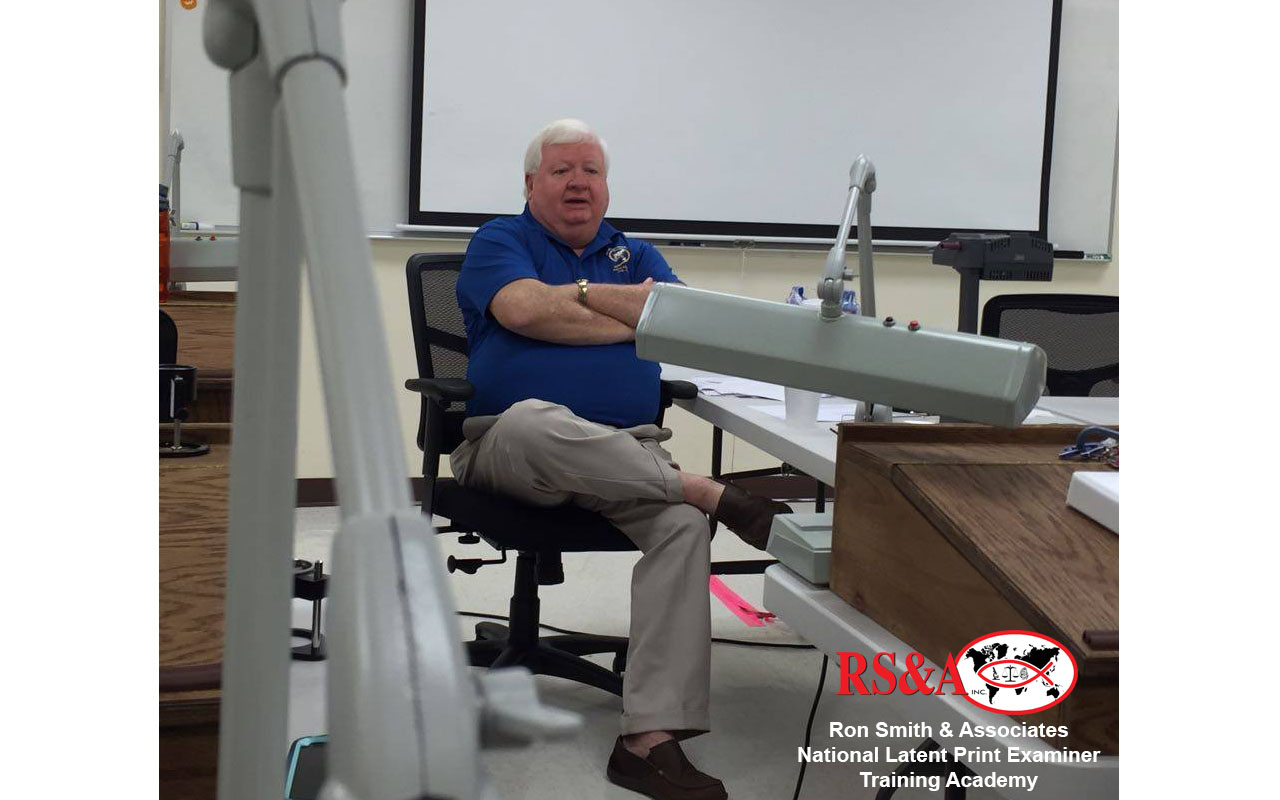
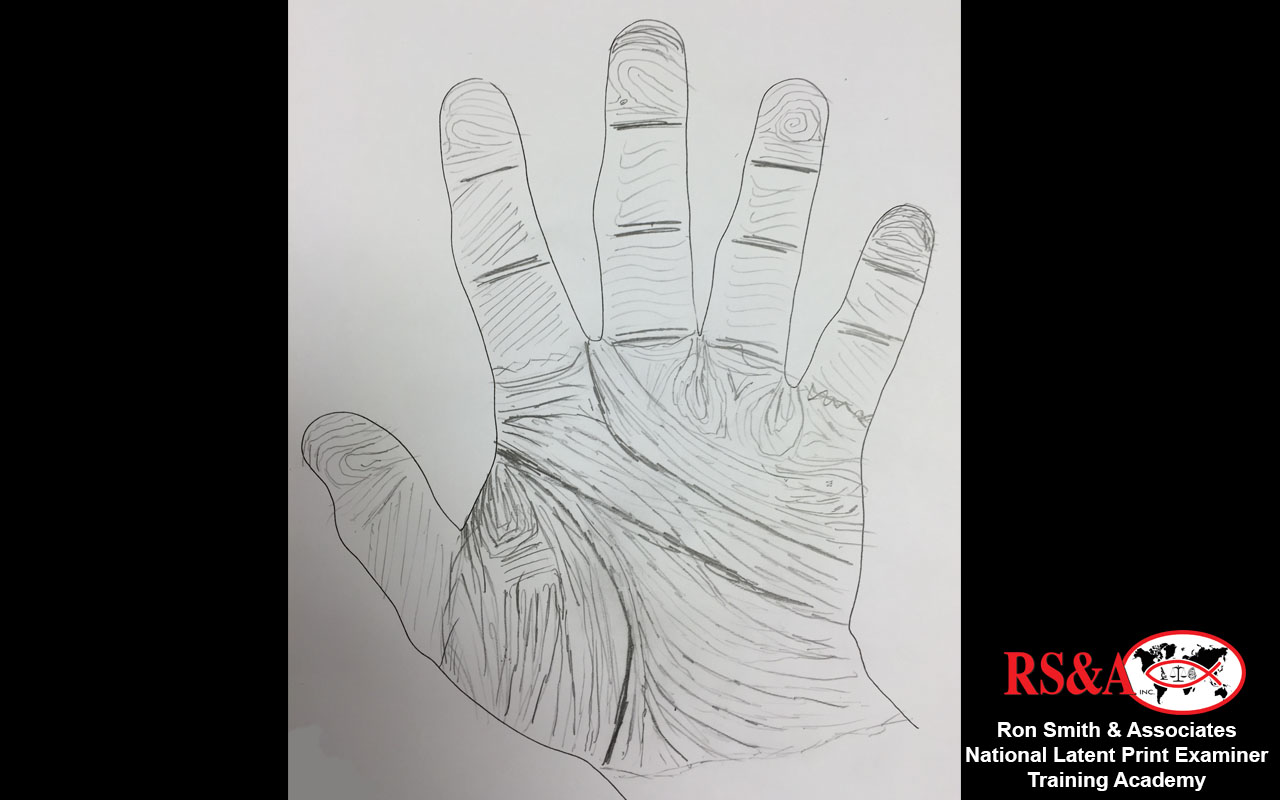
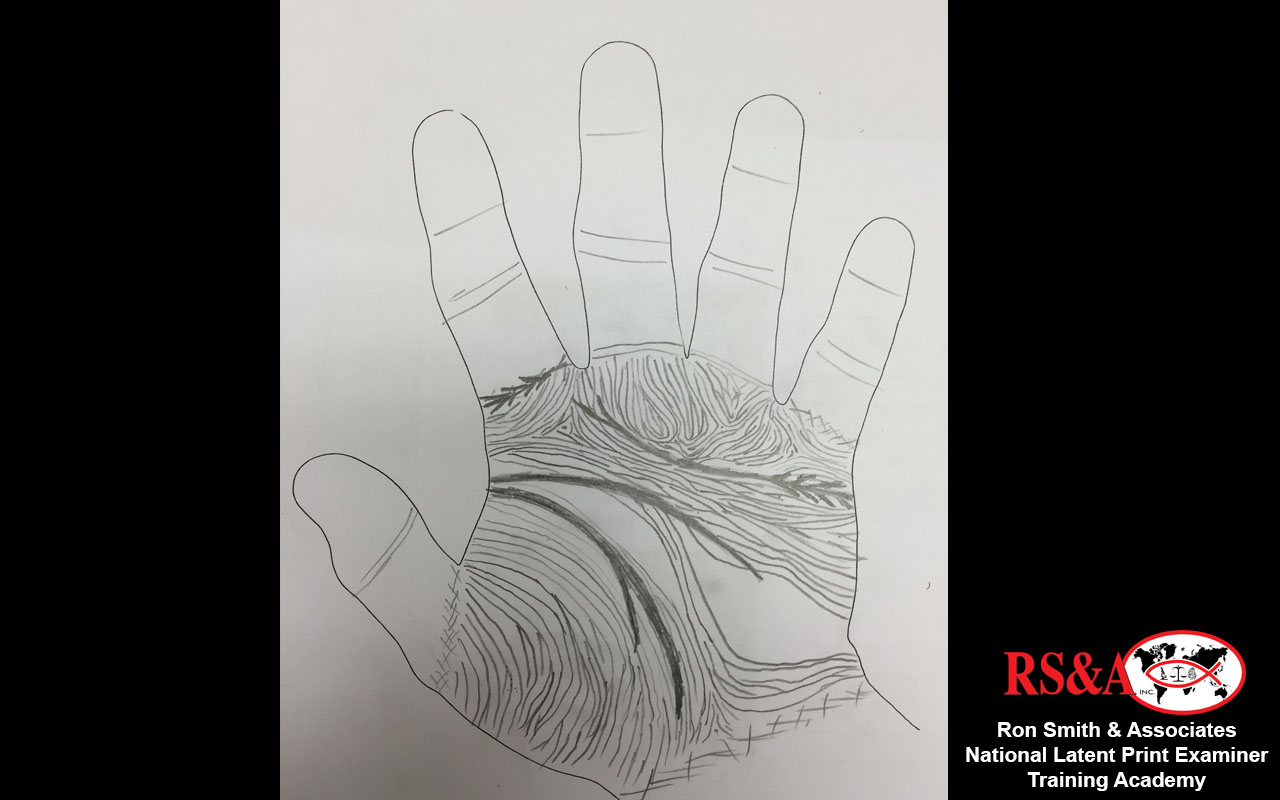
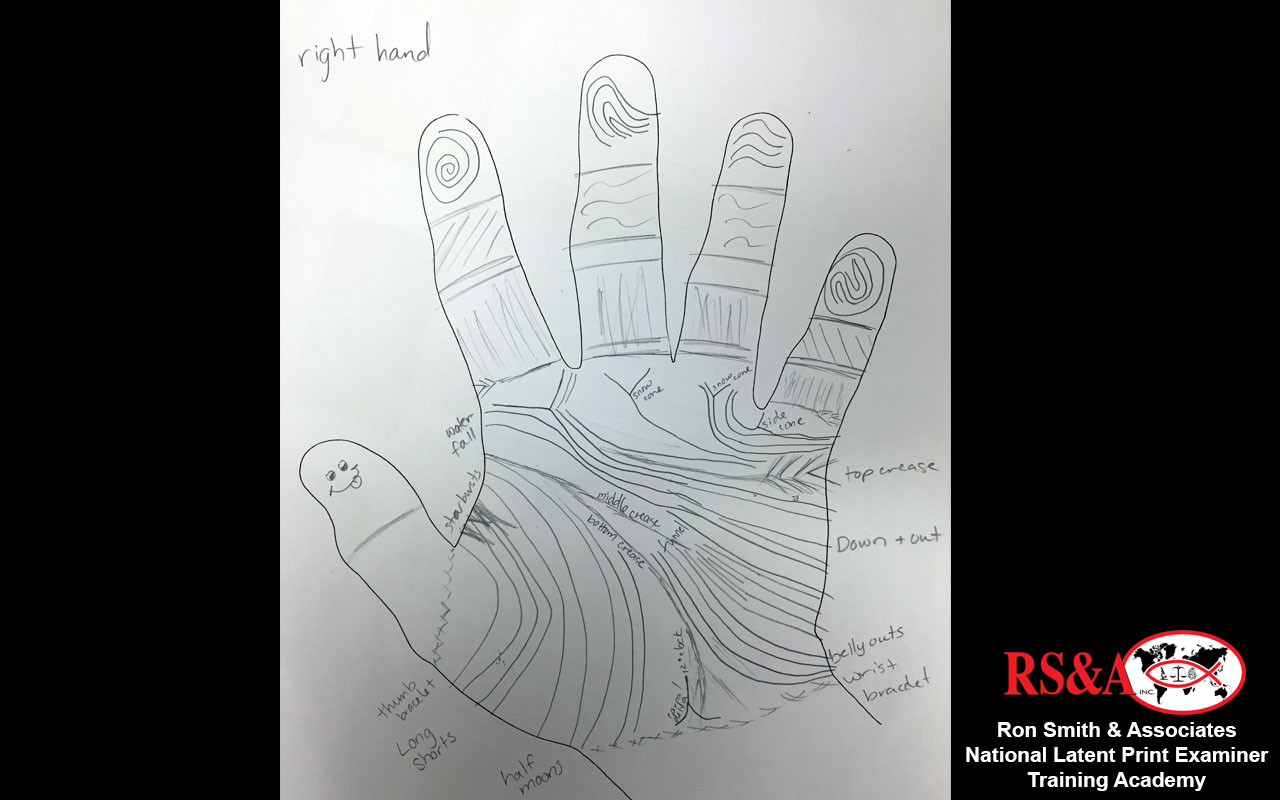
During this week, RS&A brought the "big gun" (see photos) to teach the academy students all about palm prints. Ron Smith spent the majority of the week providing detailed instruction to the class on the specific nuances of palm prints to include ridge flows, crease formations, latent palm print shapes, and combinations of all of these in various levels of difficulty.
Numerous practical exercises and individual palm print challenges were completed, some of which had to be defended by each and every member of the class. No sitting back in the shadows in Ron's Class!
Squeezed in during the week was an opportunity for each student to make an oral presentation to the class so Ron could evaluate their individual natural speaking skills. This will be used to develop the customized training for expert witness testimony training to come later on in the curriculum.
At the end of the week, the students were presented with a final challenge for the week which included a written exercise of 50 very specific questions about palms along with a visual evaluation of 20 partial latent palm prints in which the palmar area of origin, which hand, and correct up and down position had to be determined. This allowed for three potential errors for each latent print, and understandably, the students were more than pleased when they could tell Ron good-by for the Thanksgiving Holidays.
CLICK A THUMBNAIL IMAGE BELOW TO VIEW A LARGER IMAGE SLIDESHOW
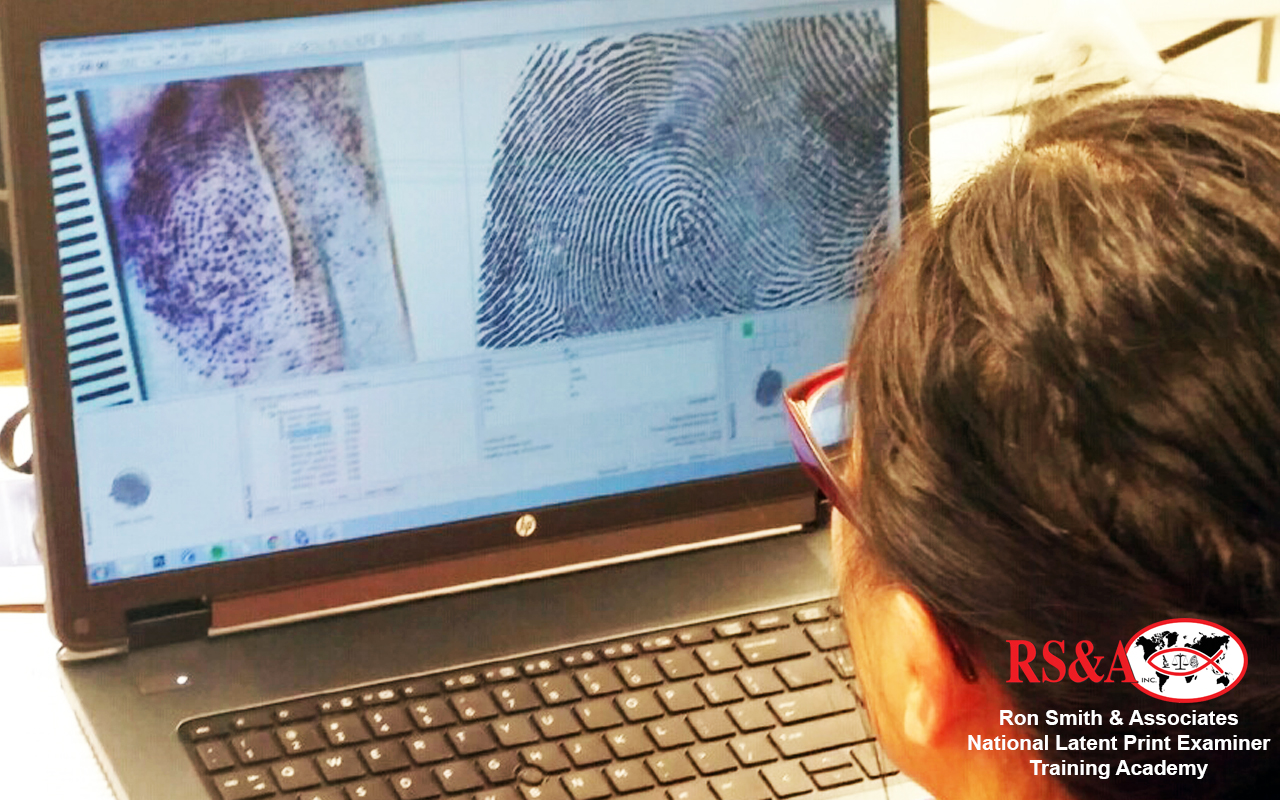
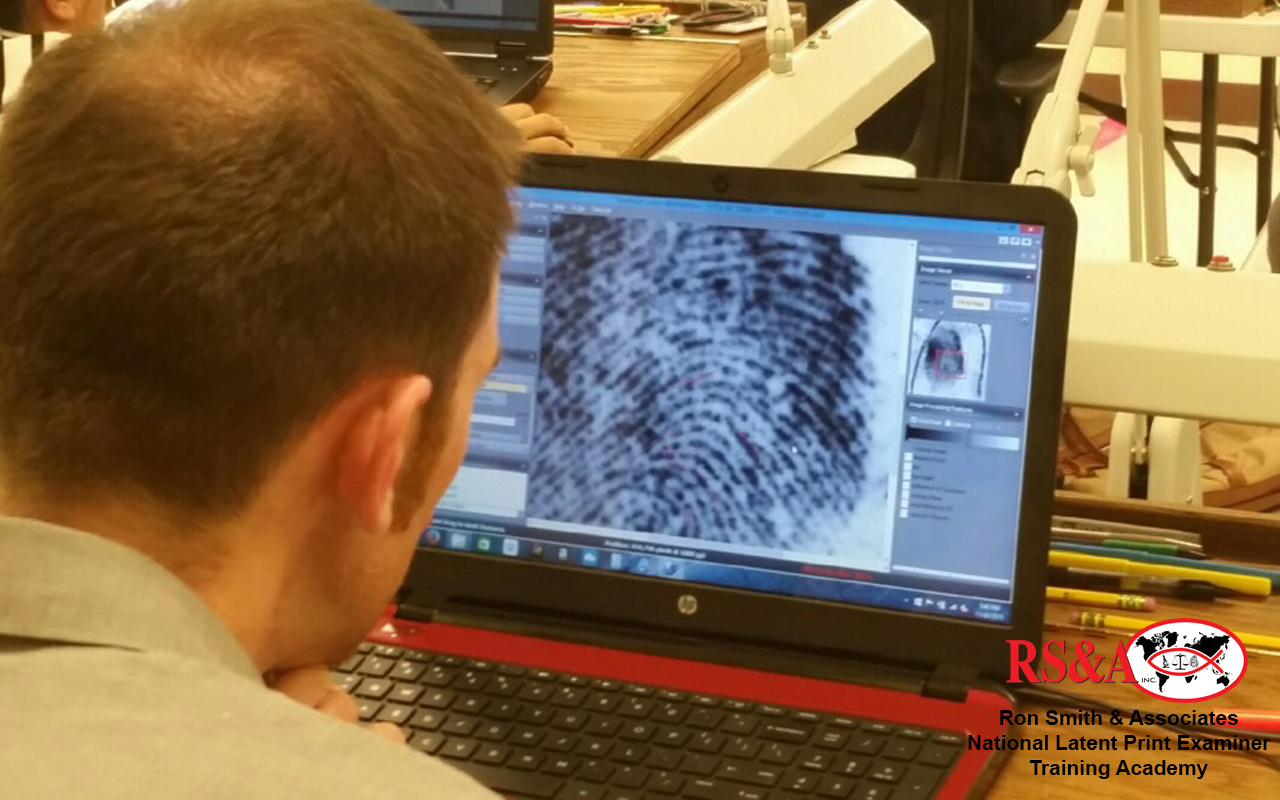
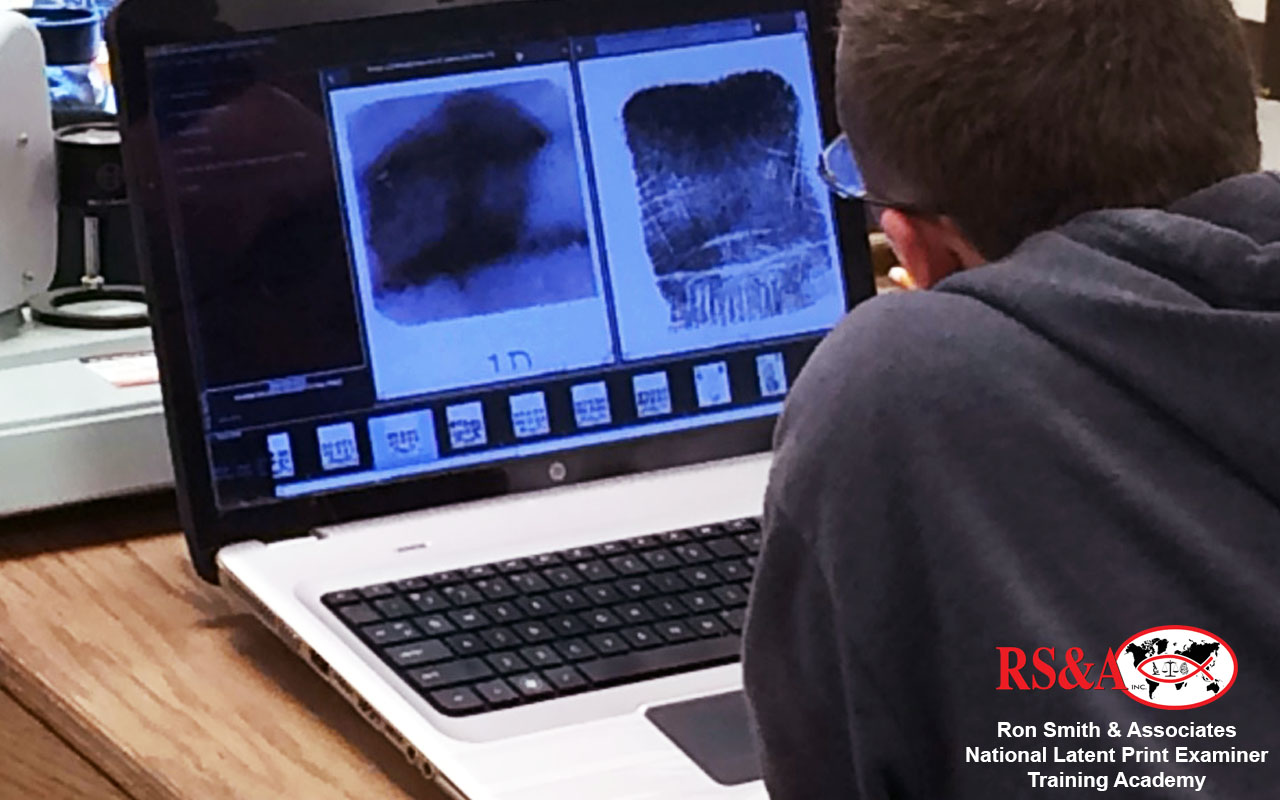
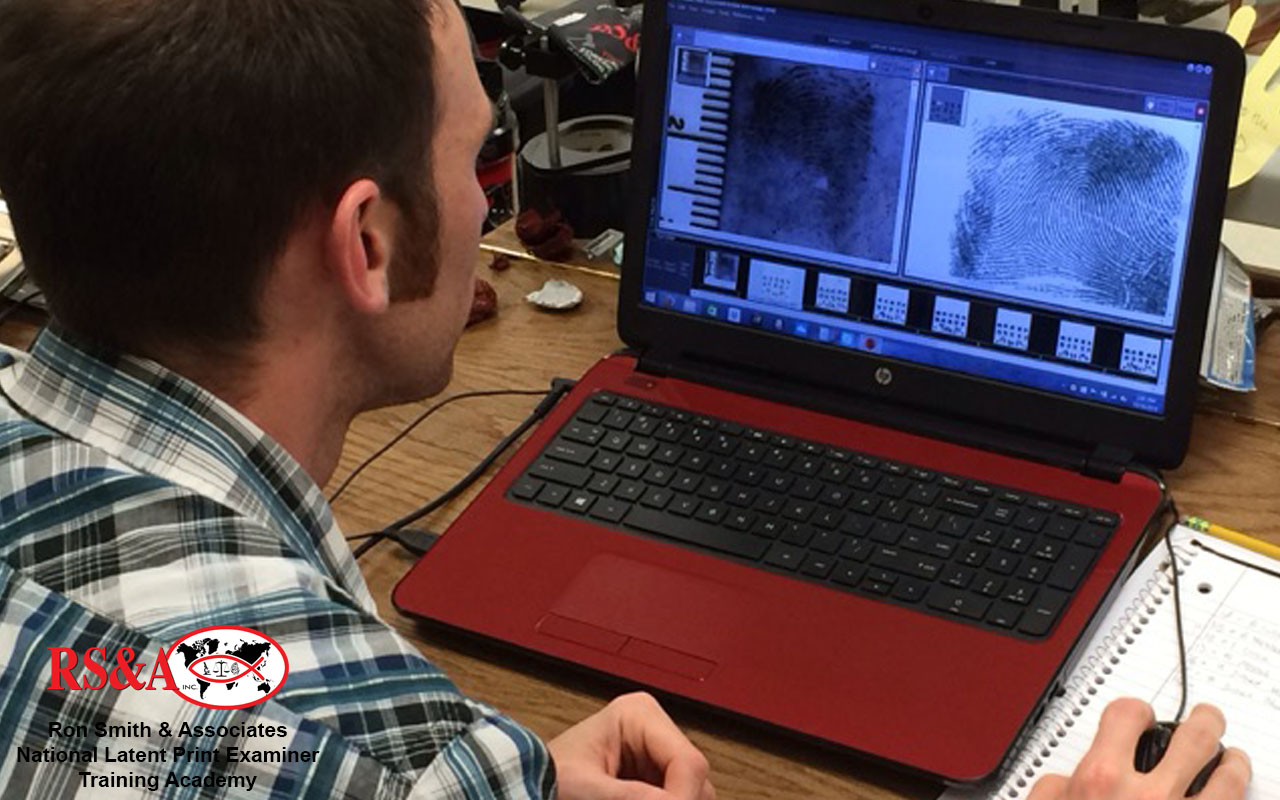
Week 8 focused on automation and how it affects examiners on a daily basis. The students learned about the need for and the history of automation. This included the evolution of livescan and Automated Fingerprint Identification System (AFIS). Multiple AFIS platforms were explored.
Everyone had the opportunity to mark fingerprint minutiae using the Universal Latent Workstation (ULW) software. The students were also able to enter and search latent prints against a robust fingerprint and palm print database using a fully functional AFIS, the AFIX Tracker from AFIX Technologies.
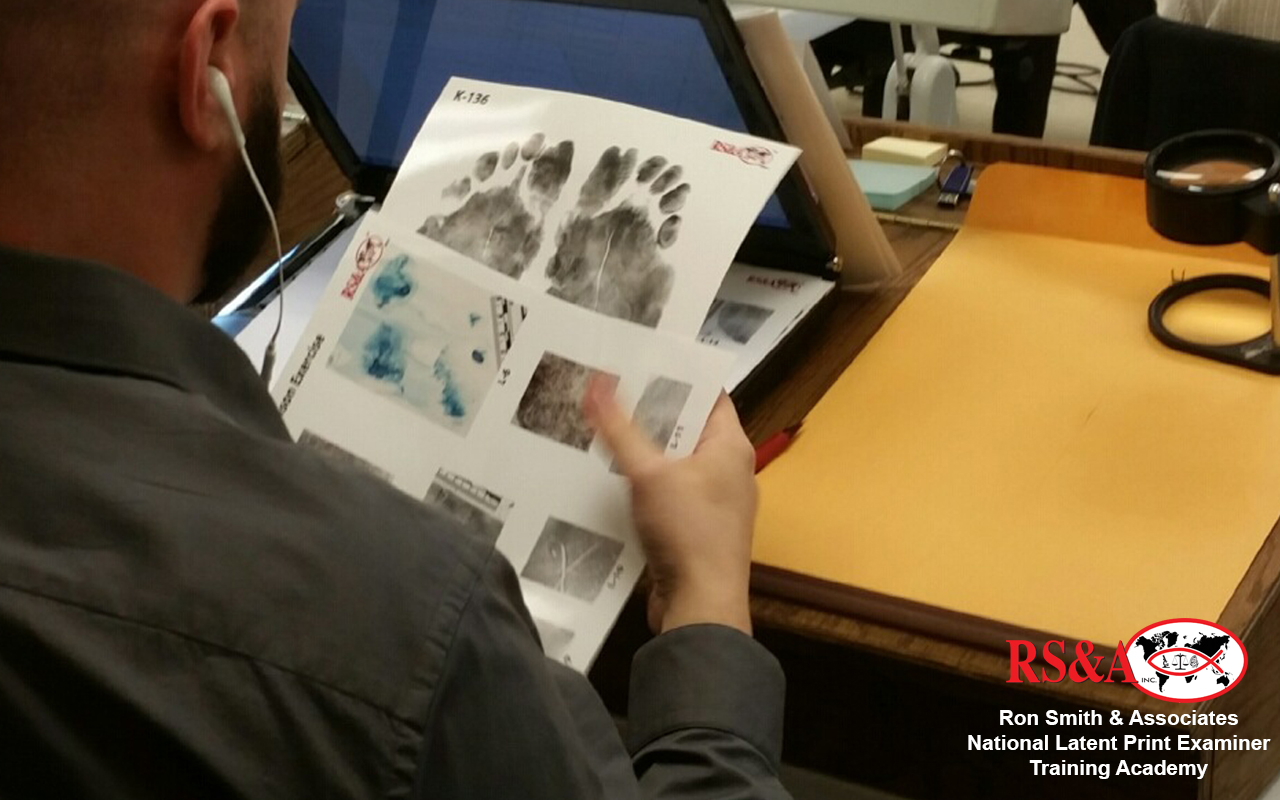
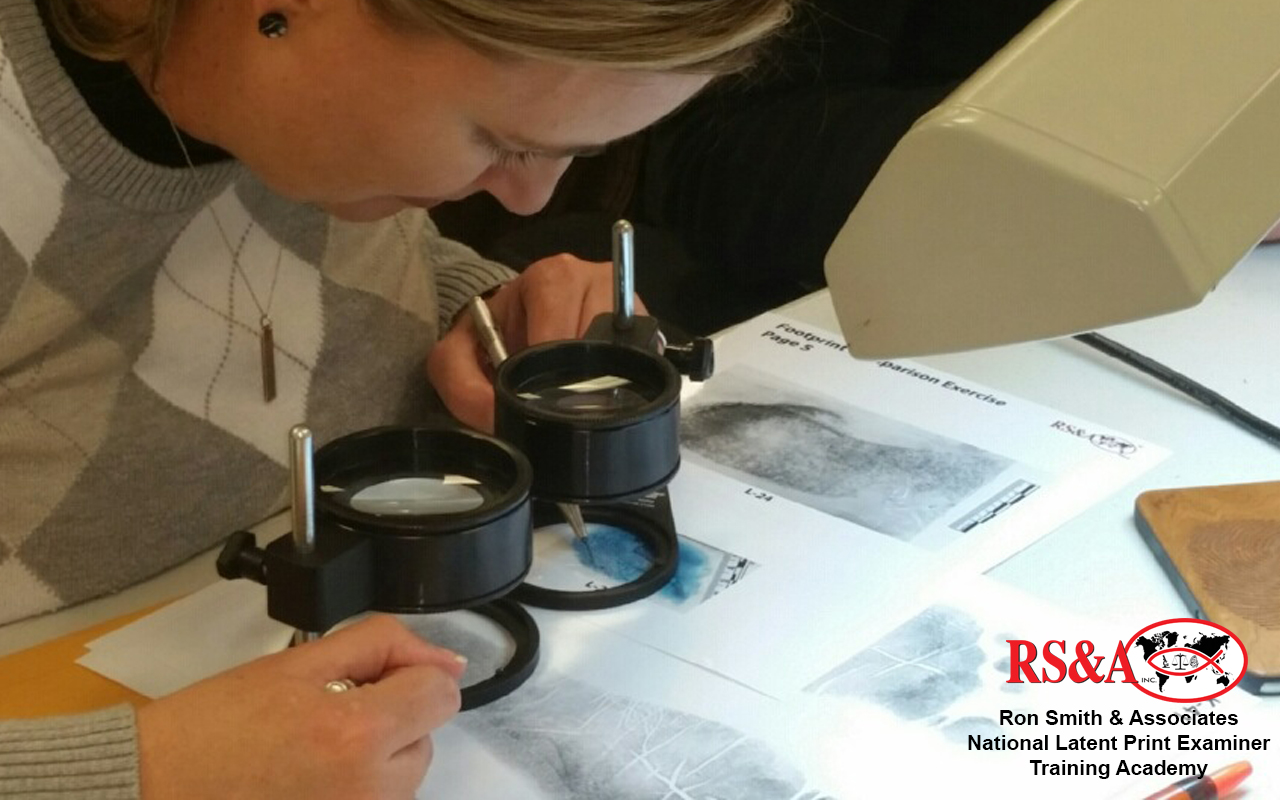
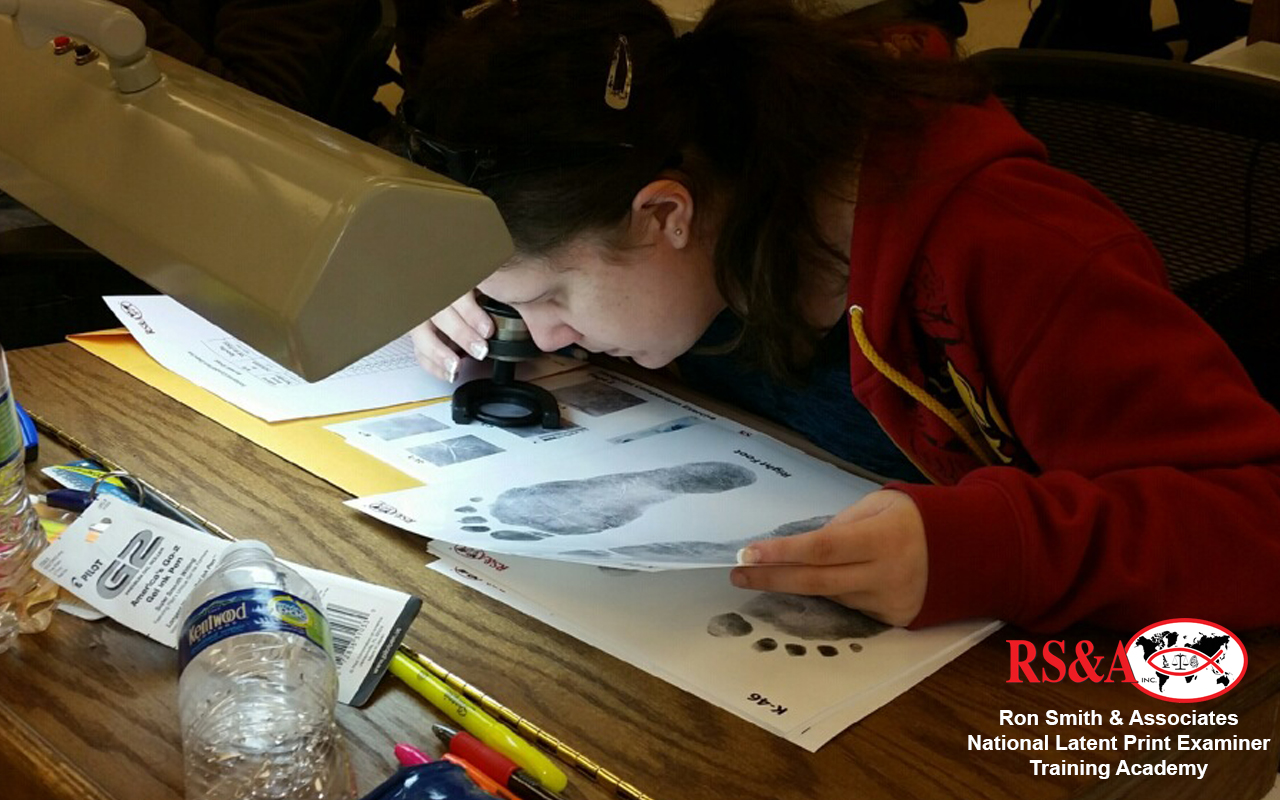
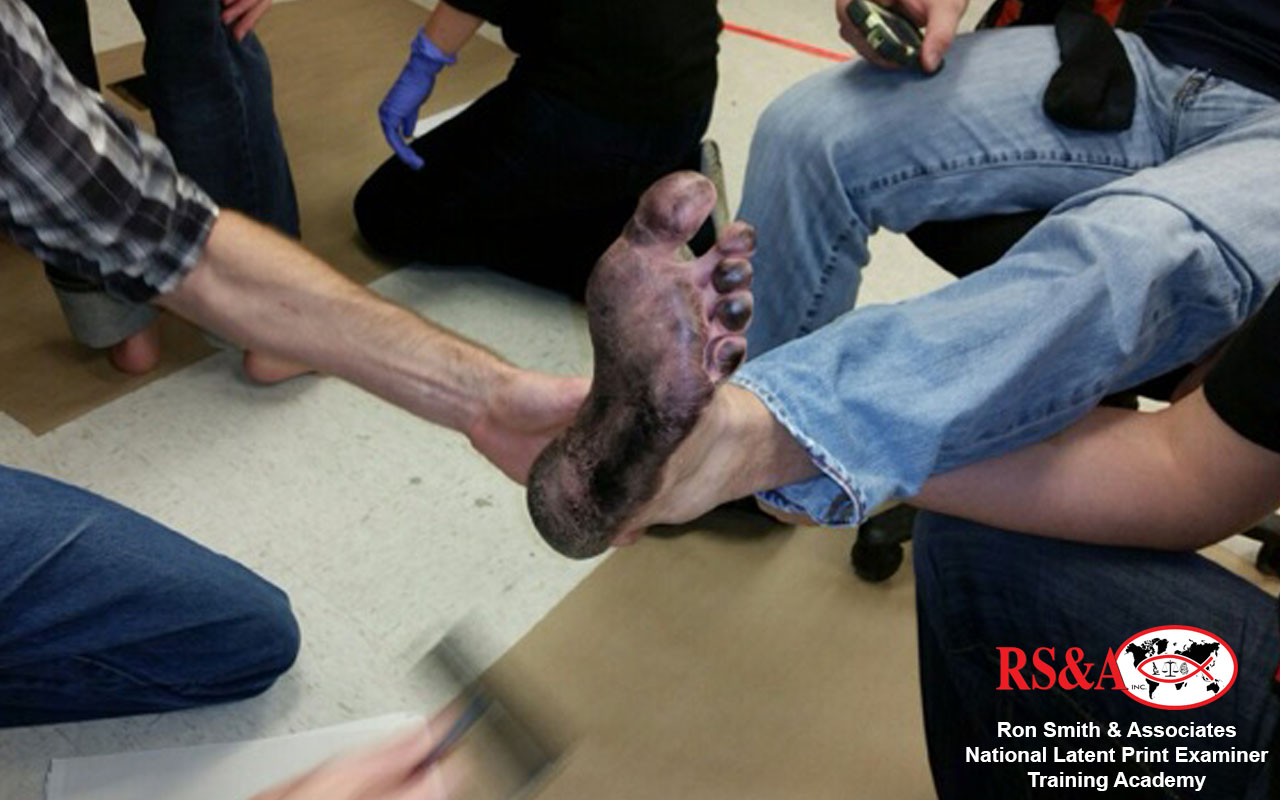
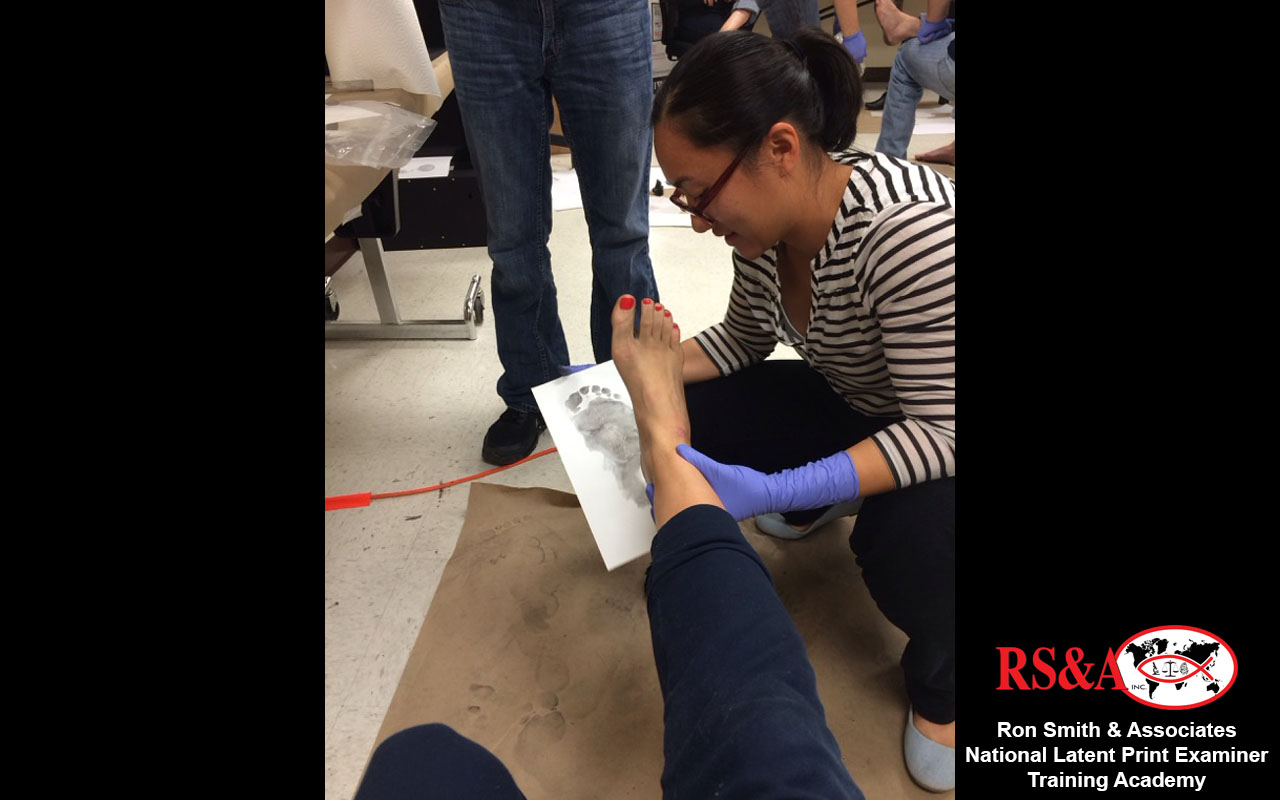
Later in the week, the students learned about the unique ridge flow characteristics of plantar impressions (bare footprints). They were given a comparison exercise consisting of 9 sets of known footprint exemplars and 25 latent prints of varying quality.
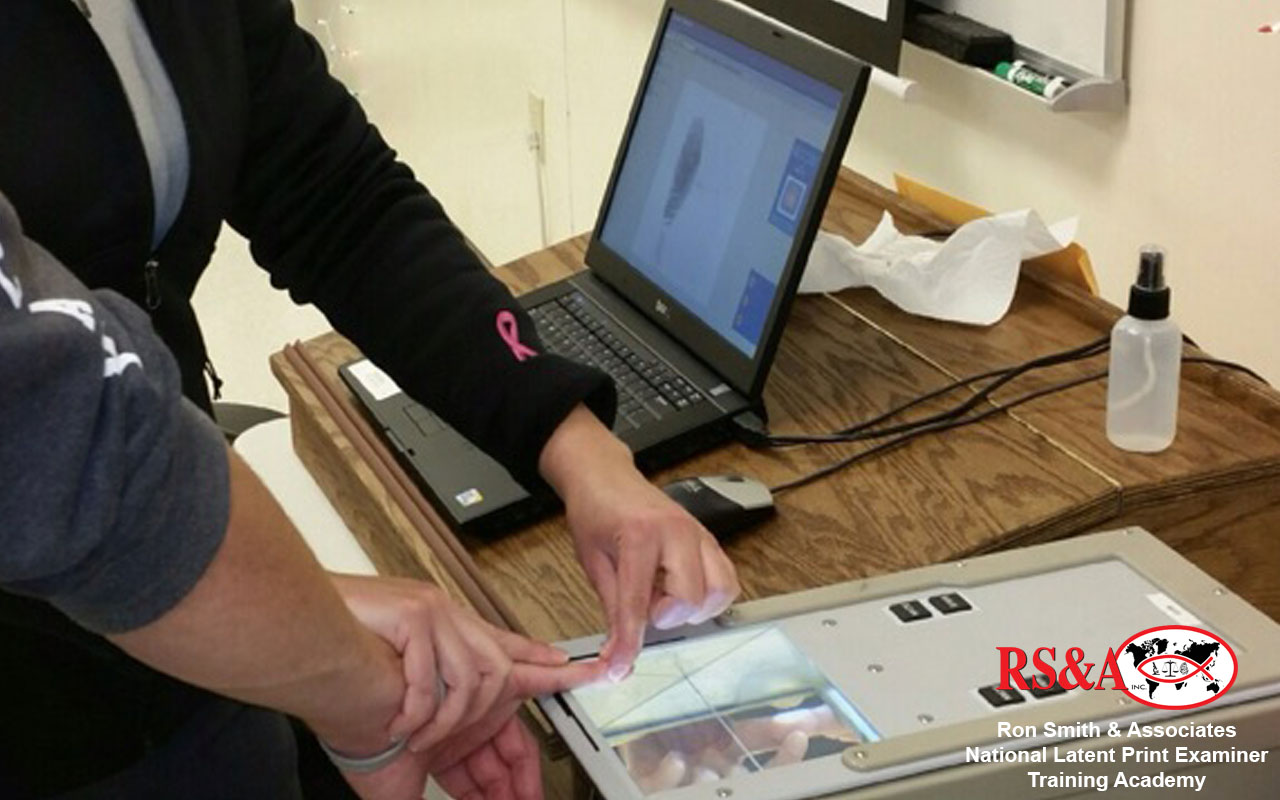
The week concluded with demonstration of livescan technology for capturing and transmitting fingerprints and palm prints.
CLICK A THUMBNAIL IMAGE BELOW TO VIEW A LARGER IMAGE SLIDESHOW
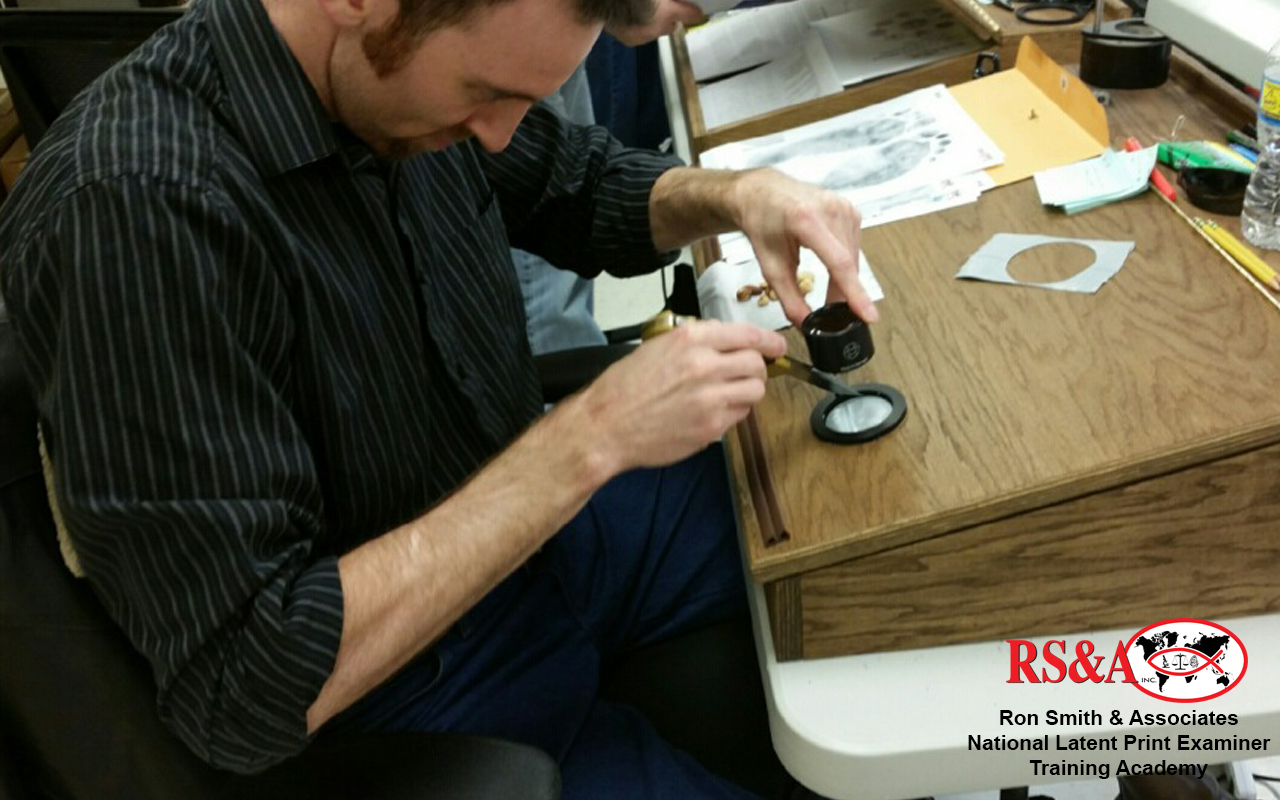
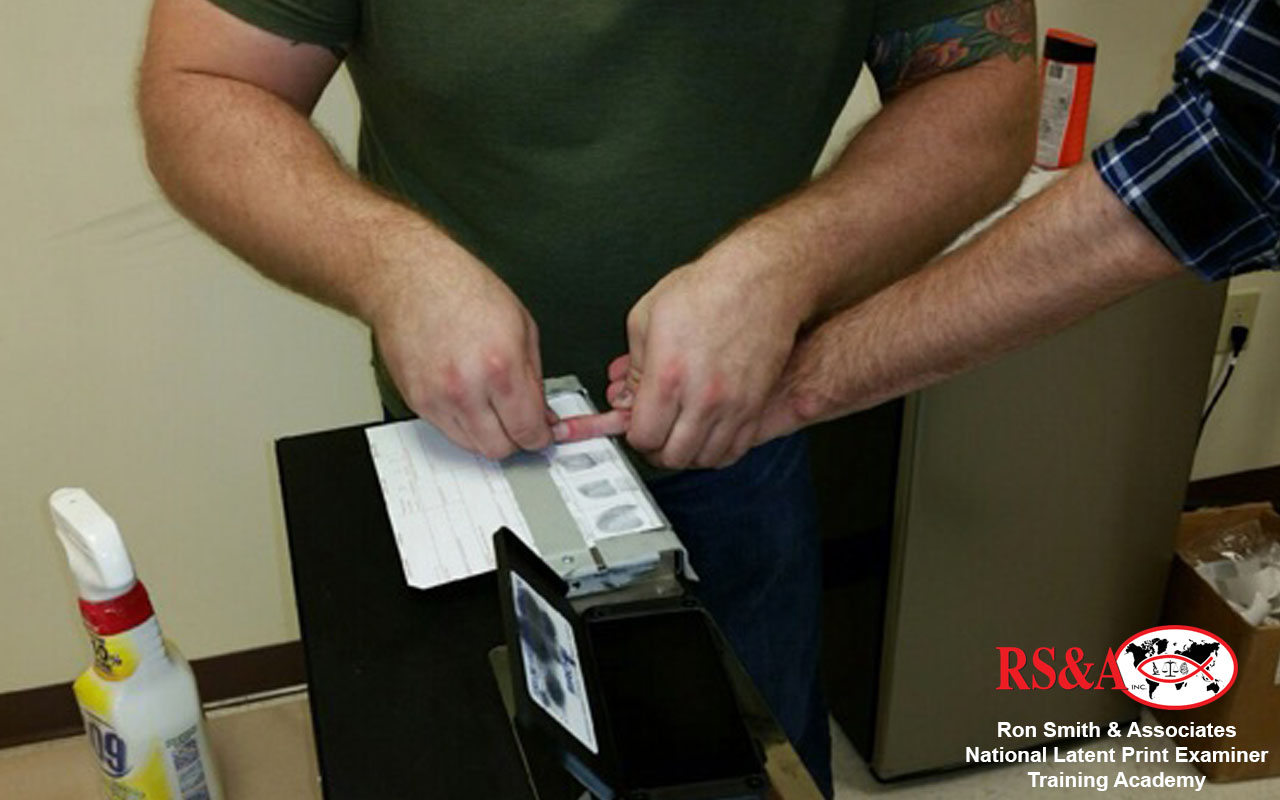
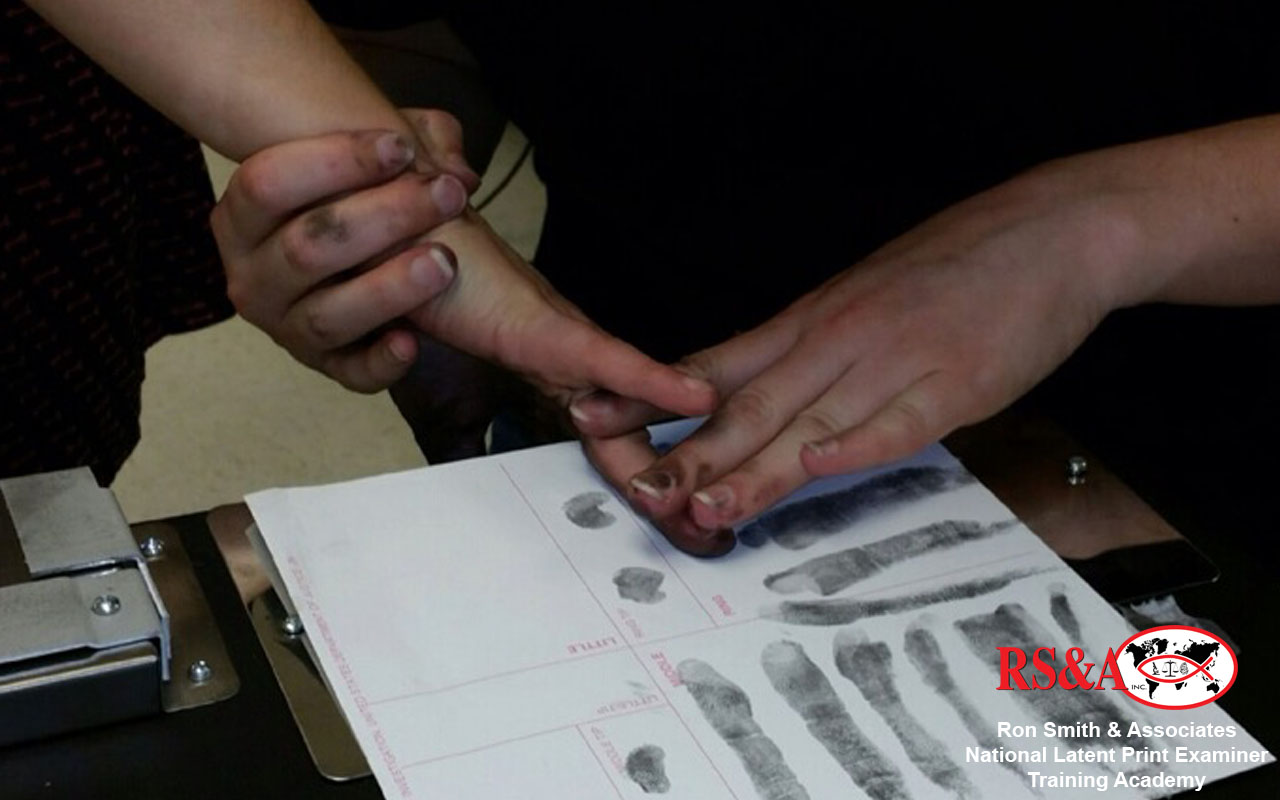
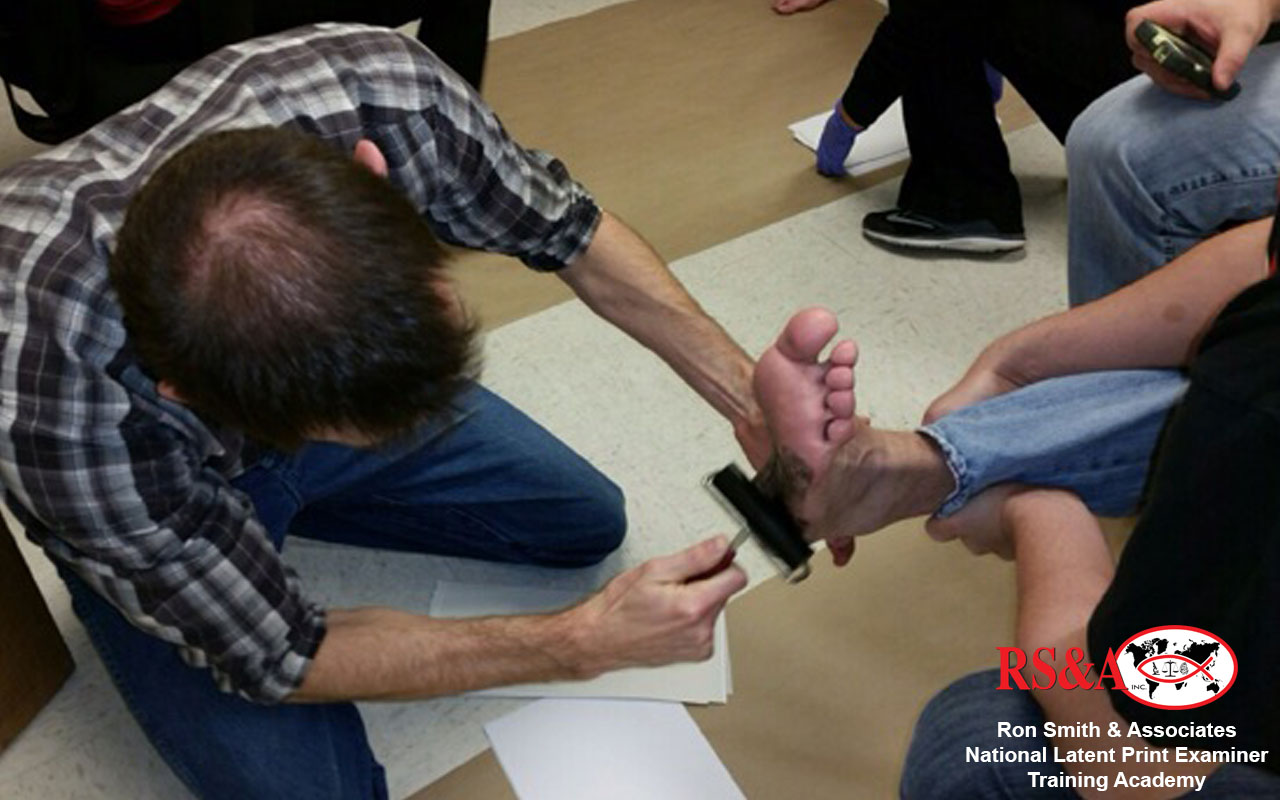
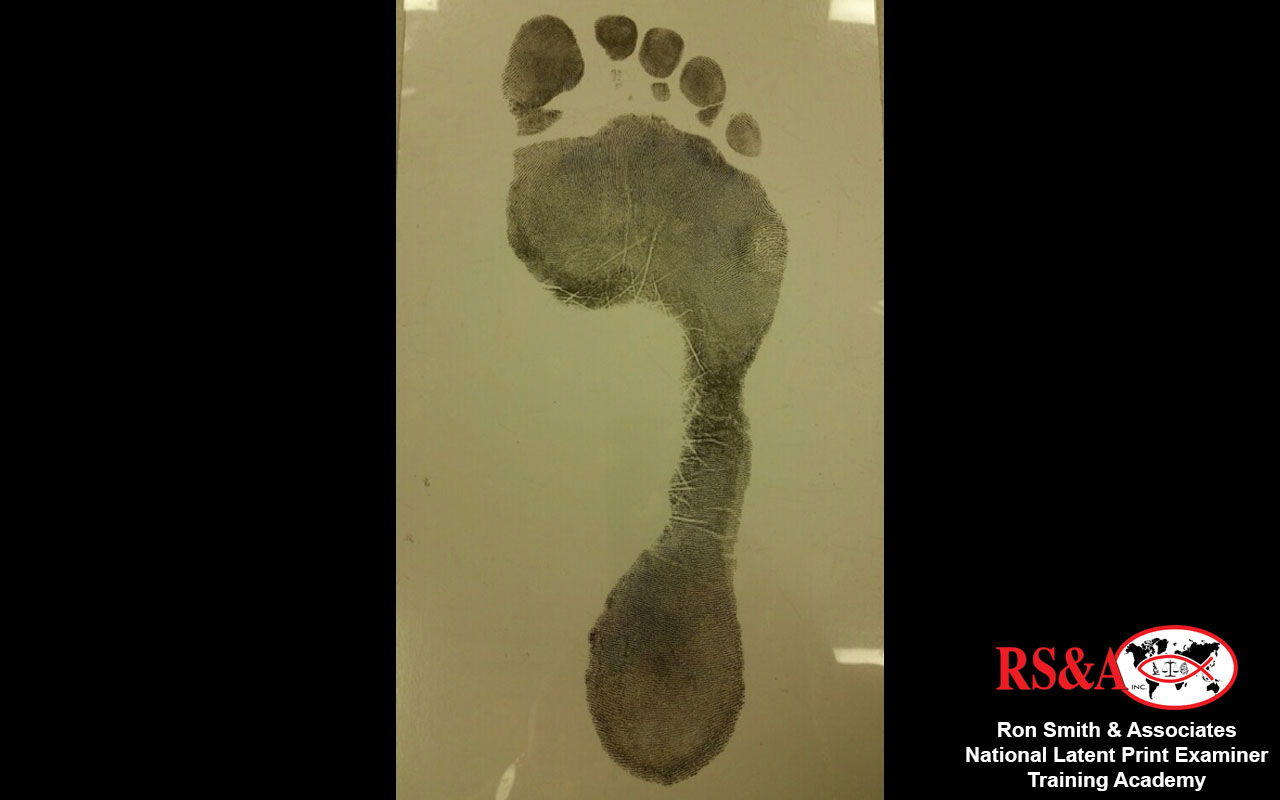
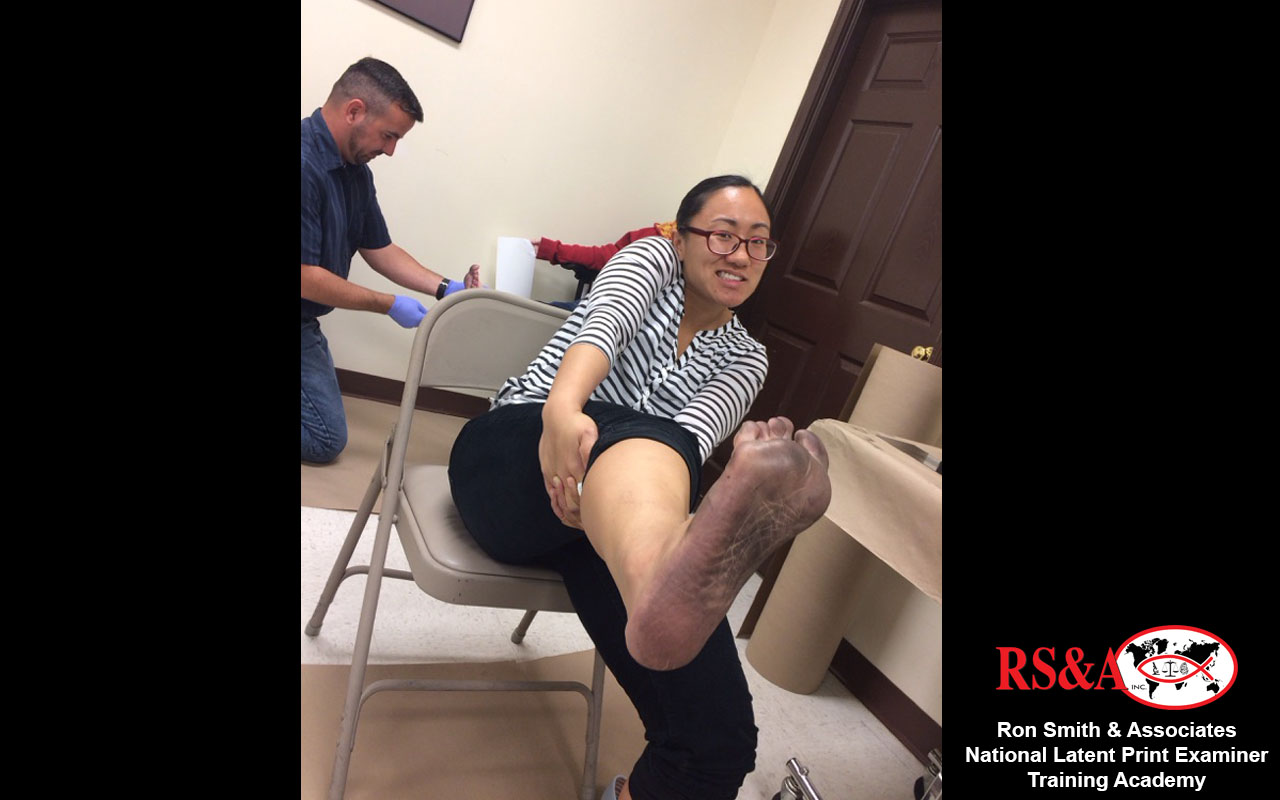
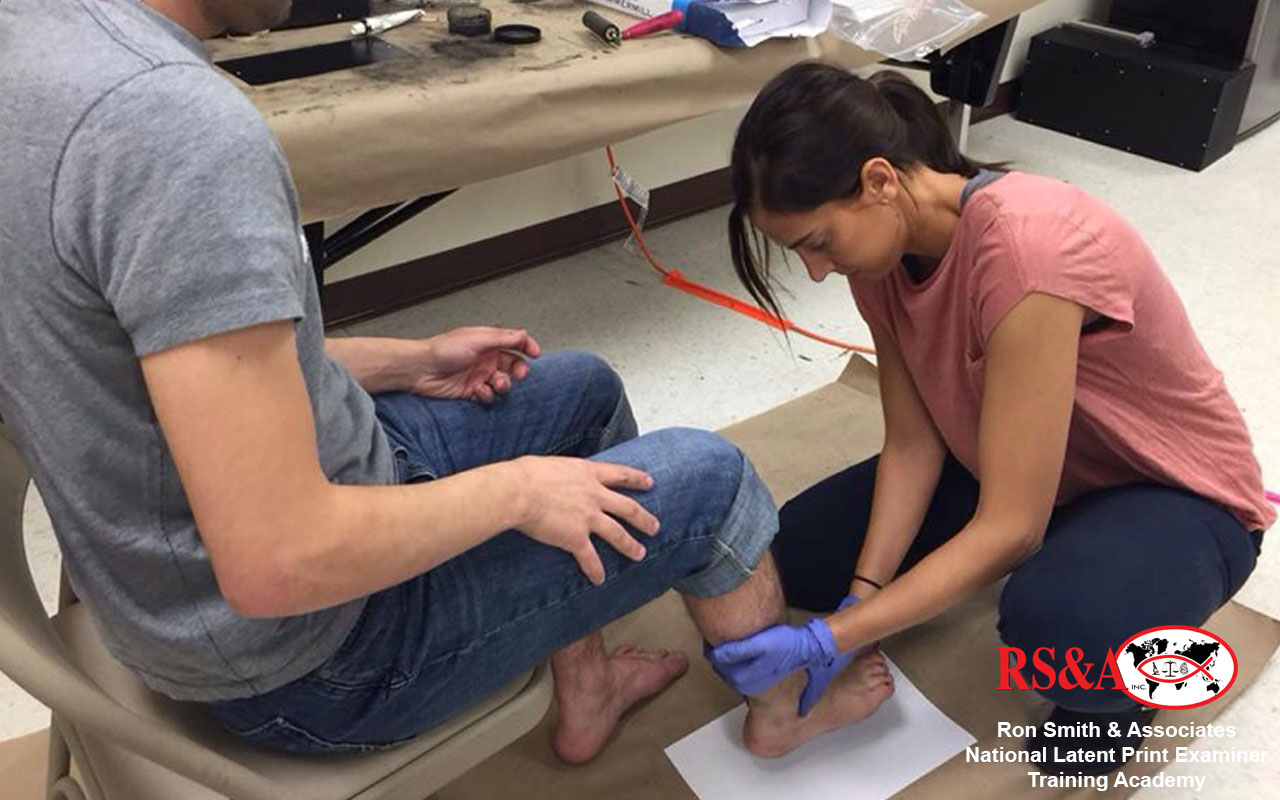
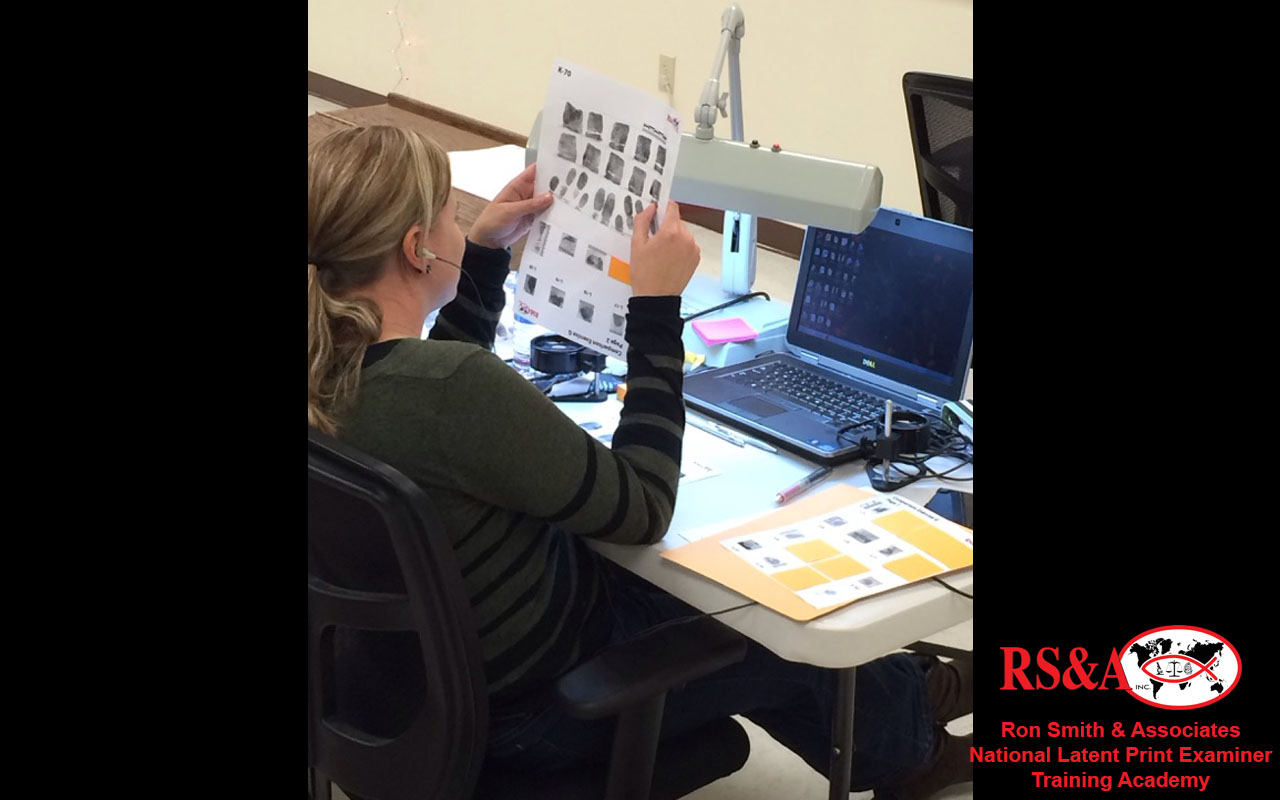
Week 9 focused on the recording of known exemplars for use in latent print comparisons. During the first part of the week, the class focused on collecting known exemplars with printer’s ink. The students collected standard fingerprints, palm prints, and Complete Friction Ridge Exemplars (Major Case Prints). The use of alternate ink and chemical methods as well as the use of powders and livescan technology were also explored.
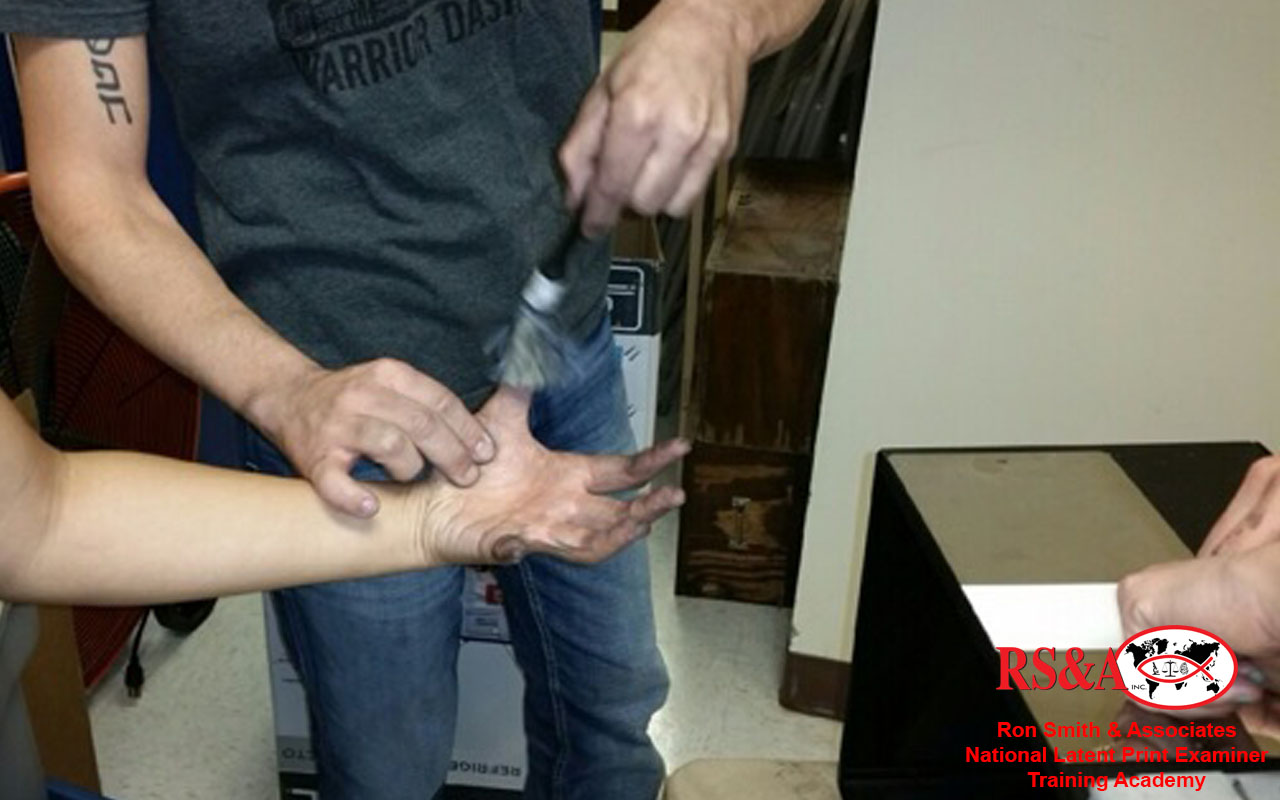
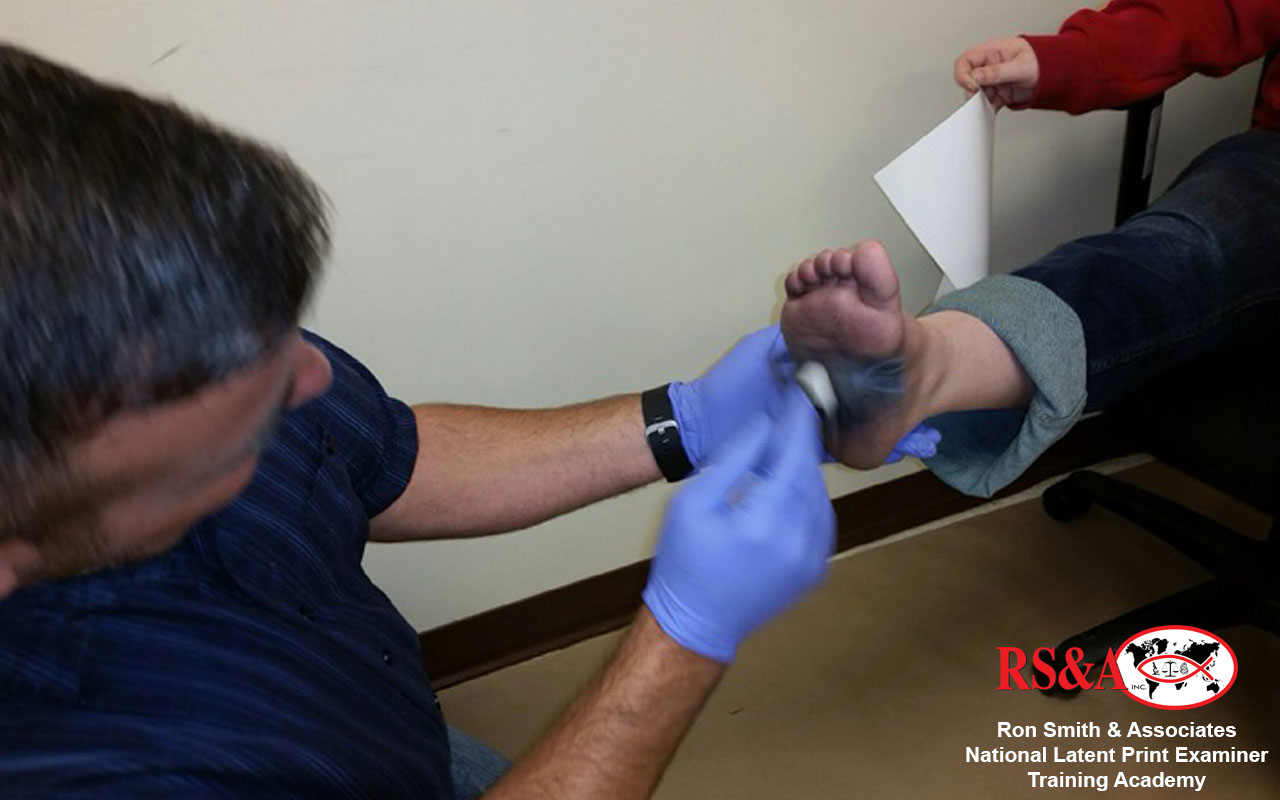
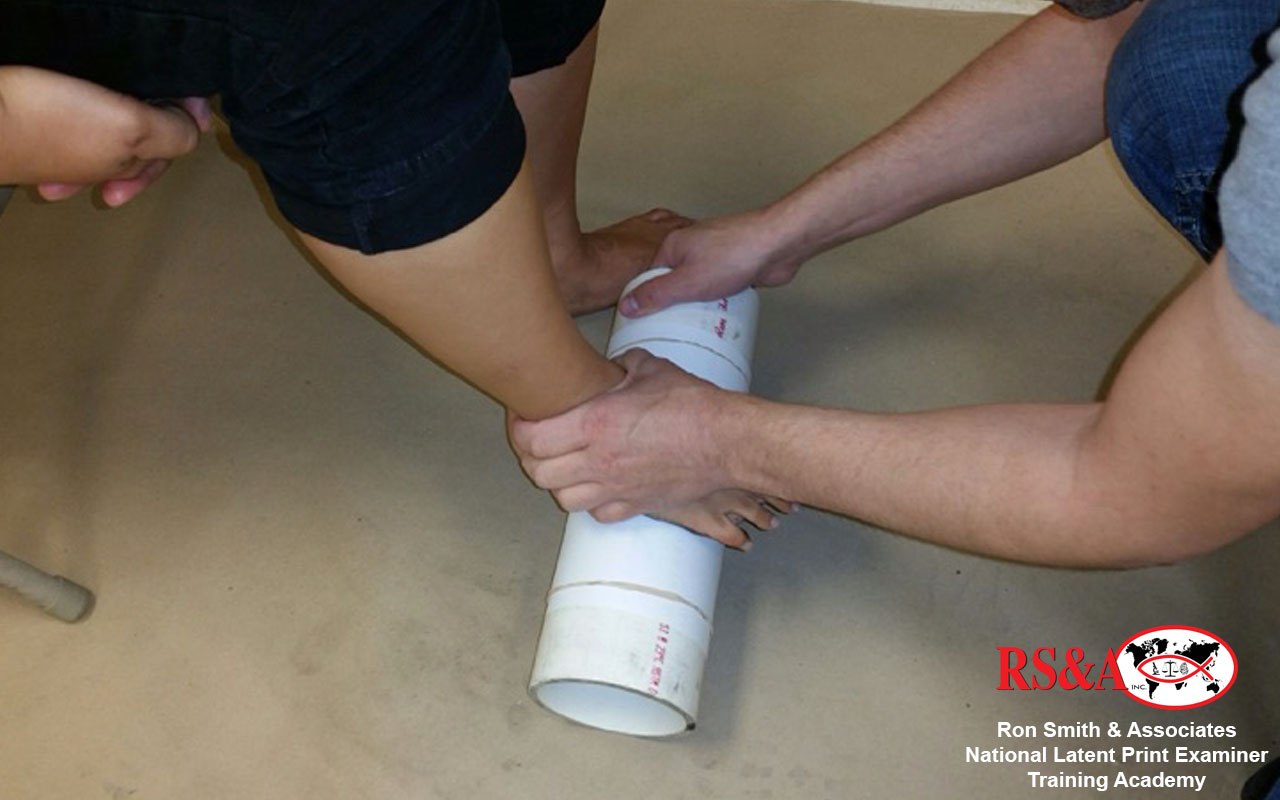
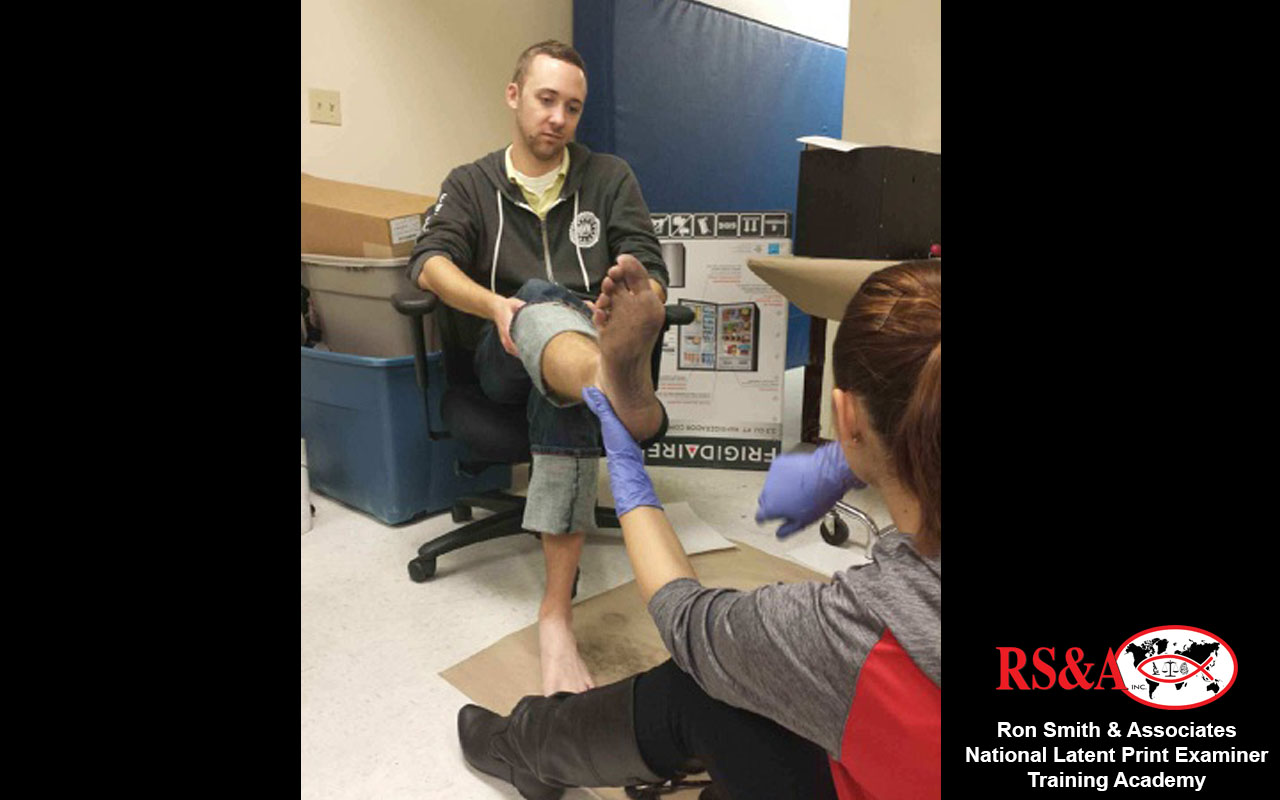
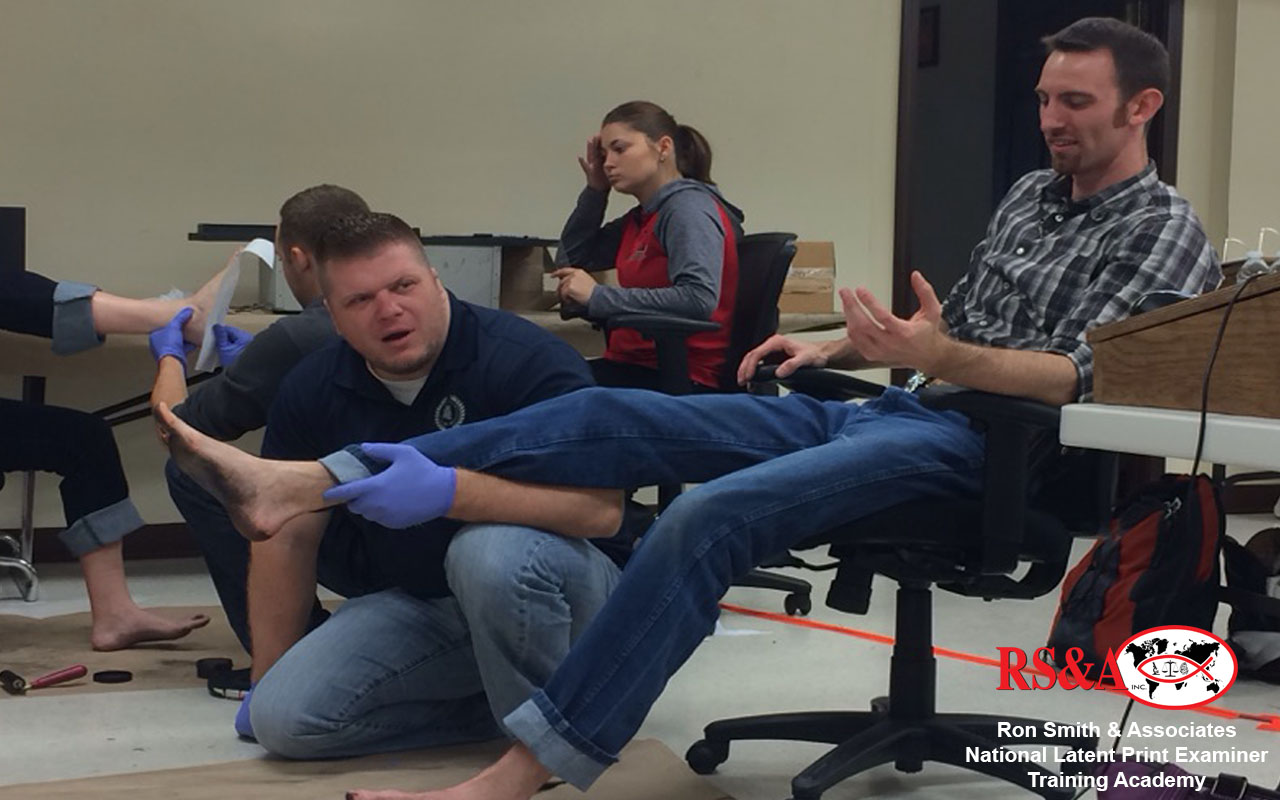
Later in the week, the students had the opportunity to collect known footprint (plantar) exemplars using several different inking and powder methods. The students also took a close look at the patterns of the plantar surface and the distributions of those patterns as covered during week 8.
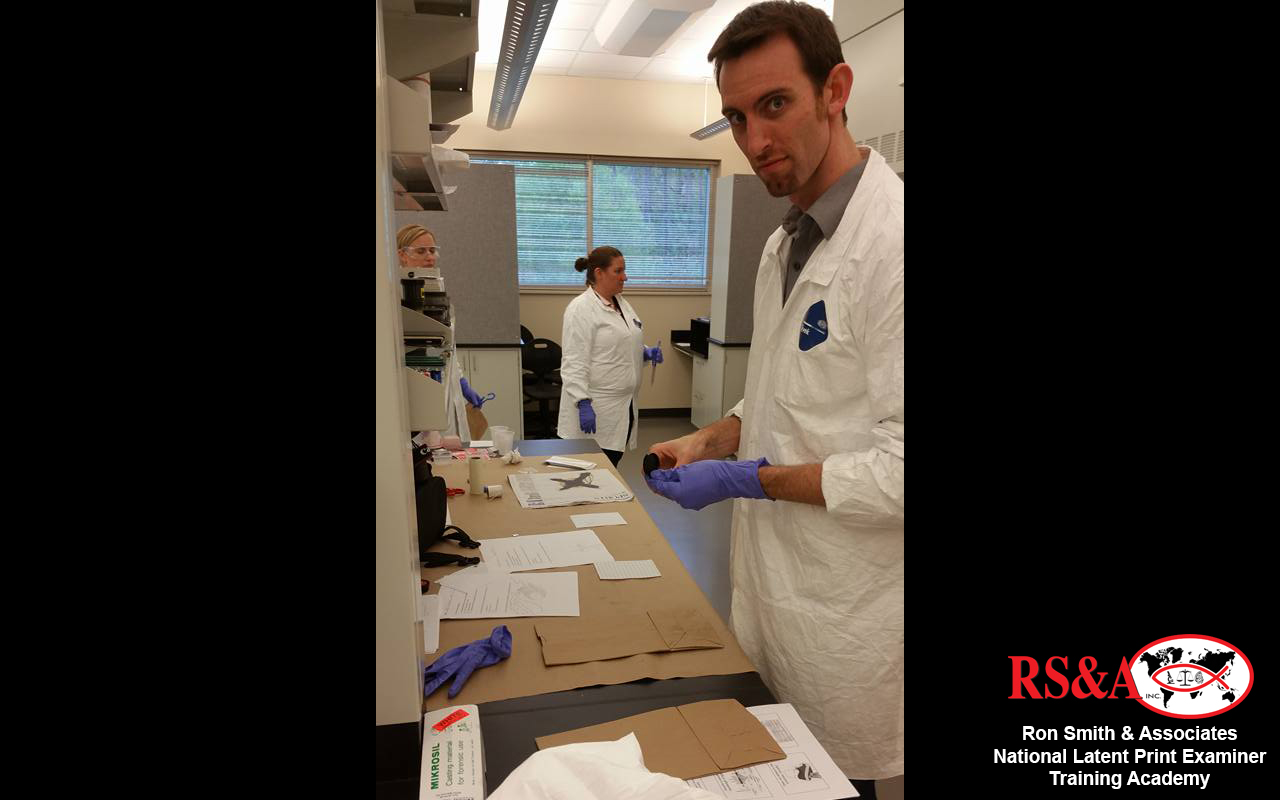
The week concluded with an in depth discussion and practical exercises on obtaining postmortem exemplars under various conditions. The students practiced using postmortem spoons as well as other methods such as Mikrosil and powder.
CLICK A THUMBNAIL IMAGE BELOW TO VIEW A LARGER IMAGE SLIDESHOW
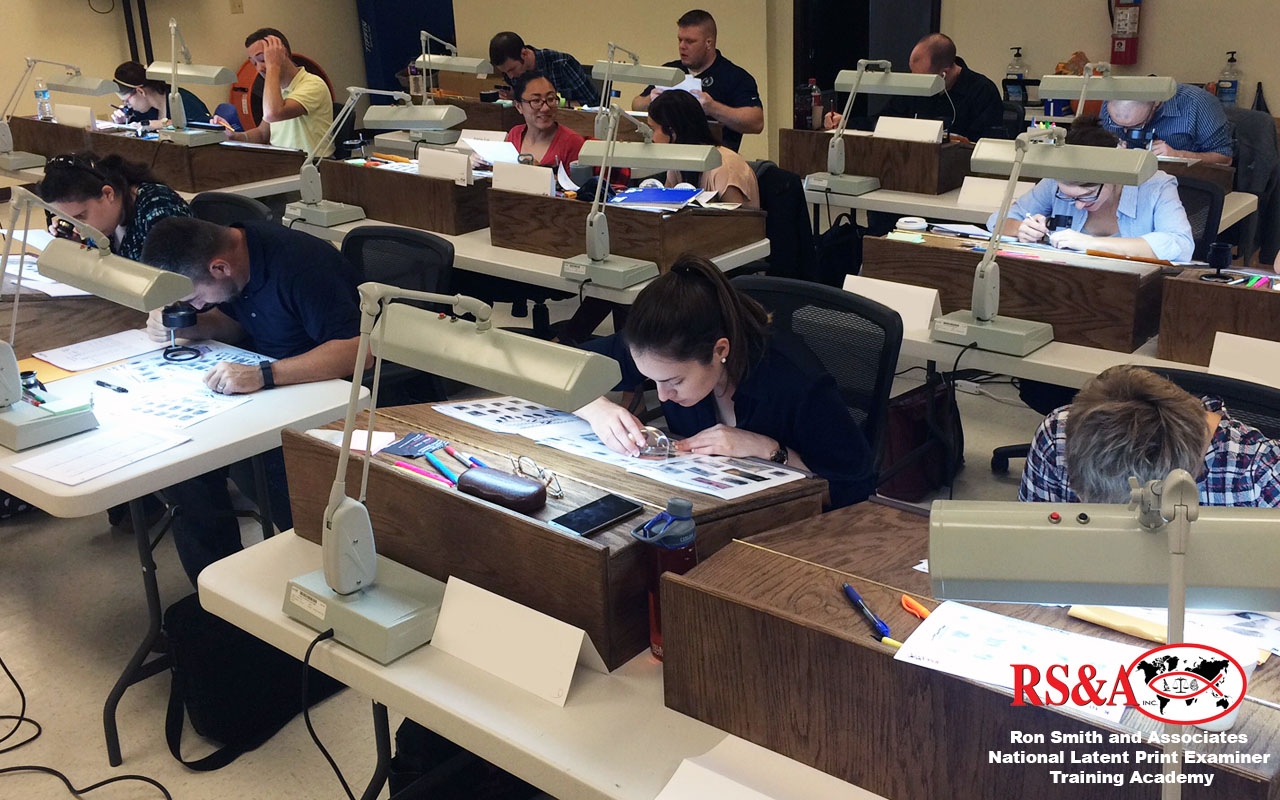
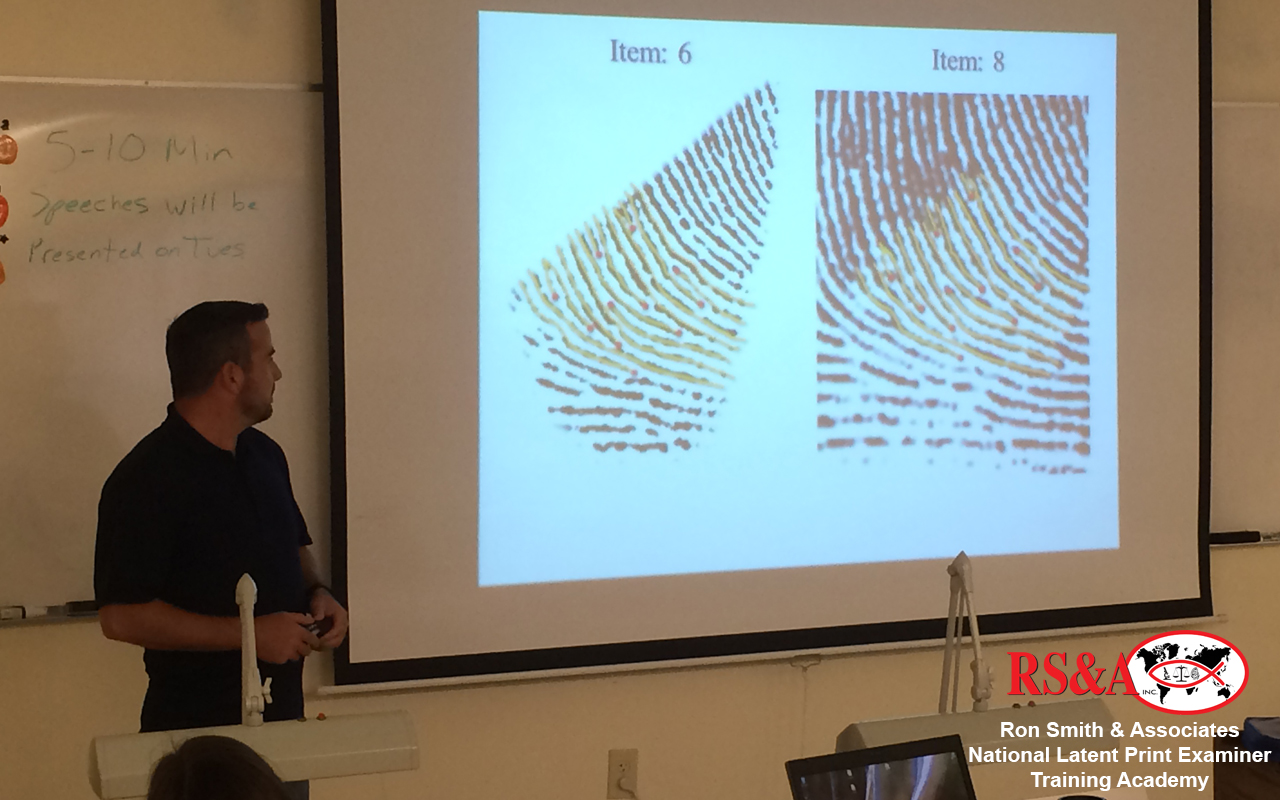
This was a week dedicated to increasing the abilities of the students in their comparisons and evaluations. We significantly increased the difficulty of the in-class comparison exercises. We broke away from traditional training exercises, and worked through comparisons from casework to give the students a good idea of the level of difficulty they can expect while working in a laboratory.
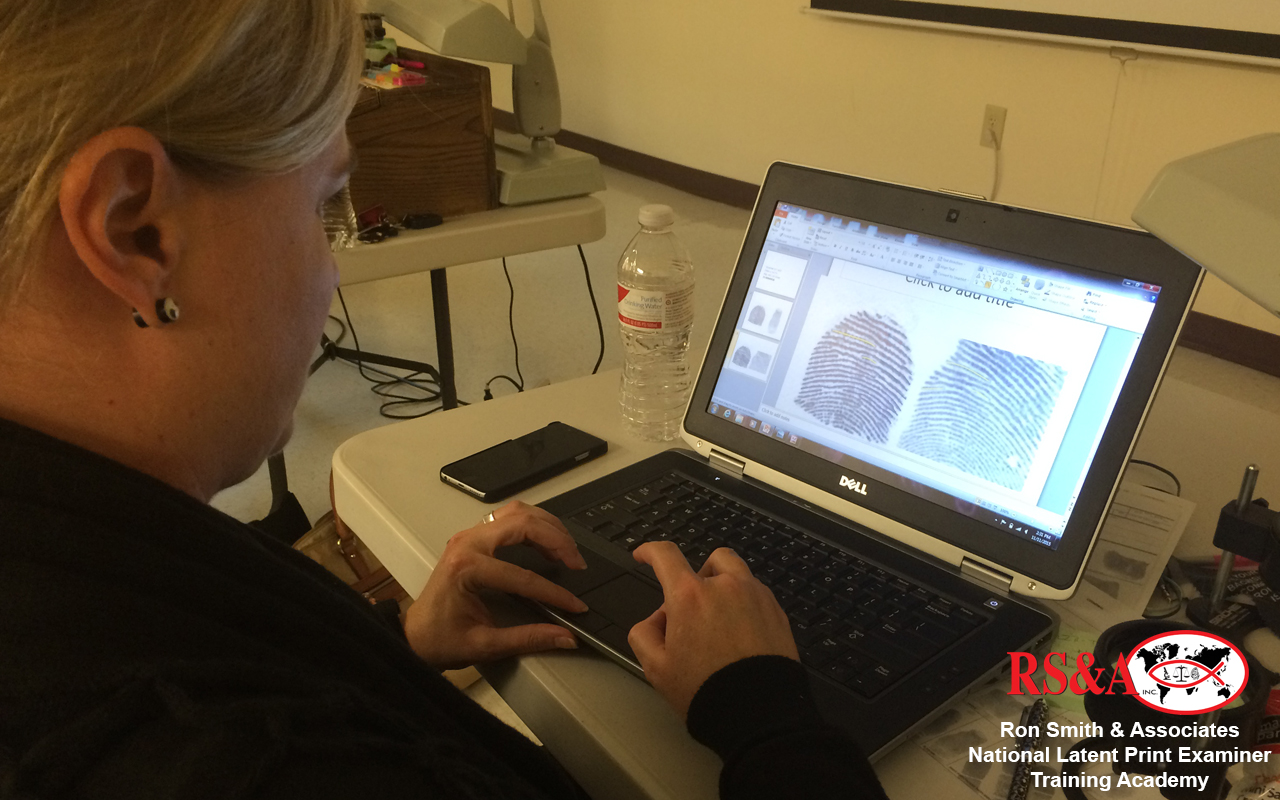
The students were given their first introduction to on-screen comparisons, and worked on-screen for the majority of the week. We worked through in-class exercises on orientation. We then stepped up the level of difficulty on value determinations of latent prints. The students were guided through correct and incorrect answers on value/ no value.
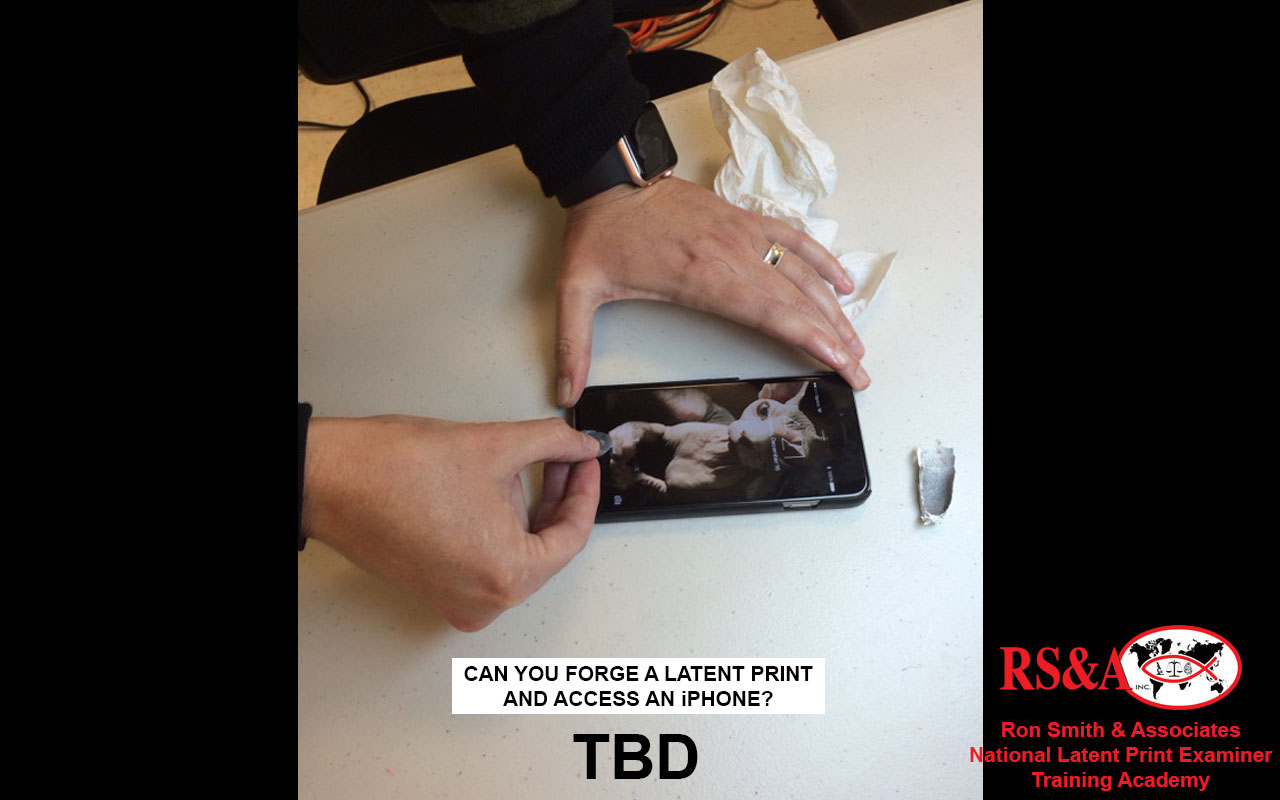
This week hit hard on exclusions. Exercise after exercise, the students were given exclusions and then later the corresponding ID’s. They were pushed to find observable differences prior to rendering an exclusion decision. Then if harder prints, on-screen comparisons, orientation exercises, value determinations of borderline prints, and exclusions were not enough, the students were given level 3 detail comparisons with multiple exercises for pores, edges of ridges, and incipient ridges. The comparisons were broken up this week with lectures and exercises on forged and fabricated latent prints. Matt issued a challenge to buy Starbucks for all the students if they could forge a print that would unlock his iphone. We’re just grateful that the chow hall serves coffee.
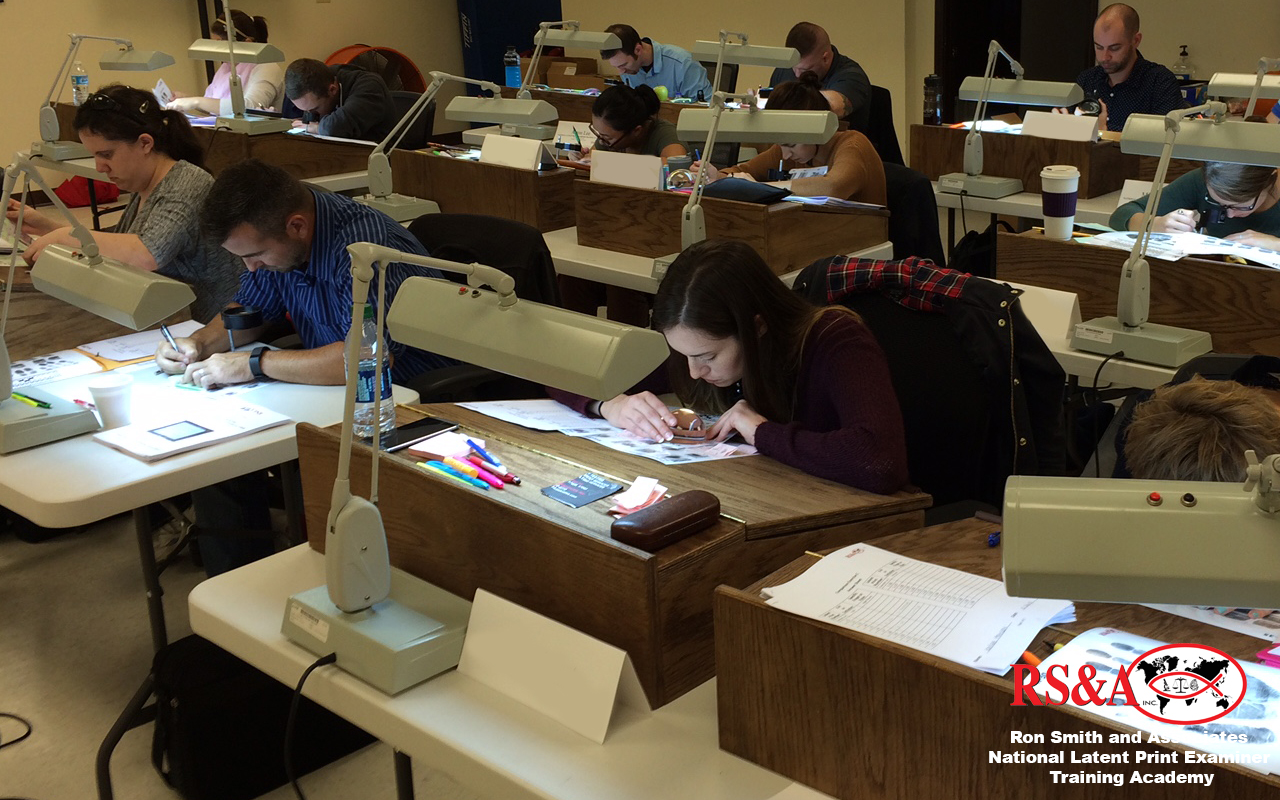
CLICK A THUMBNAIL IMAGE BELOW TO VIEW A LARGER IMAGE SLIDESHOW
This was a short week prior to their Christmas furlough. The focus these three days was on bringing the students up to speed on general issues regarding courtroom testimony. These topics included discussions about the courtroom and witness room environment, courtroom procedures, understanding the courtroom itself, and how to move and function within the courtroom. How to understand direct examination and how to handle evidence prior to and after admission were also covered. A significant portion of the class was spent on understanding the role of judge, prosecutor, defense counsel, and the jury. Students were carefully instructed on how to develop a trusting relationship with the jury as part of their duties as a witness.
Multiple examples of defense strategies and methods of cross examination were demonstrated for the class as well as the methods of handling cross examination in the most professional manner. This class serves as a precursor for the expert witness testimony segment of the academy which comes later on in the schedule.
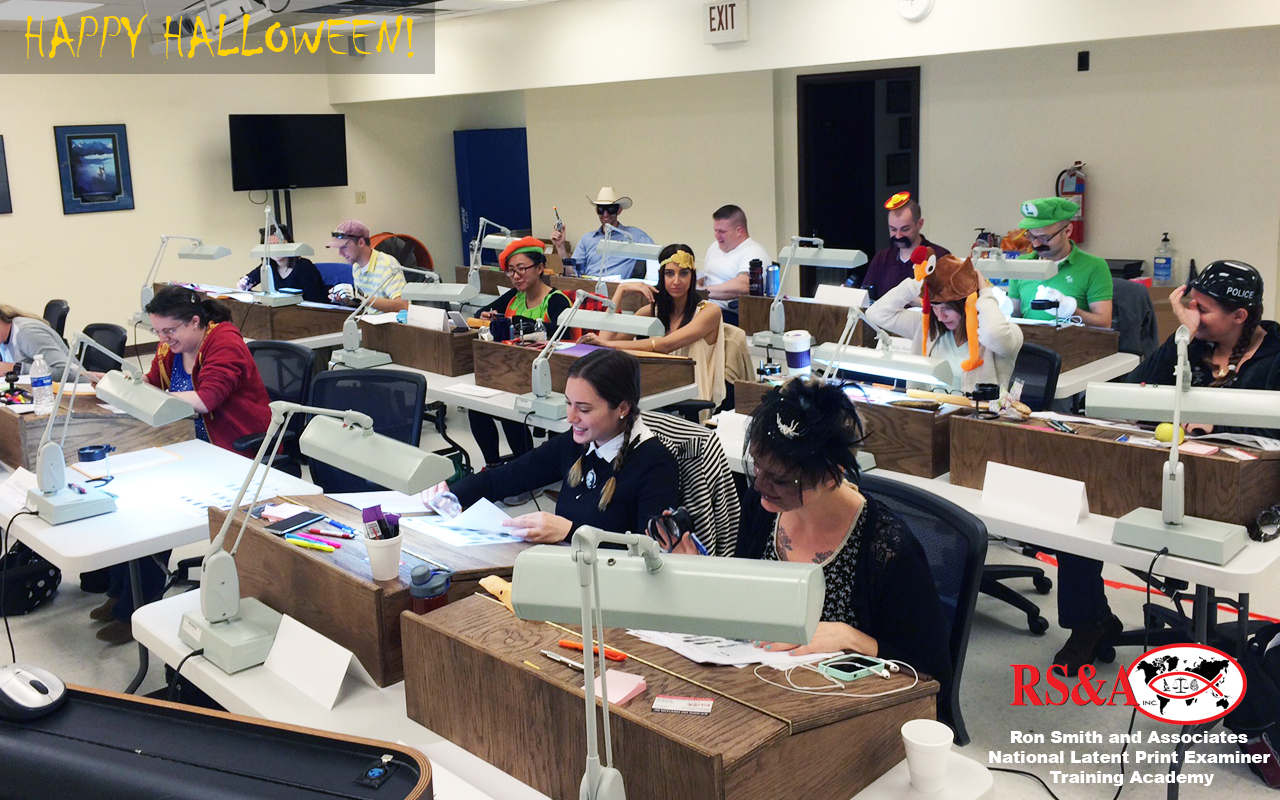
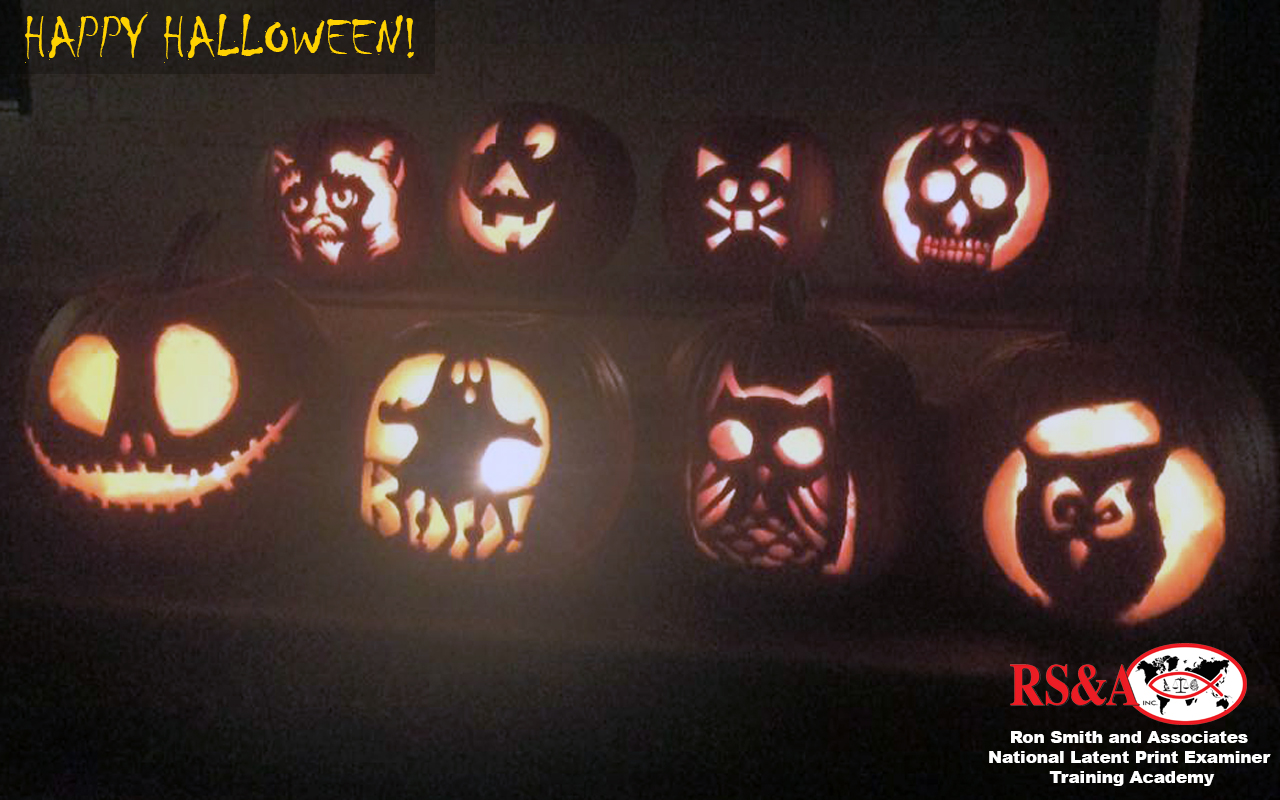
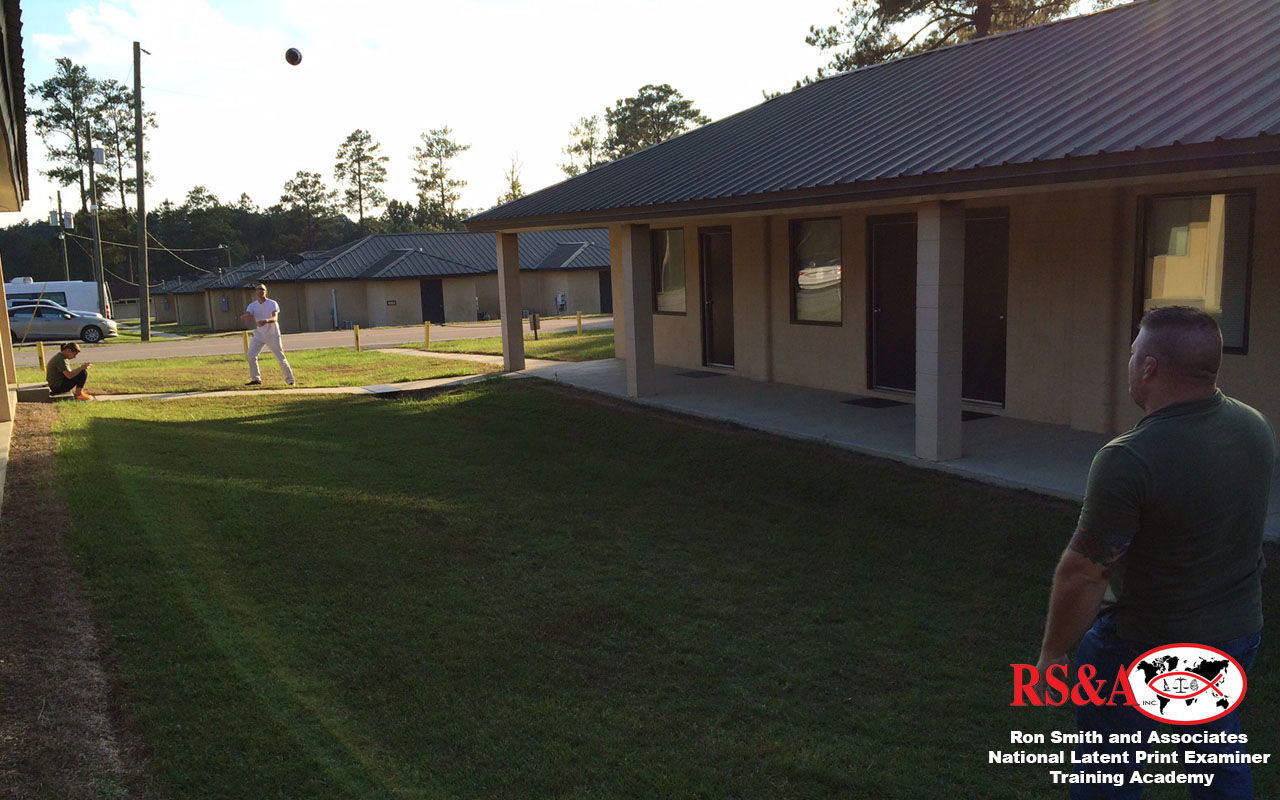
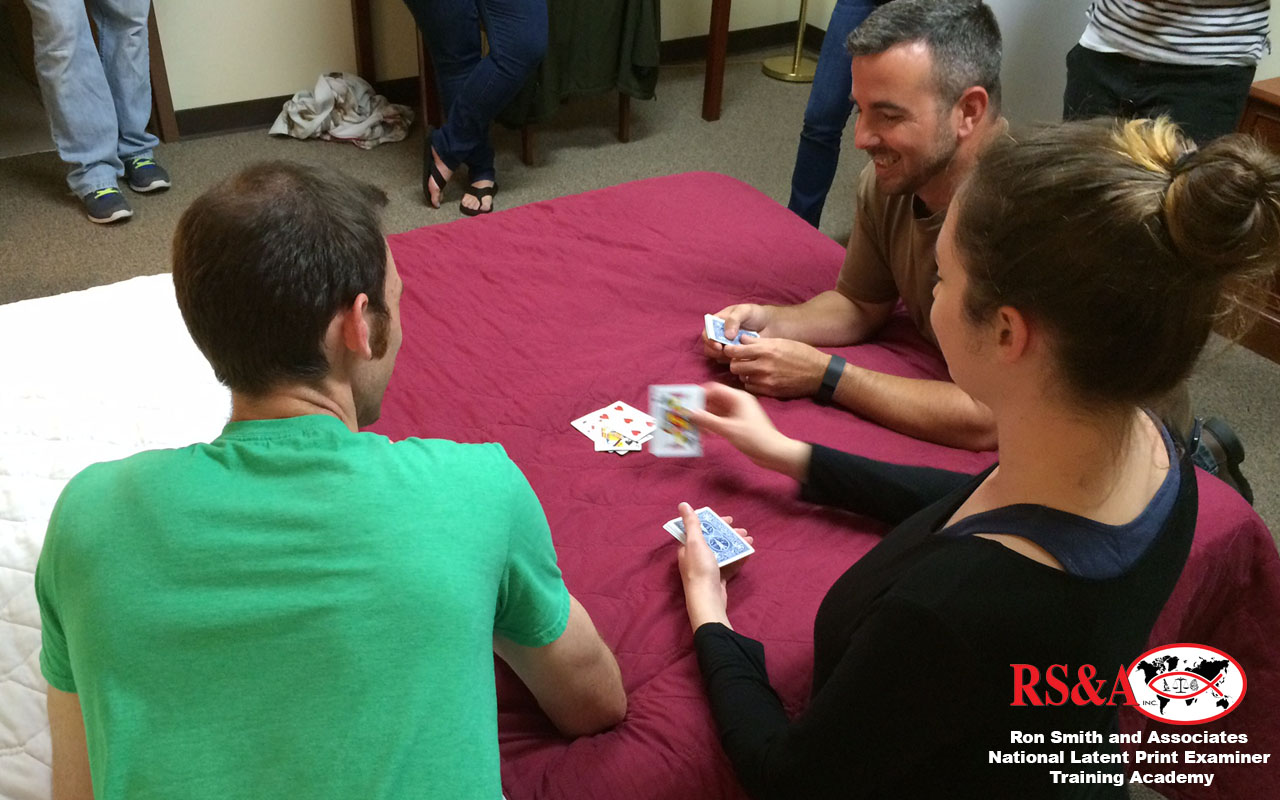
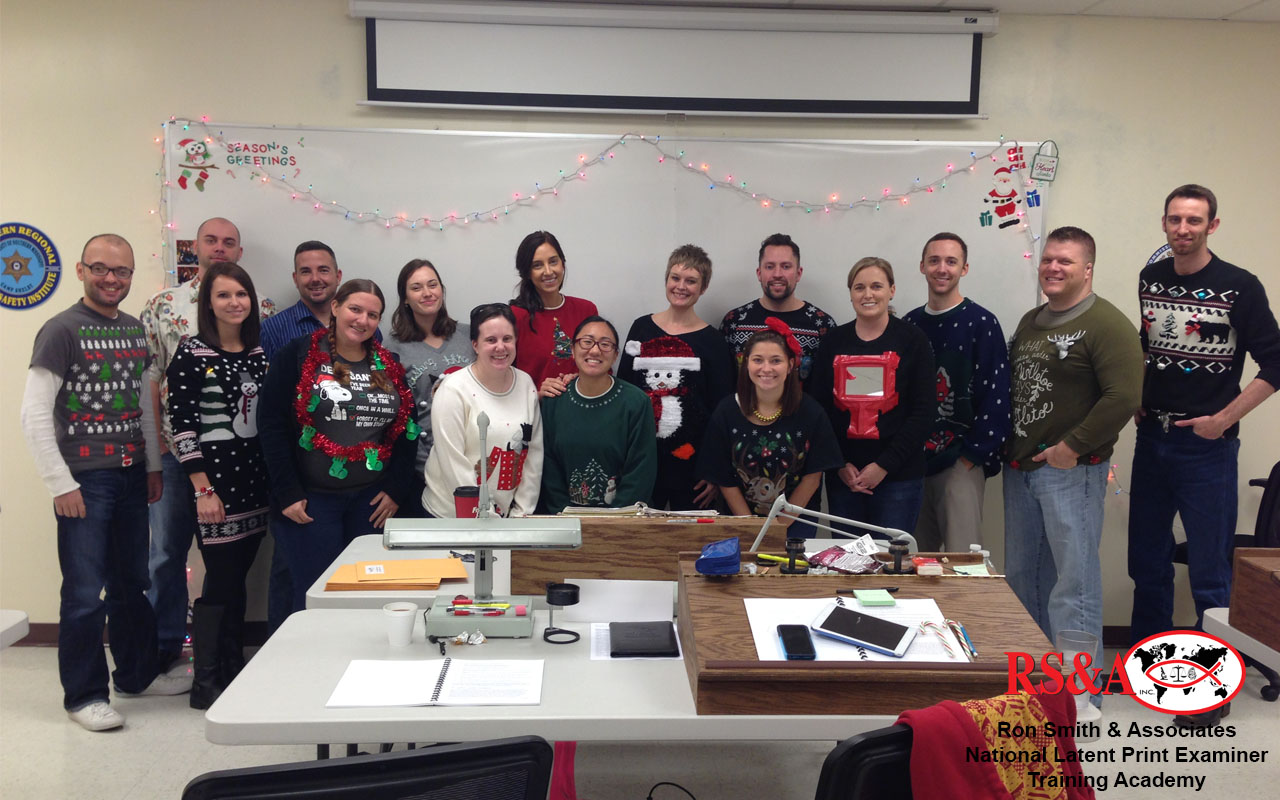
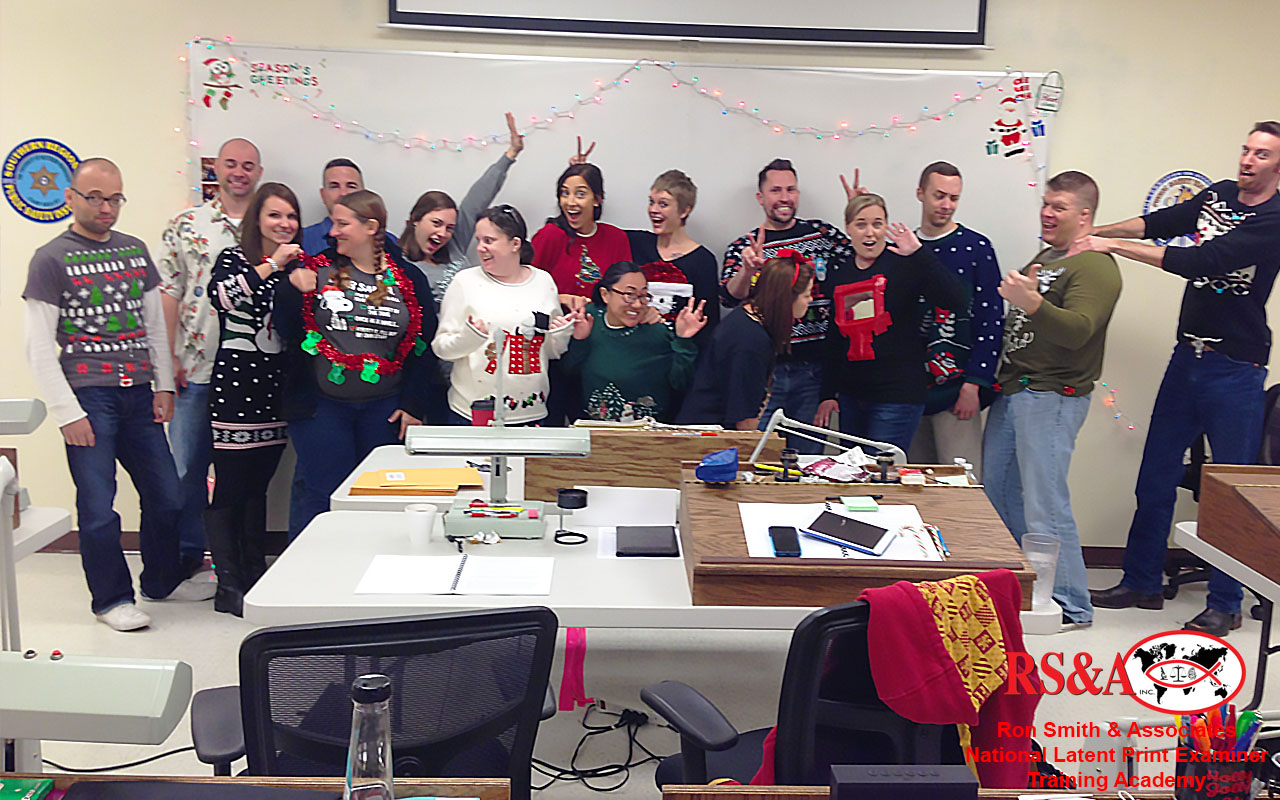
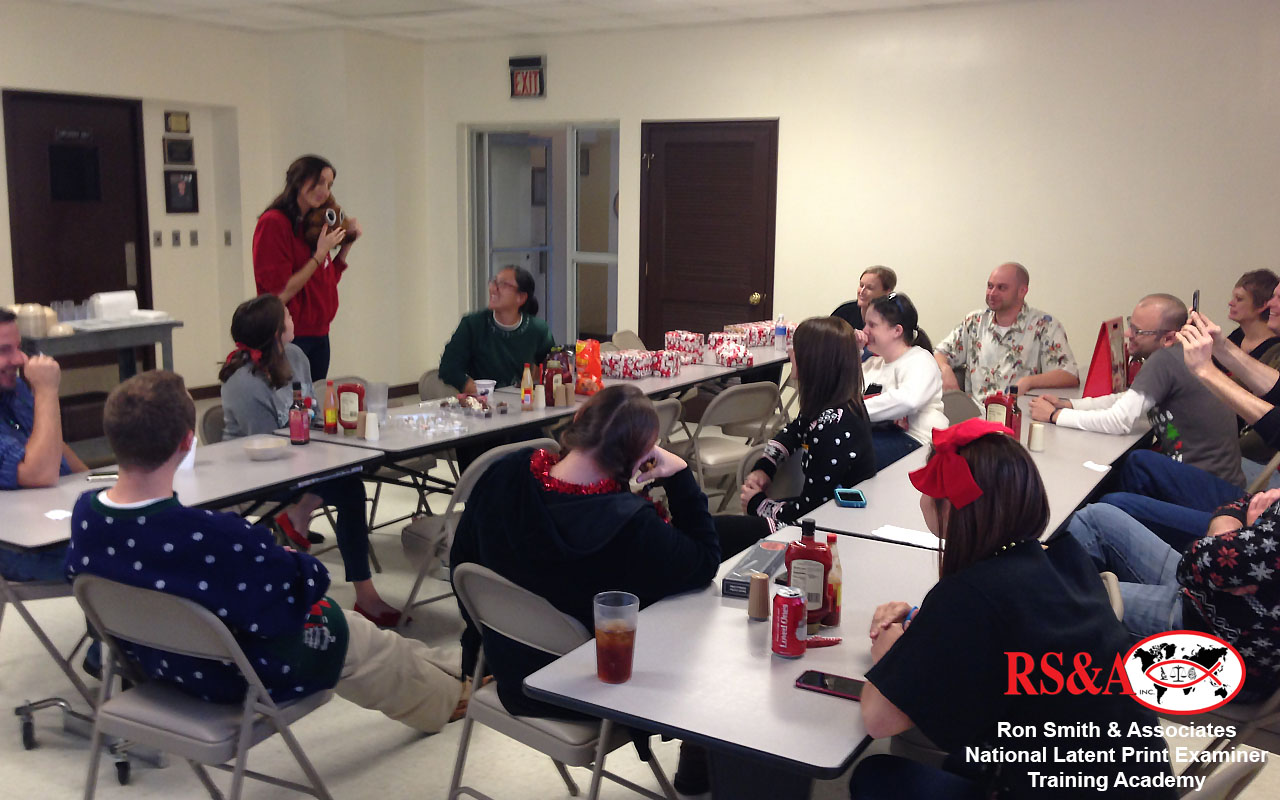
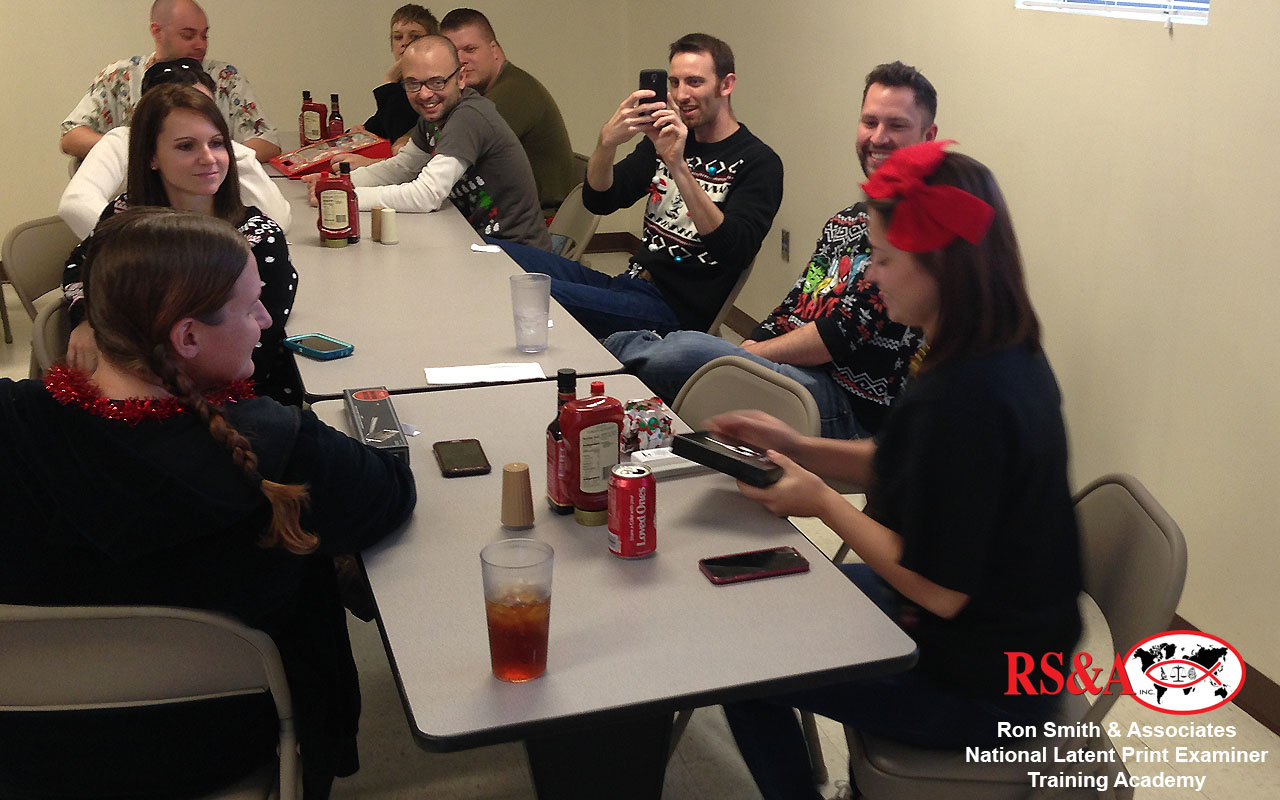
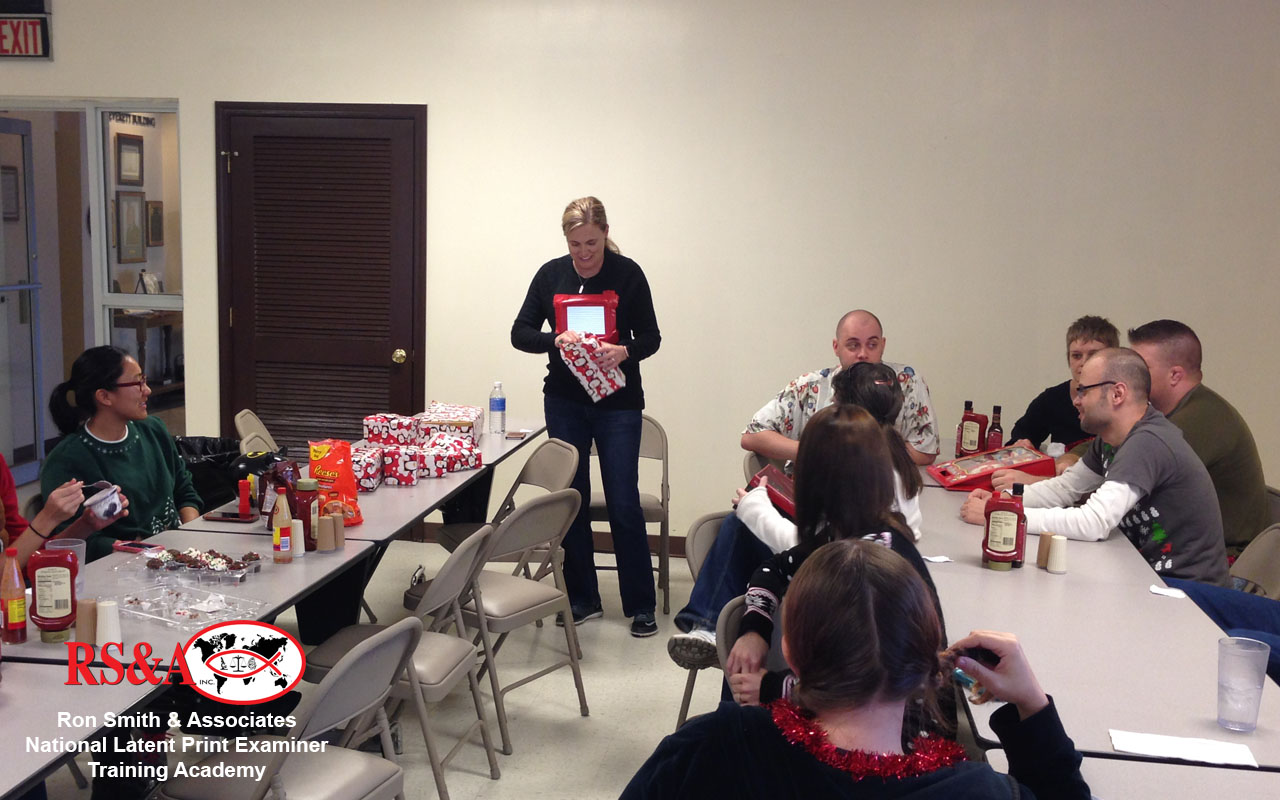
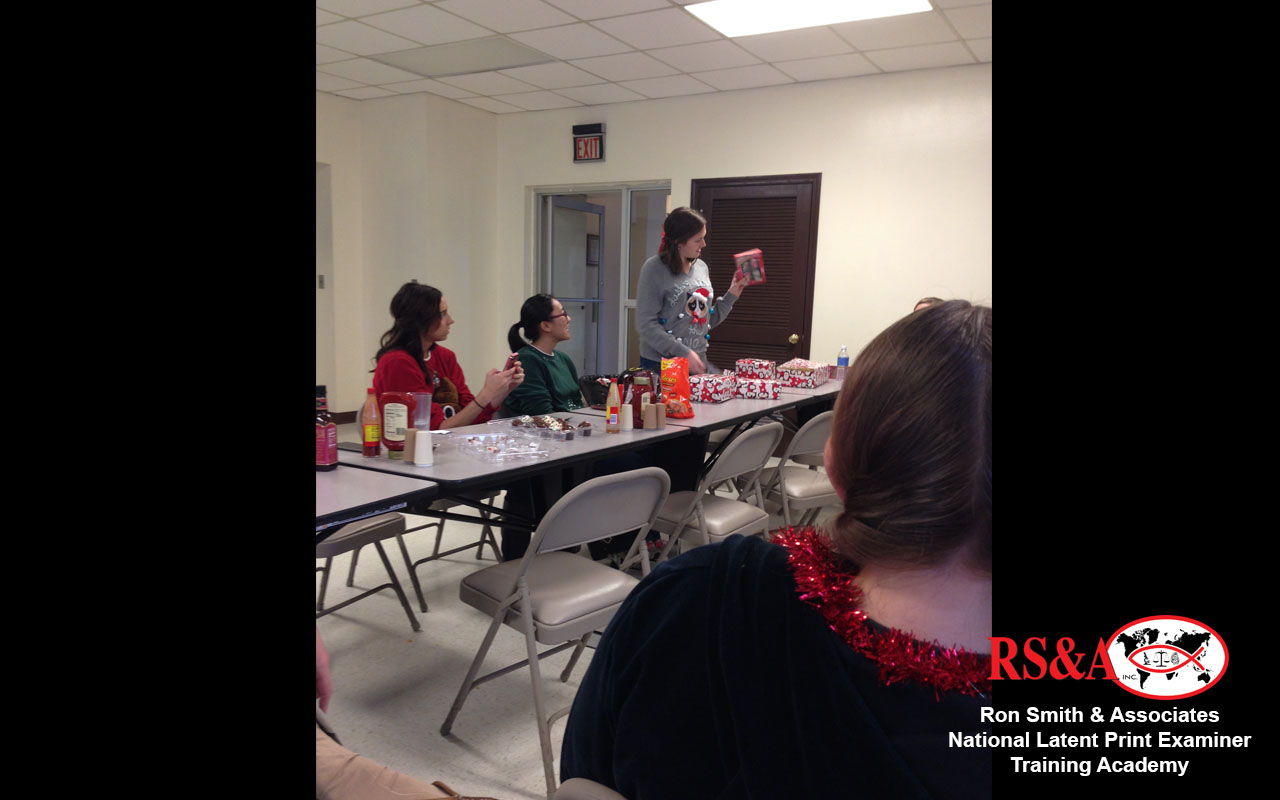
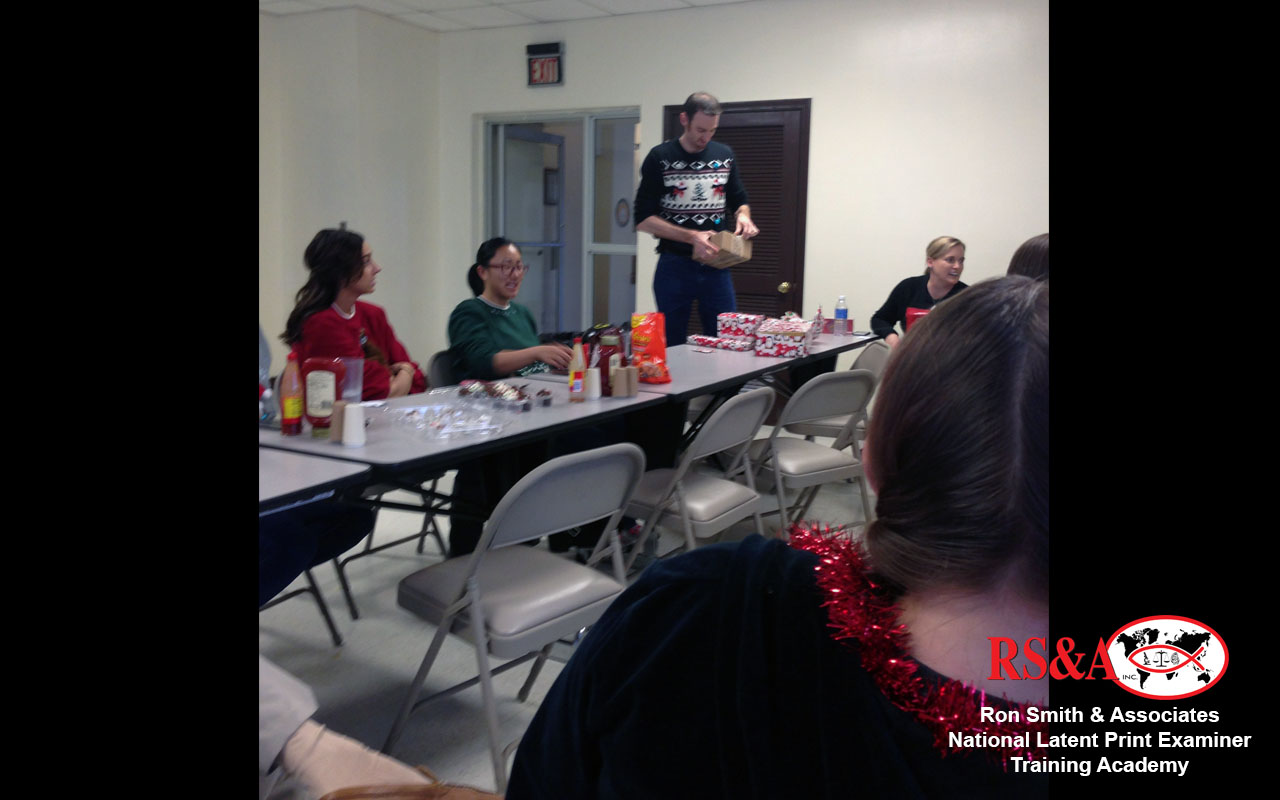
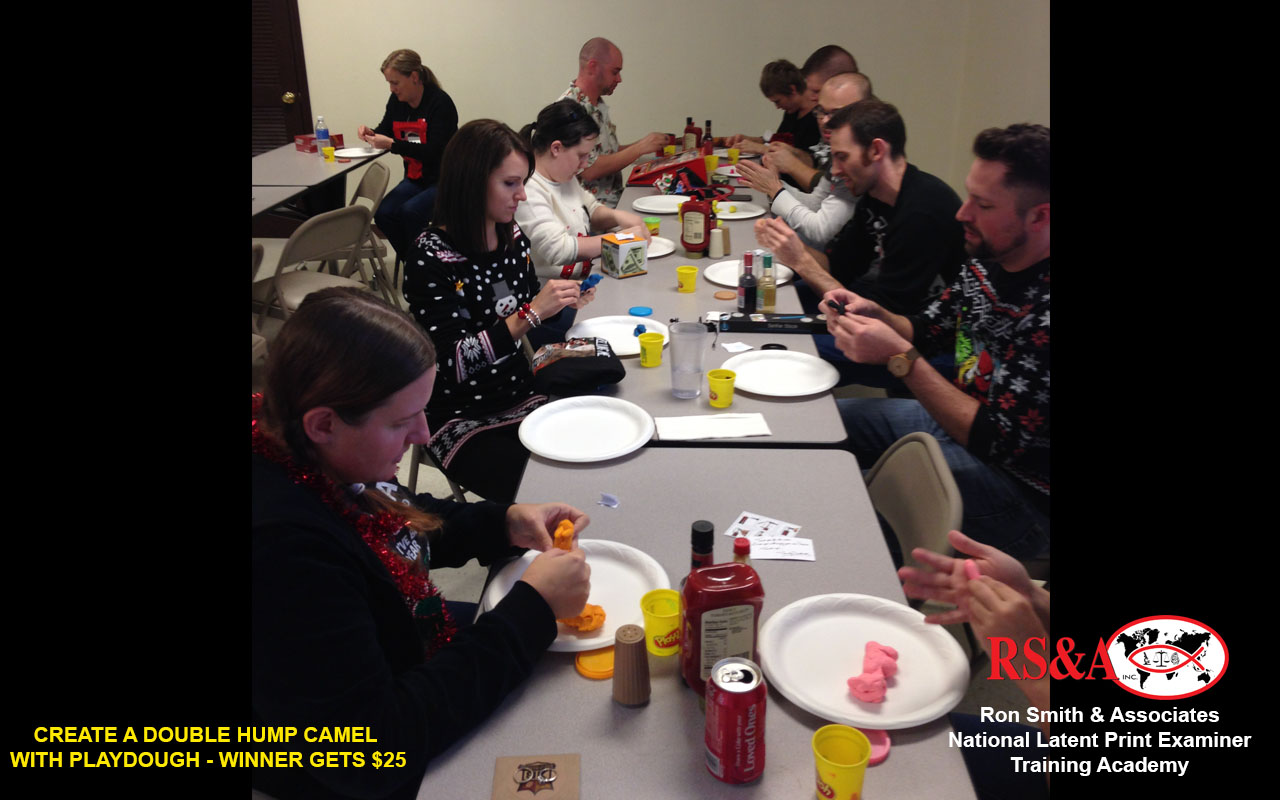
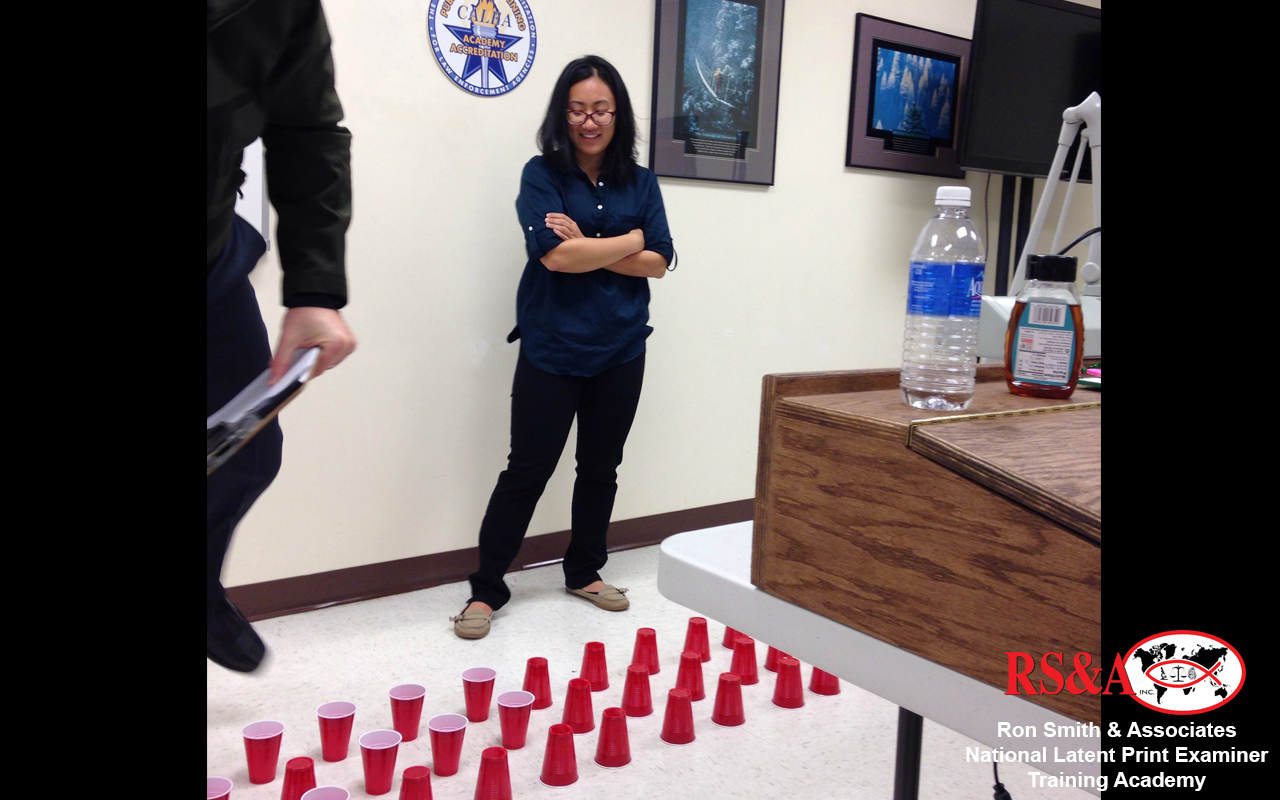
Since this was a holiday week as well, we used our lunch period on Tuesday to challenge the students with an artistic competition where they were given ten minutes to carefully build a two humped camel with Play Dough. (See pictures). It became clear that although these students are performing very well in their latent print training, only a few of them need to be commissioned to do any sculpting for their agencies upon graduation. The winner of the competition was Liz Anderson, known to her classmates as "Niagra" since she is from the falls area of NY. The students also exchanged gifts in a "Dirty Santa" fashion, and while I can assure you that the gifts weren't dirty, they were stolen during the exchange!
After having a turkey and dressing lunch on Wednesday, class was dismissed until the first week in January 2016. The students were advised to really relax and enjoy their time at home and come back in January ready to push hard toward graduation. The final nine weeks will be extremely intense and will require total focus by each student to stay on track. Happy New Year!
CLICK A THUMBNAIL IMAGE BELOW TO VIEW A LARGER IMAGE SLIDESHOW
It was good having the students back at the academy for the first class of 2016.
This week was somewhat of a continuation of week #10 and was dedicated to increasing the comparison skill set of the students. Therefore, the majority of the week was spent working on comparisons exercises (55 latent prints and 9 sets of known prints) and helping the students get back into academy mode.
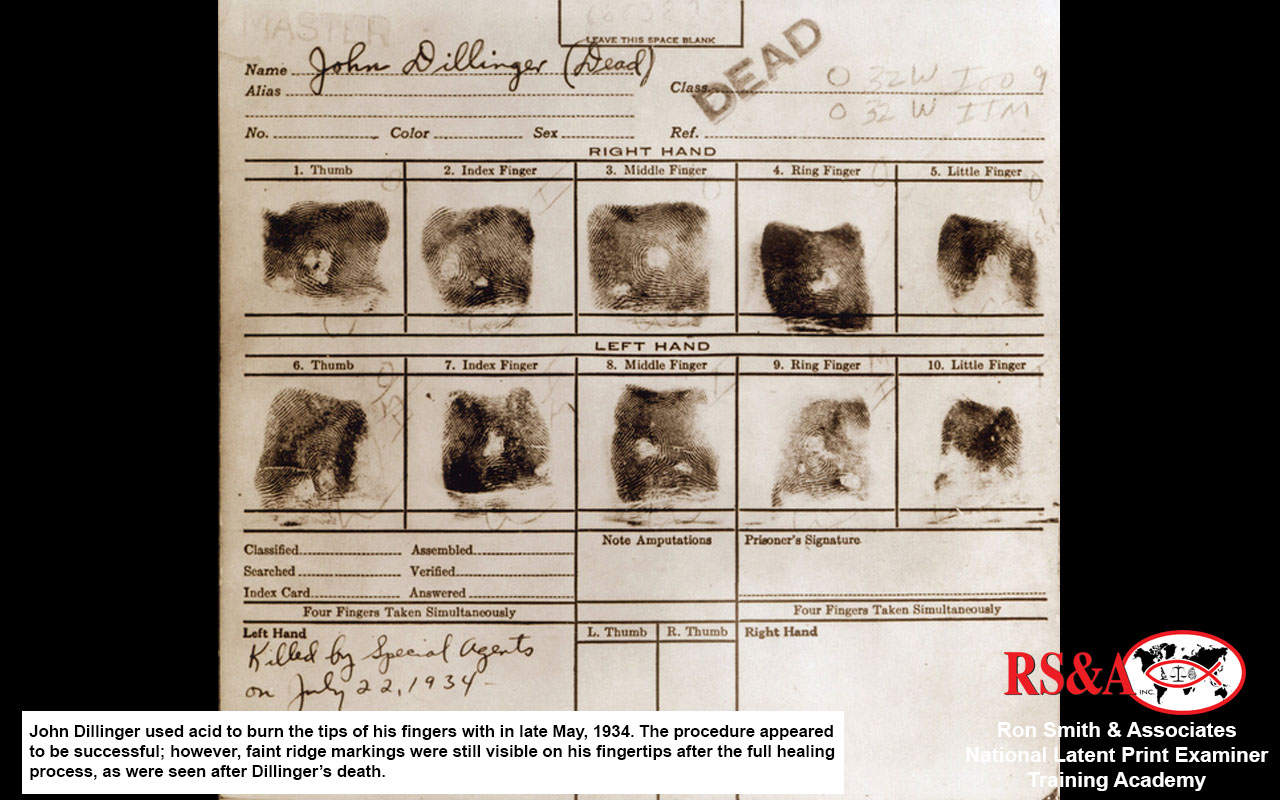
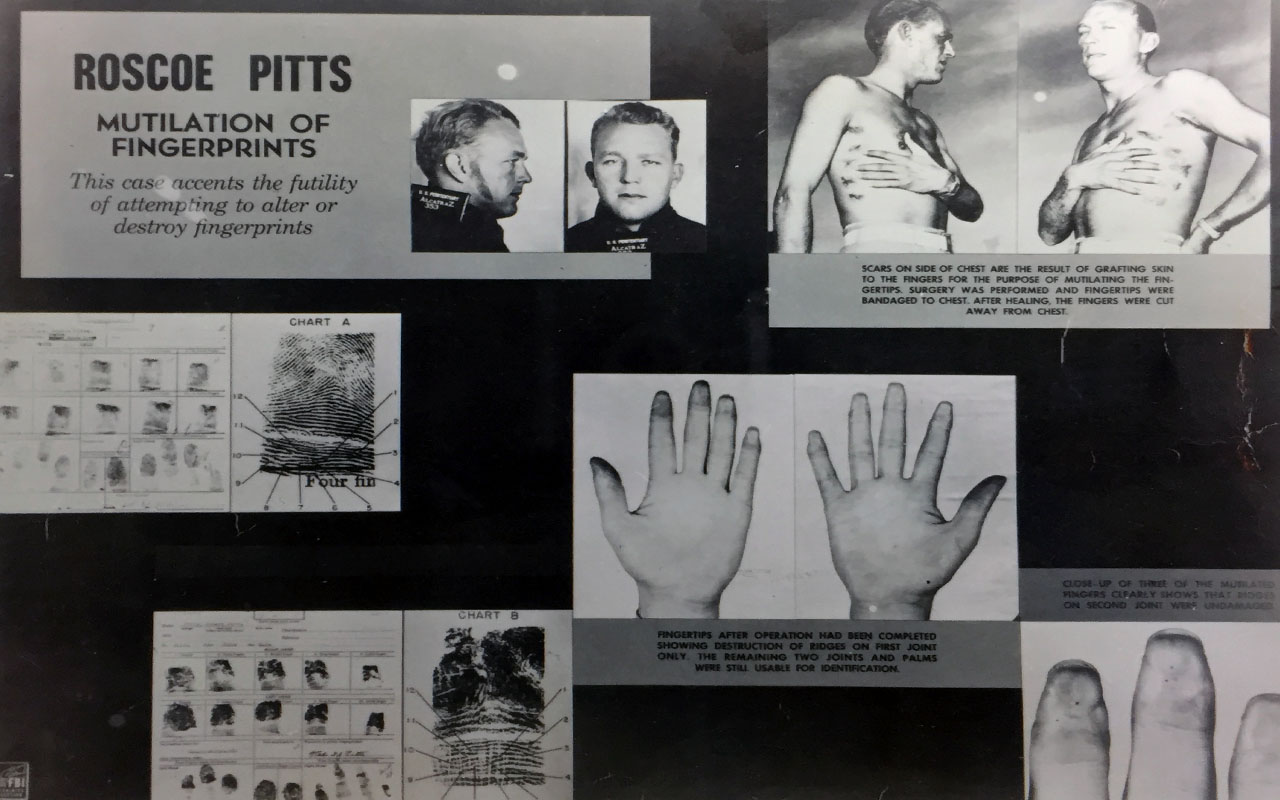
The beginning of the week started off with lecture on searching smart clues, which seemed to be a good refresher coming back from the Christmas break and a topic that was specifically requested by the students. Other topics covered early on were skin diseases and abnormalities and fingerprint mutilation (past and present).
Also, at the beginning of the week, the students were given some visual tests specifically designed to determine their ability to see contrast differences in black/white/gray and color.
Later in the week there was lecture on examiner ability, form blindness, types of bias, ethics and criminal behavior (with past case examples of mistakes in forensics), how vision works, perception/illusions, mind set, memory and how all of these can play into the mind of the examiner before and during the examination. This lecture was specifically placed to reinforce the concepts utilized in the tests given earlier in the week in an attempt to bring the two together. It is hoped that the students learned a lot about what goes on in the mind of an examiner prior to examination, during the examination and at the moment of decision.
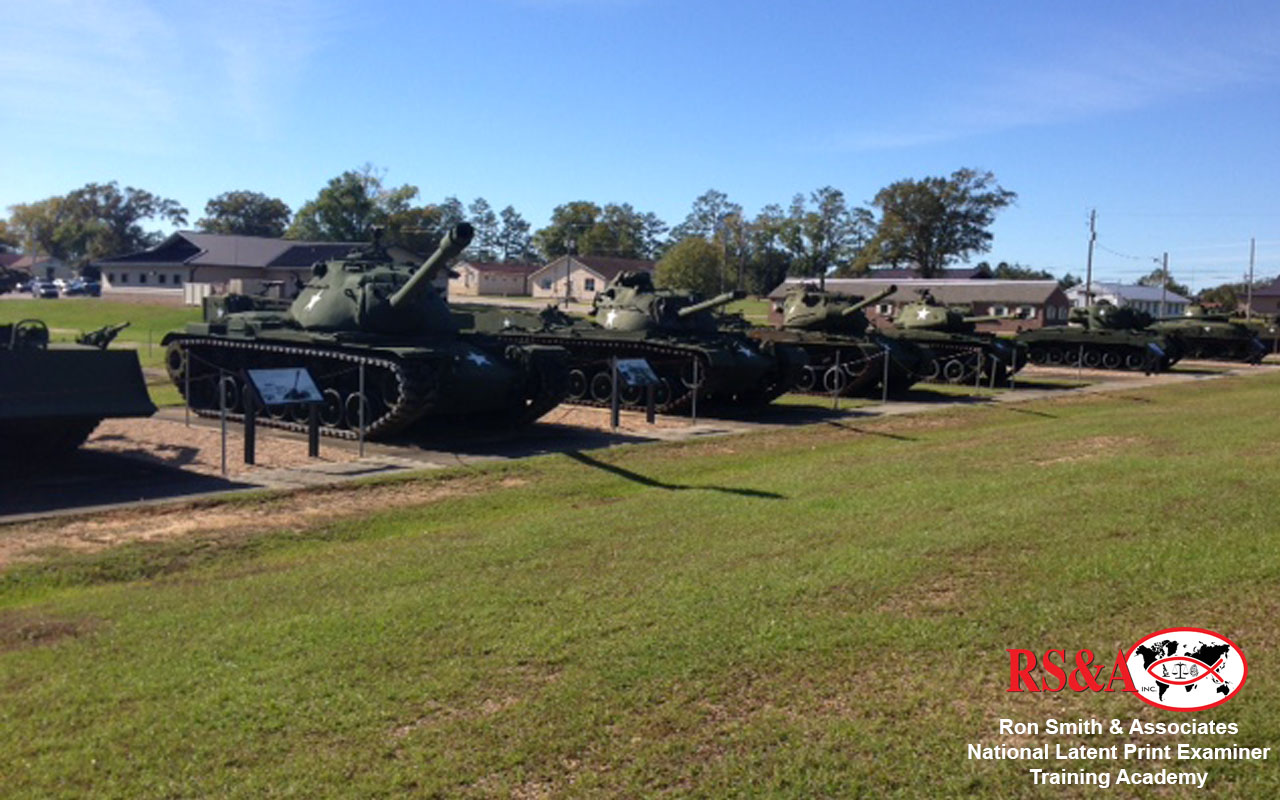
Welcome back to Camp Shelby and the RS&A National Latent Print Examiner Academy.
CLICK A THUMBNAIL IMAGE BELOW TO VIEW A LARGER IMAGE SLIDESHOW
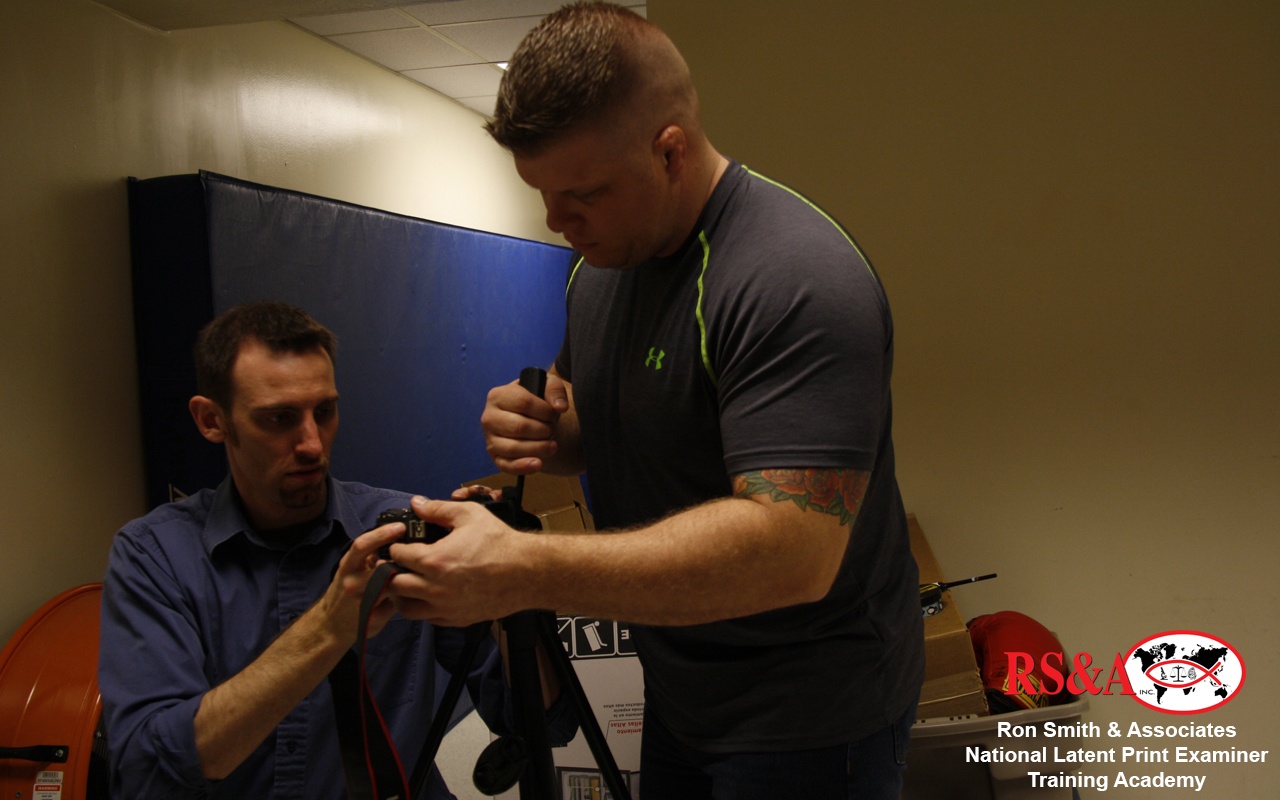
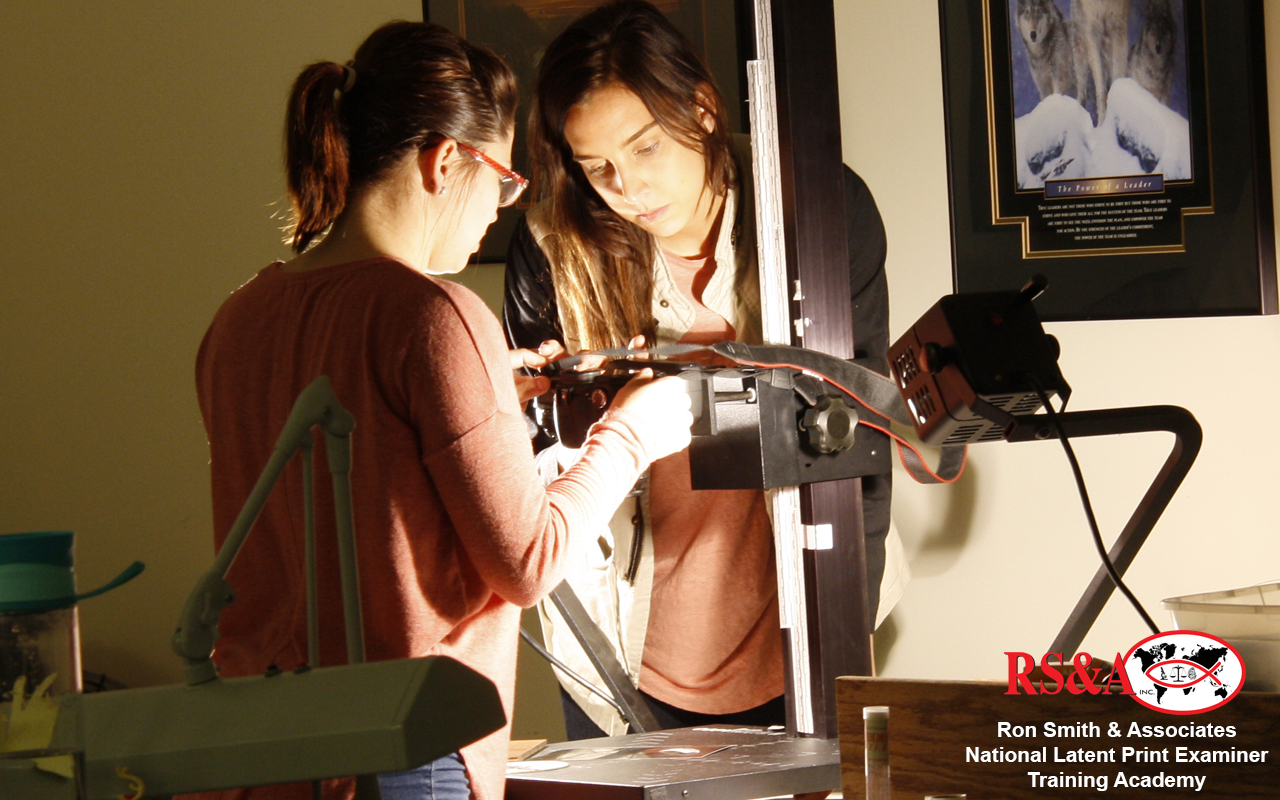
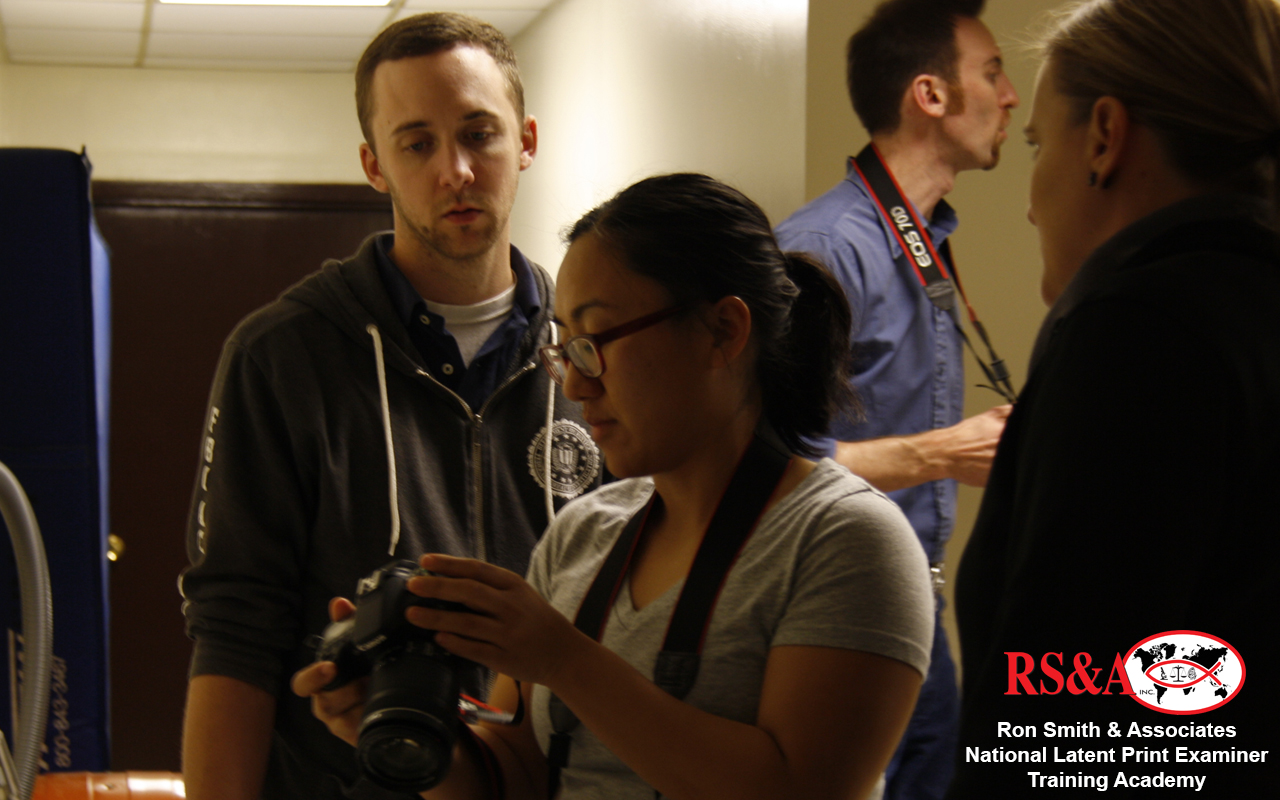
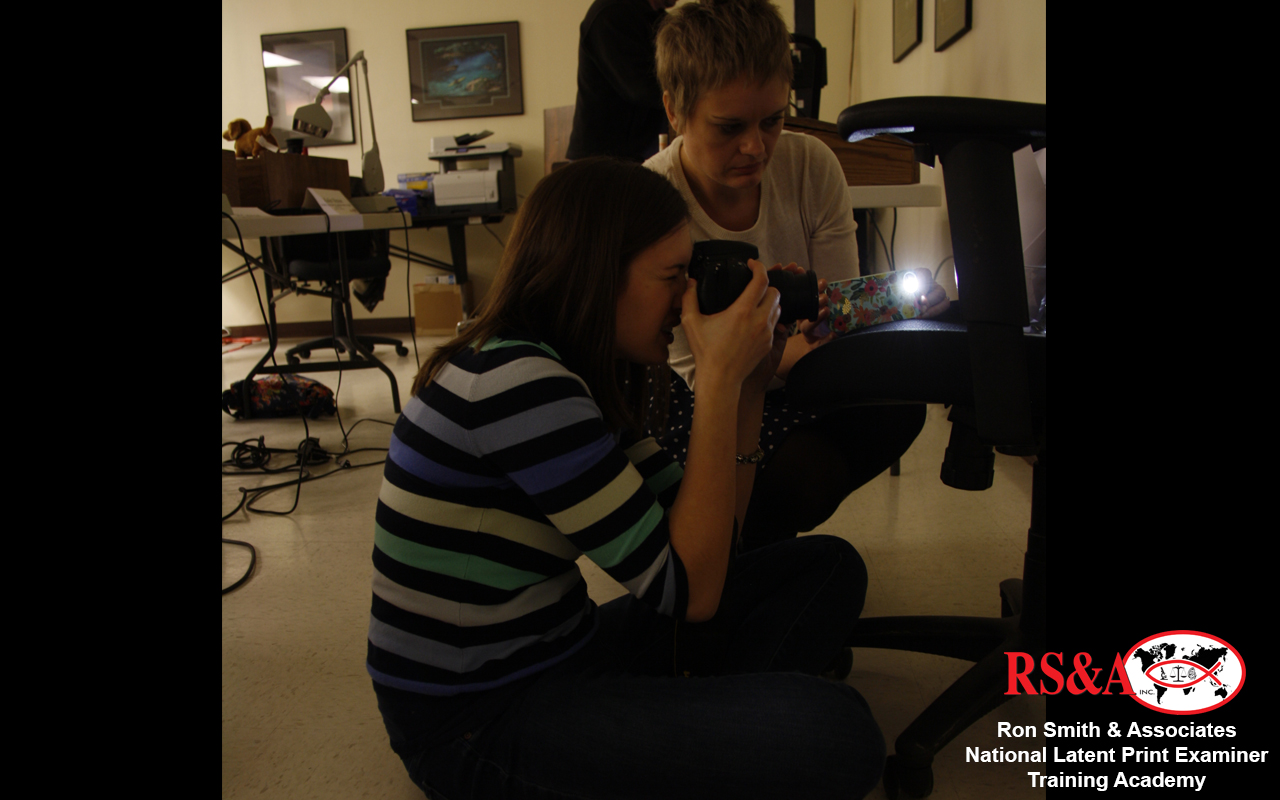
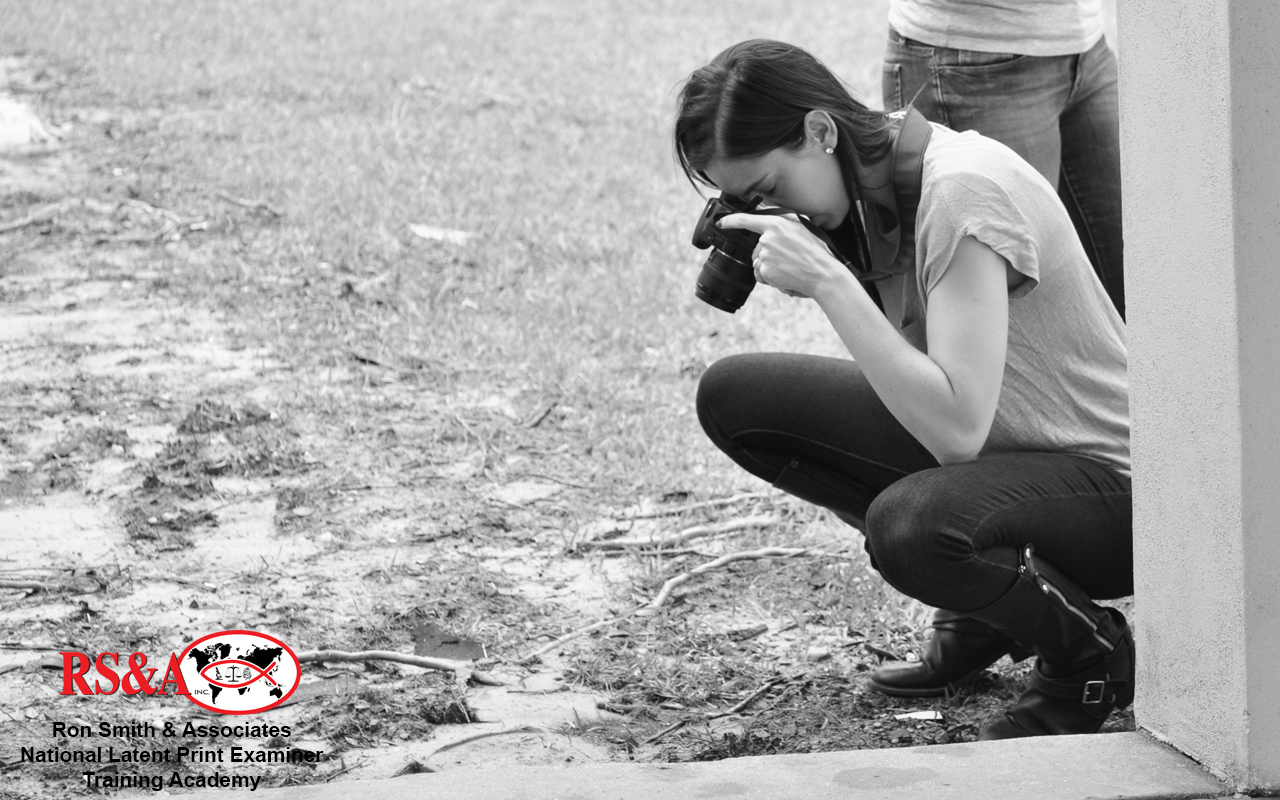
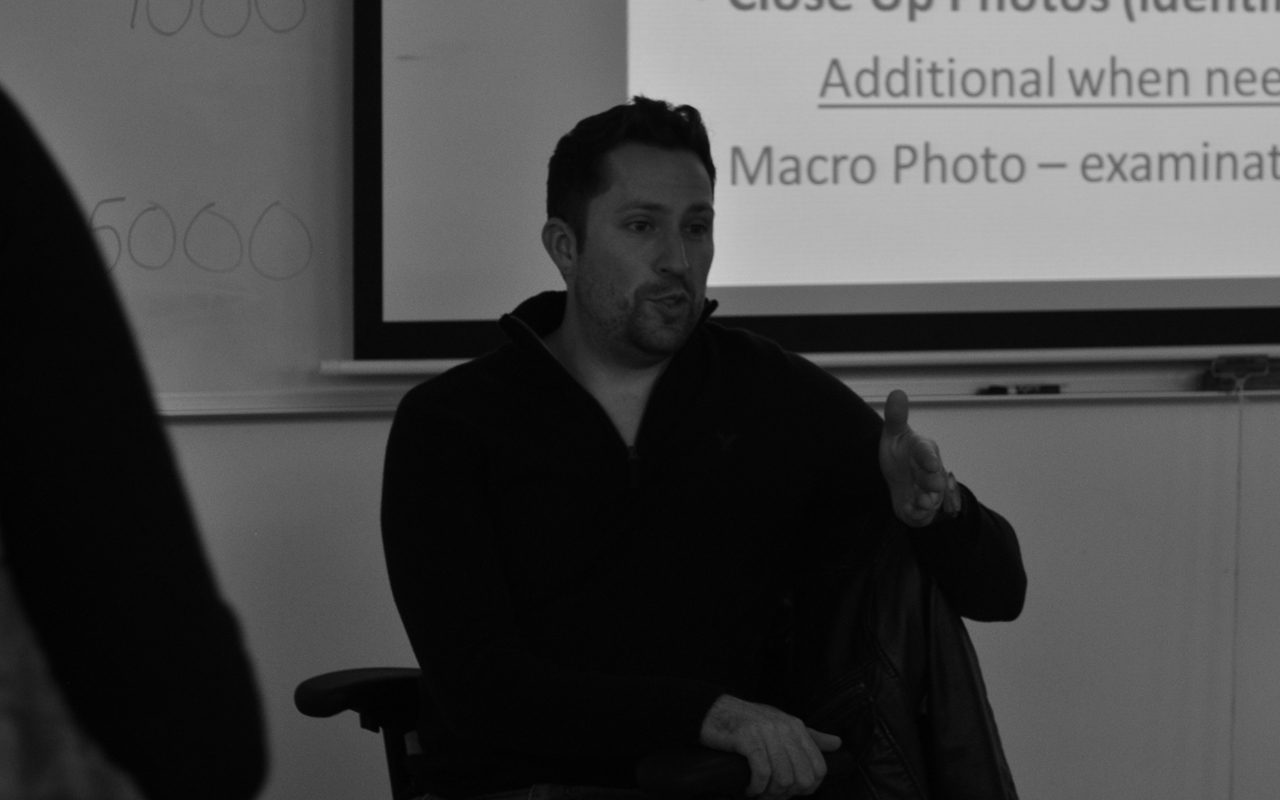
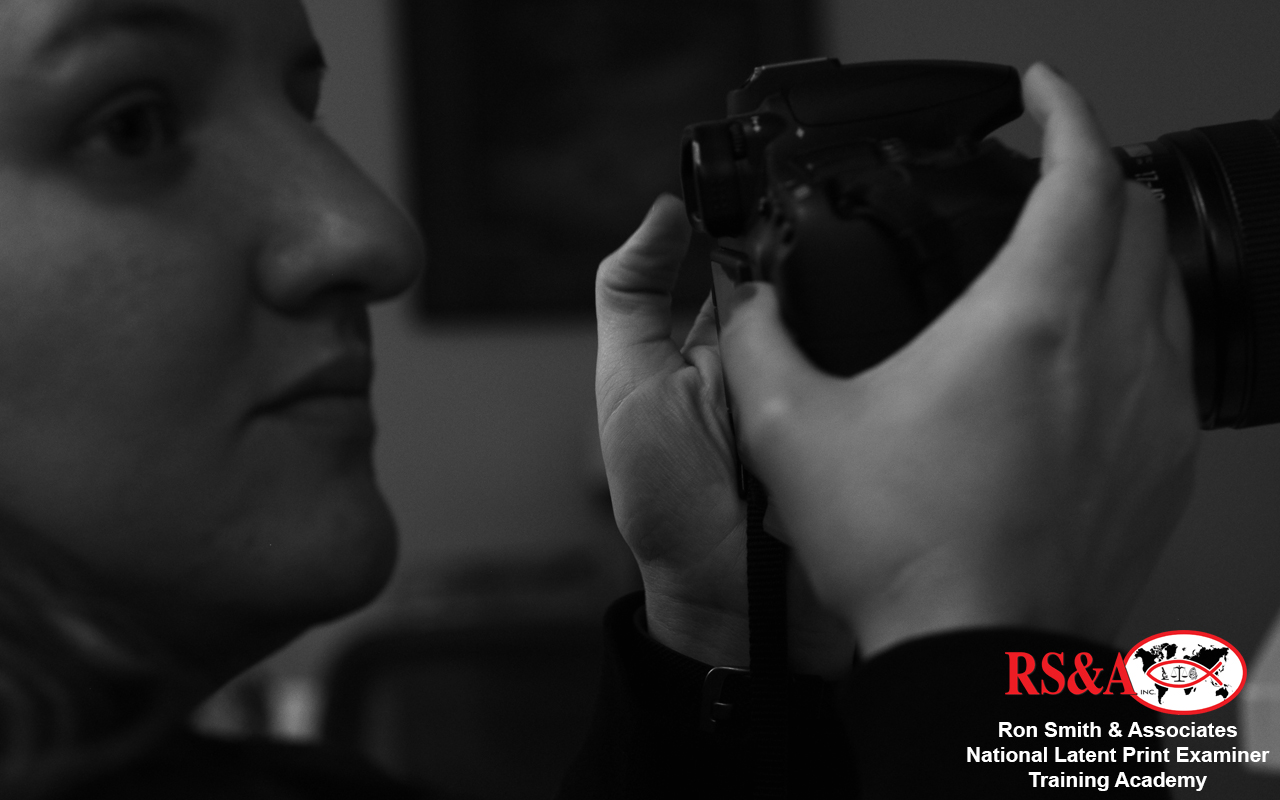
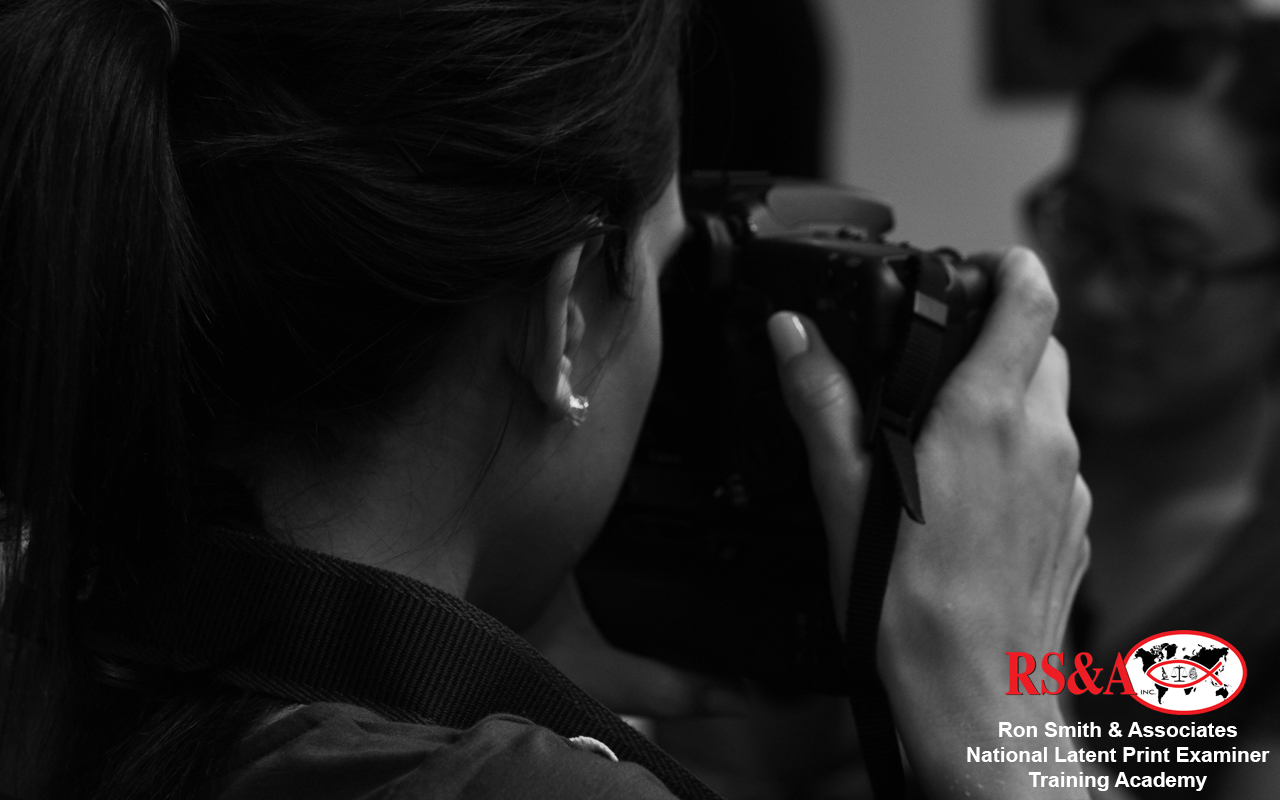
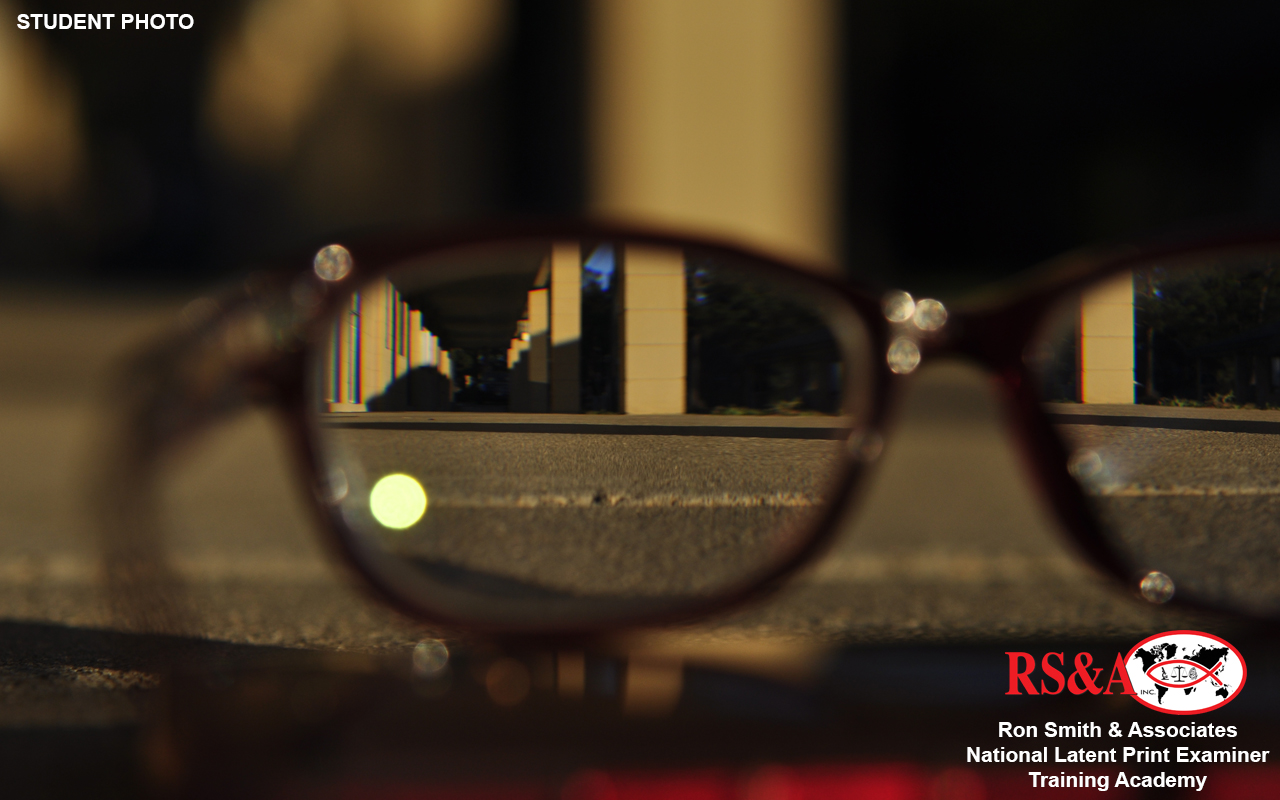
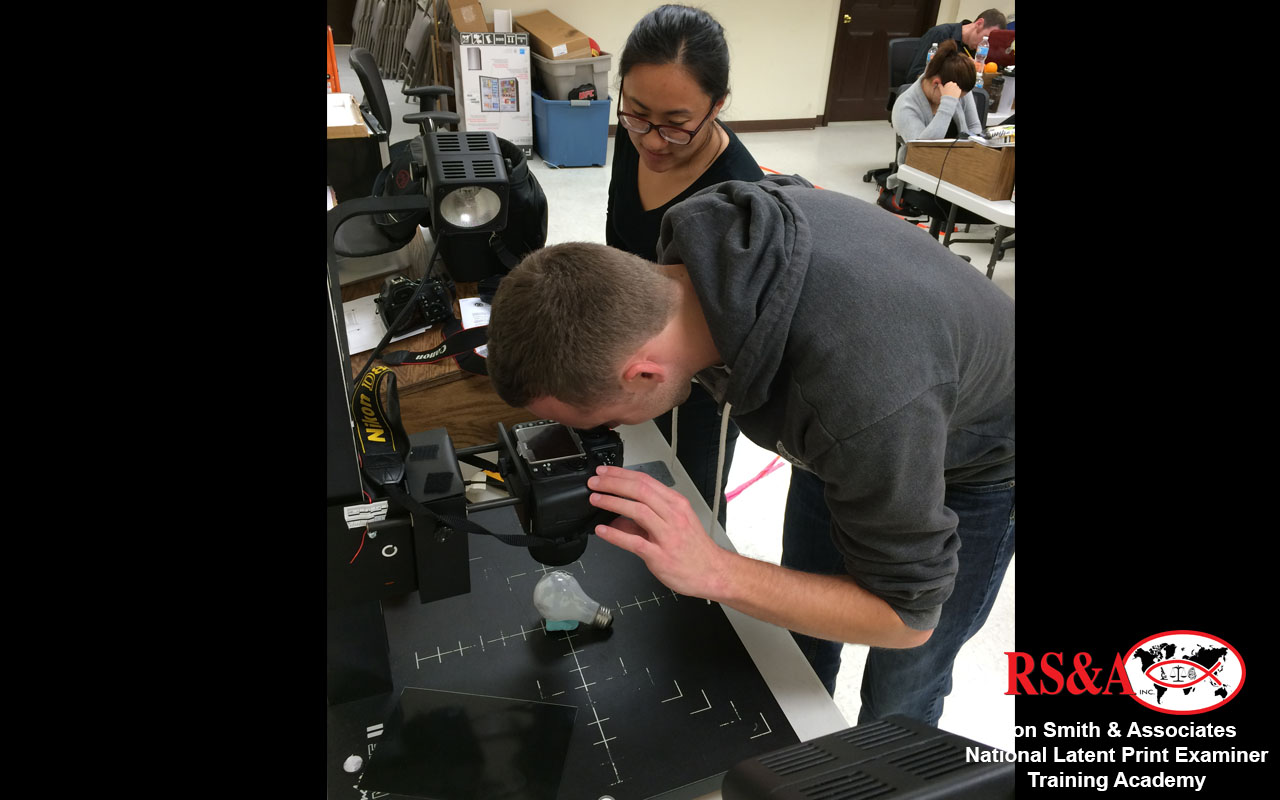
Week #13 was dedicated to the fundamentals of photography. The course covered essential techniques for capturing high resolution images as well as discussion on how those elements determining the final captured image. The students learned that photography is not just a “point and shoot” process. The students worked on many exercises that apply to every aspect of photography in and out of the lab. This allowed the students not only to understand the complete functionality of their own camera, but to also be creative in thought process.
The following concepts were taught, discussed, and applied in assignments, both in and out of the classroom during the week:
- White Balance
- Exposure Compensation
- ISO
- Image Quality & Size
- Shutter Speed
- Aperture
- Depth of Field Exercise
- Exposure
- Flash Compensation
- Rule of 3 Exercise
- Macro/Close Up Exercises
- Self Timer
- Painting with Light
- Night Time Photos
- Filling the Frame
- Perspective
- Capturing moving objects
- Camera Modes
- Focusing and Metering
Following each exercise all photographs were discussed as a class. The students were asked to discuss each image, their approach, what they did and why. Each image was then critiqued by the instructor in order to address any issues there may have been. This way every student gained a better understanding of how they could improve their photographs.
CLICK A THUMBNAIL IMAGE BELOW TO VIEW A LARGER IMAGE SLIDESHOW
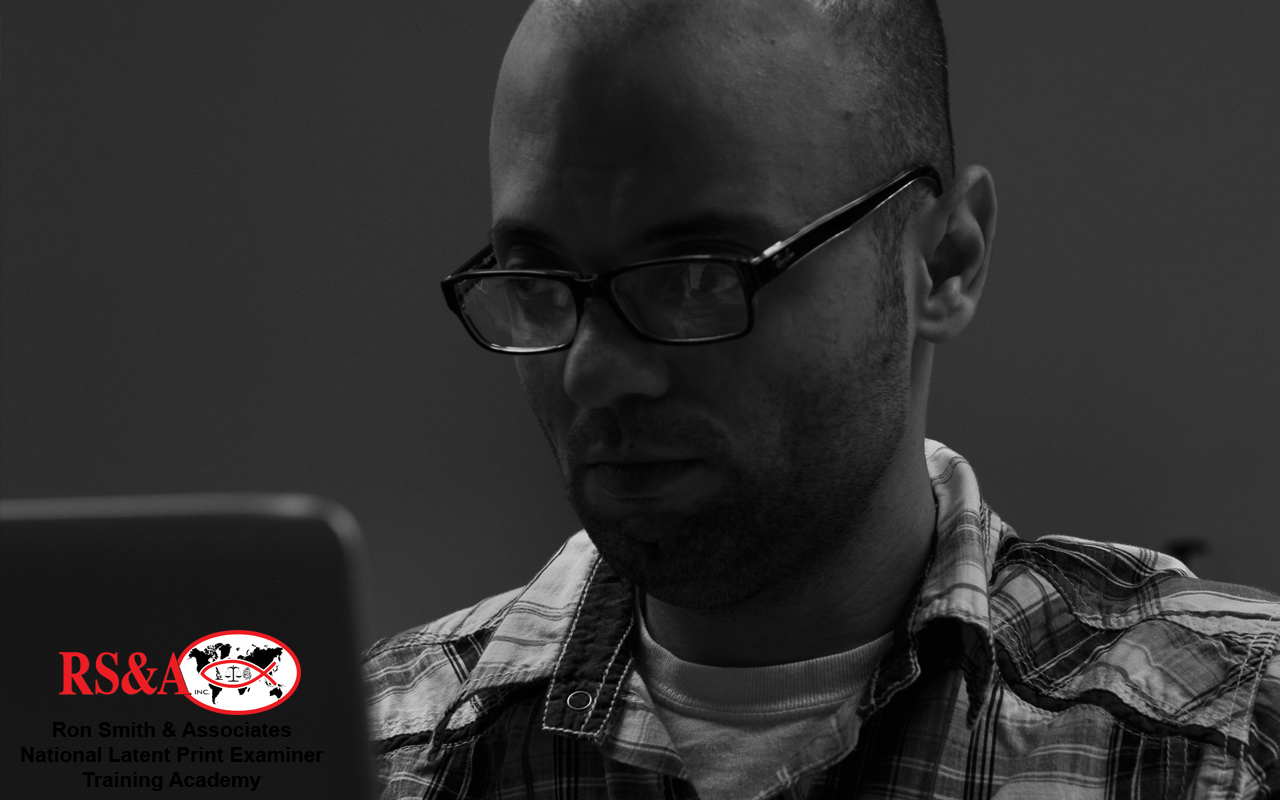
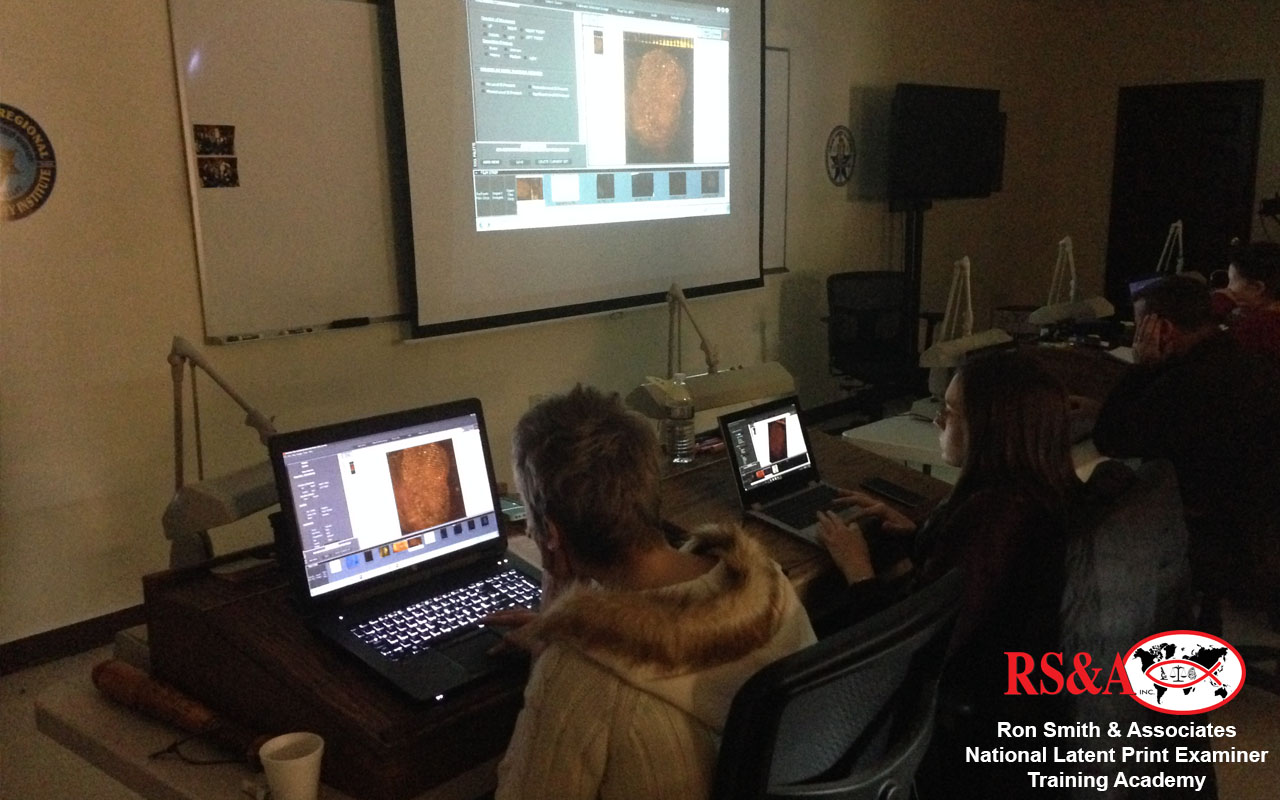
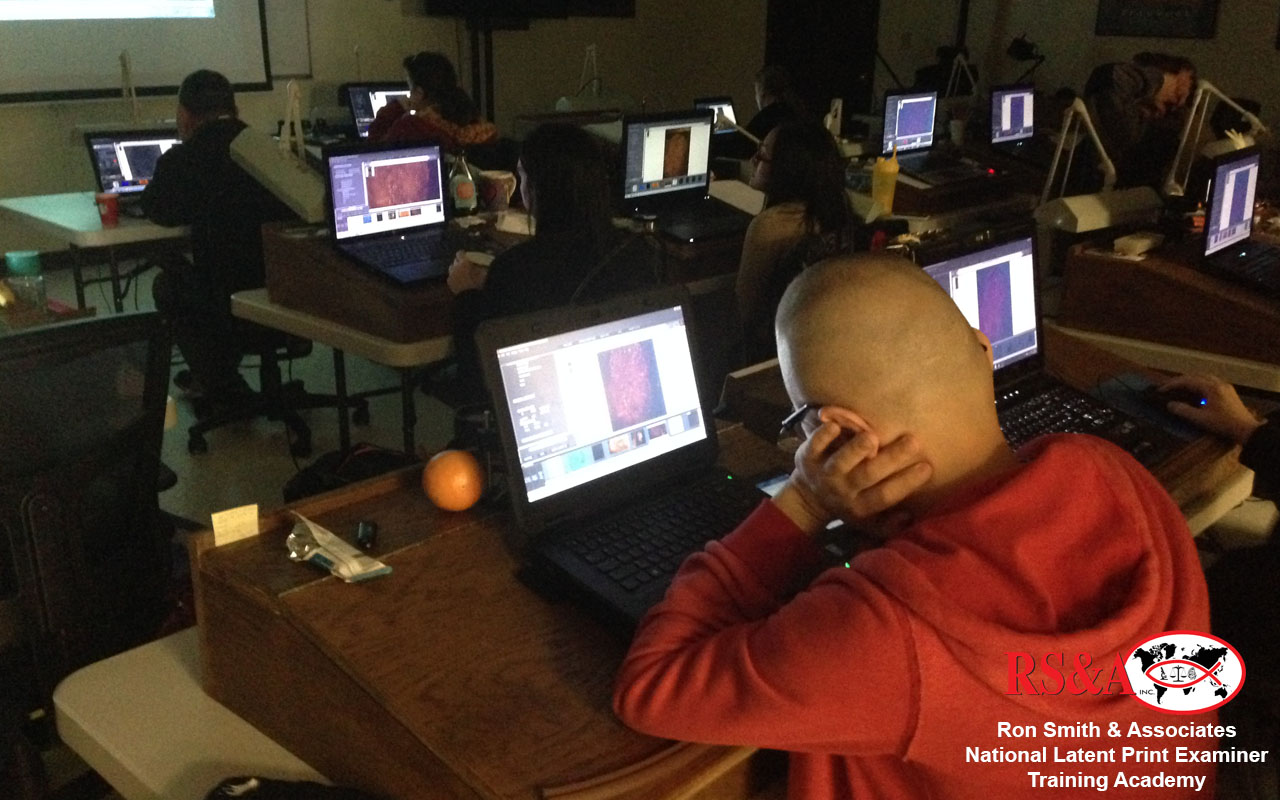
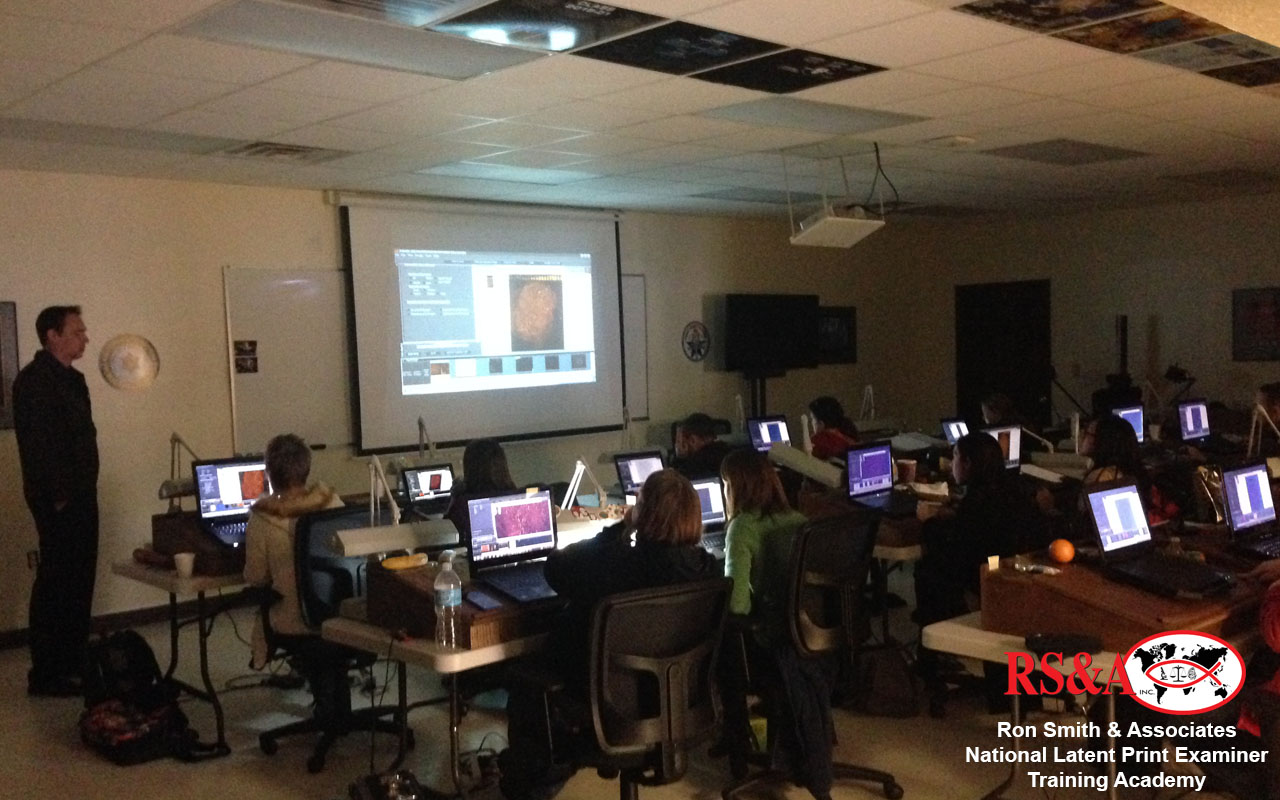
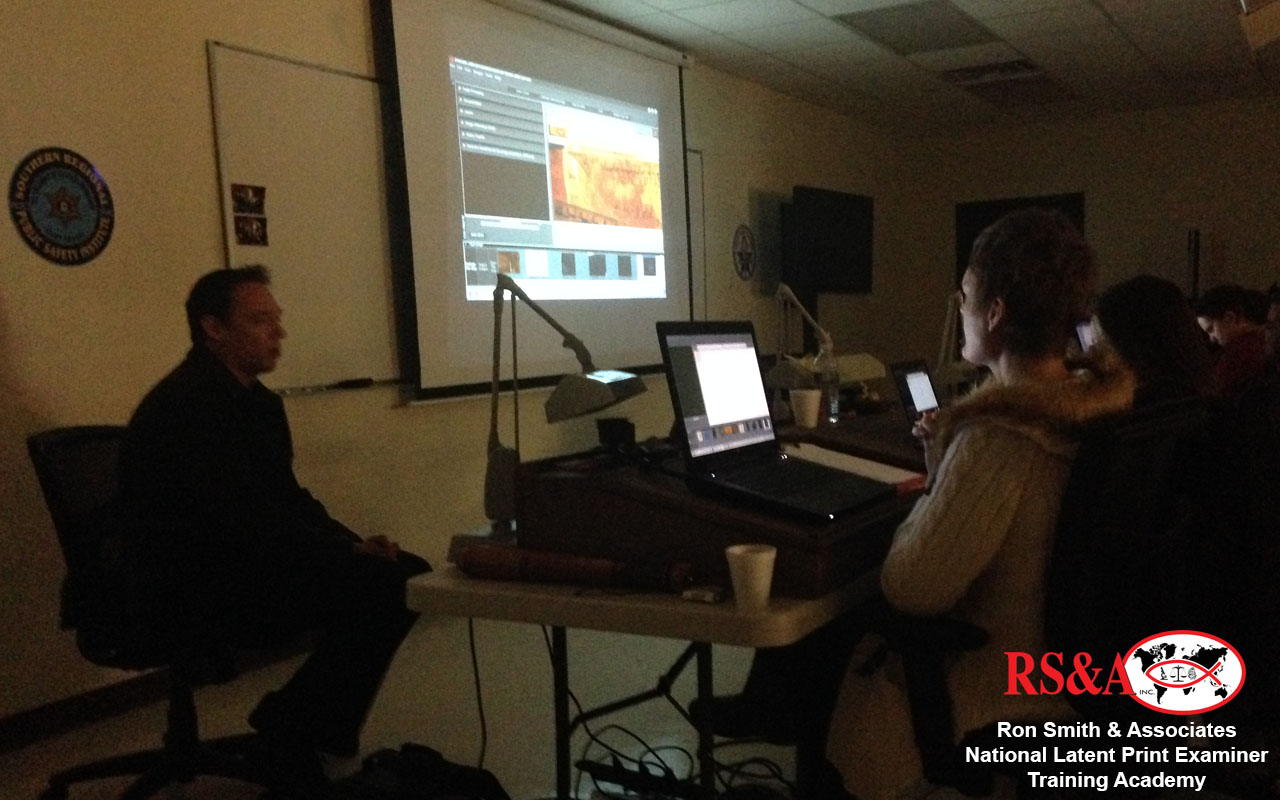
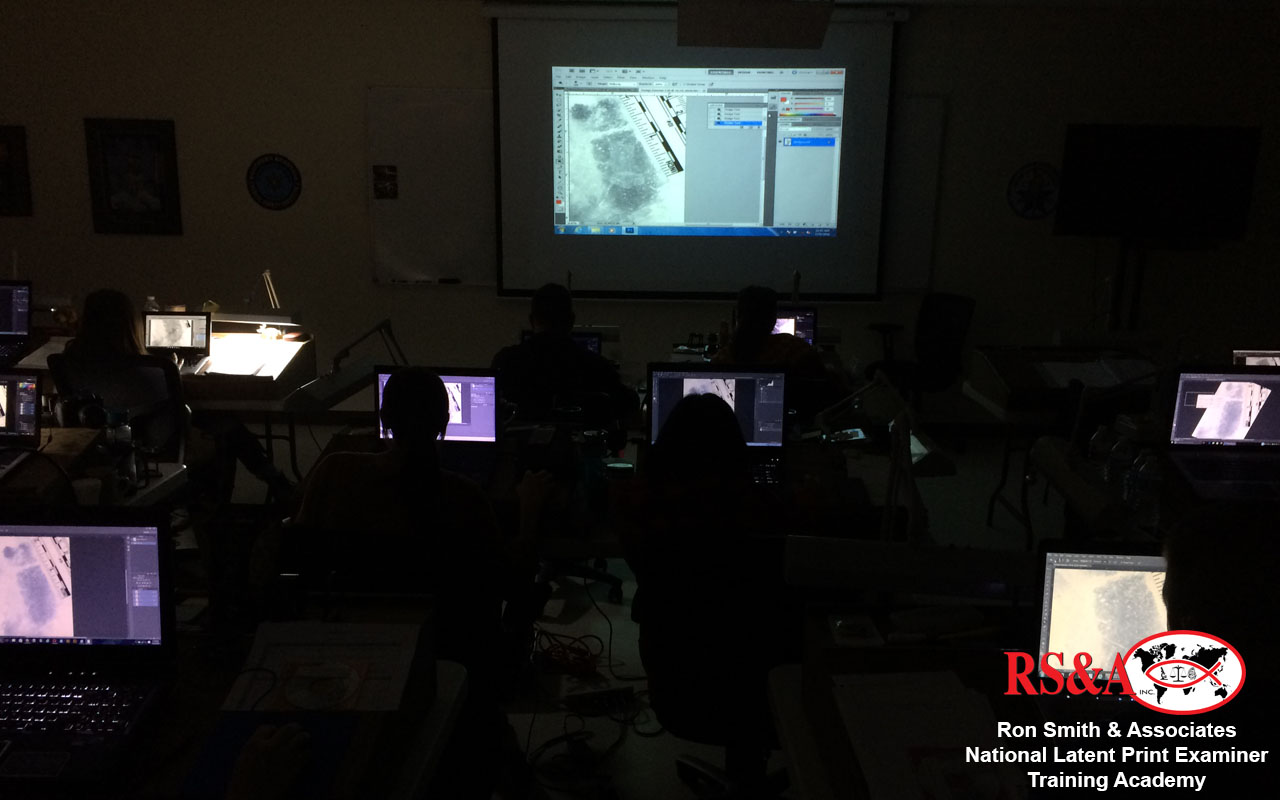
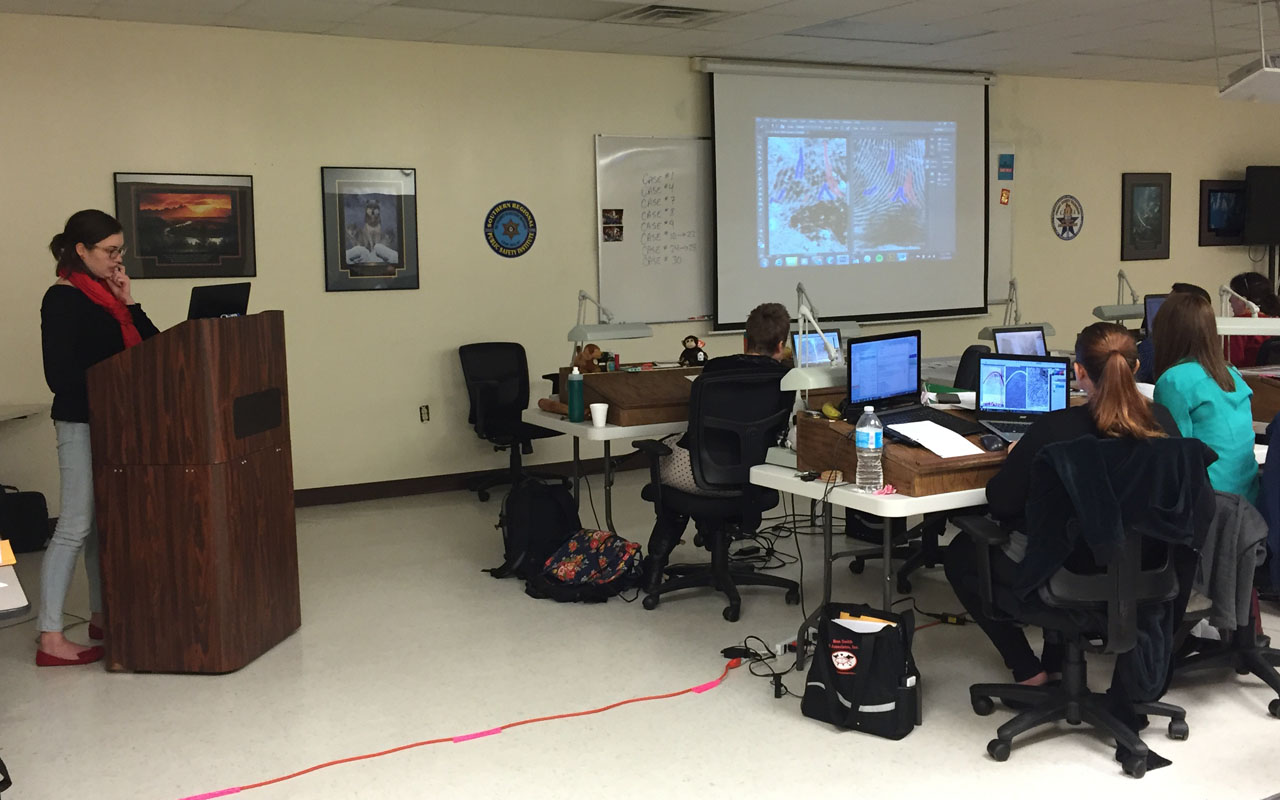
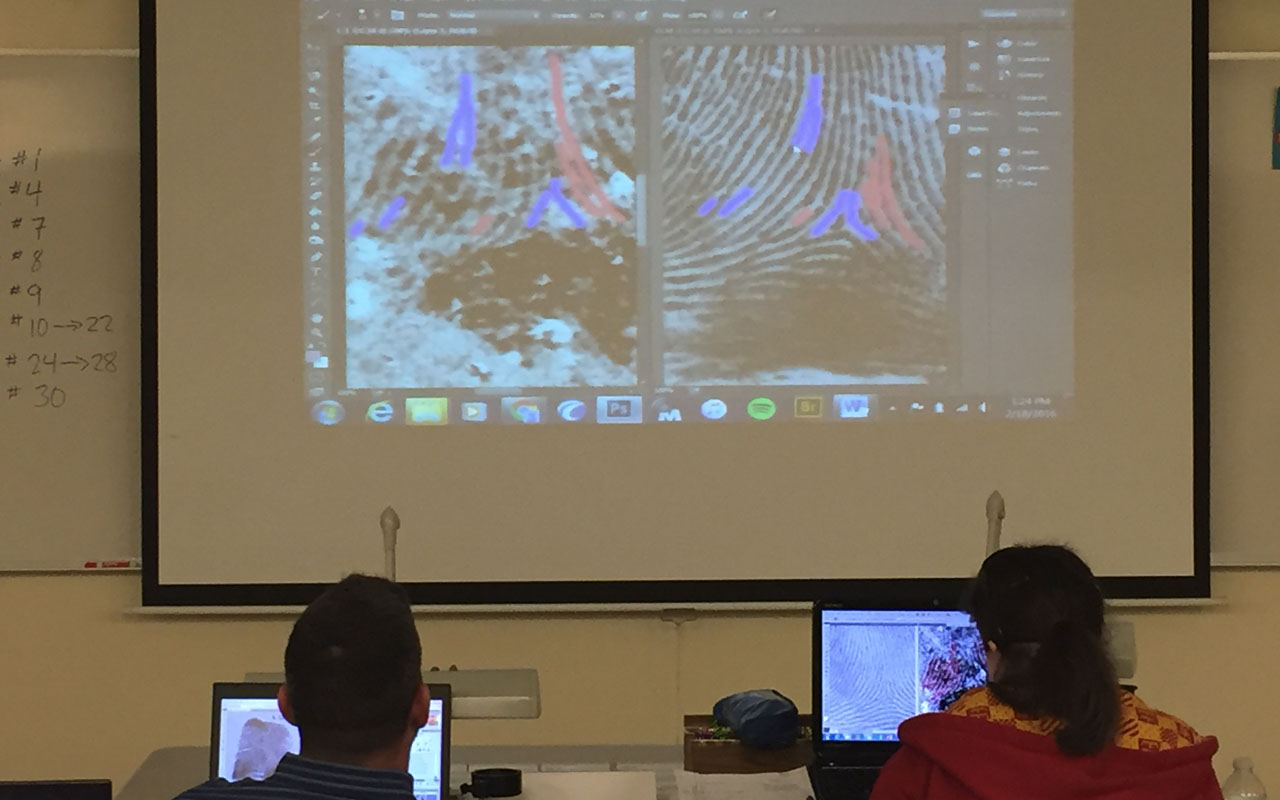
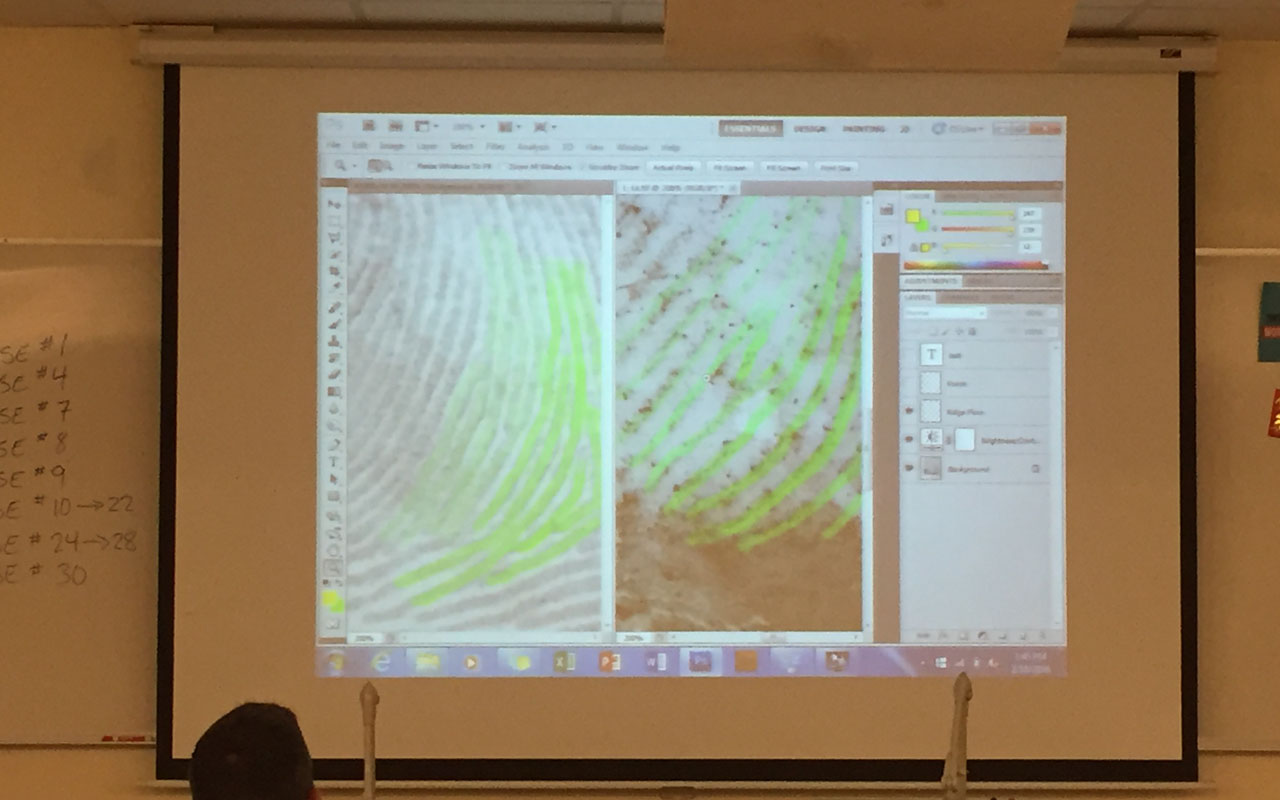
After a week of working with photography, it was time to take our images back into the classroom and work on post processing. The students were instructed in Adobe Photoshop and RS&A’s custom built software. The students learned about file types and formats, and the benefits of working with RAW images. The students were also instructed in both workflow and image processing with the Adobe RAW converter and Adobe Bridge. We did a walk-through of each tool available in Photoshop and its function. We also did a lot of hands-on image processing using all of the following techniques:
- levels
- curves
- masks
- black and white adjustments
- adjustment layers
- blending modes
- selections
- sharpening techniques
- changing color formats
- channels
- shadows
- highlights
- calculations
- dodge
- burn
- image rotation
- rulers
- noise removal
- image calibration
- color subtraction
- multiple crops
- text, lines, and arrows
- printing
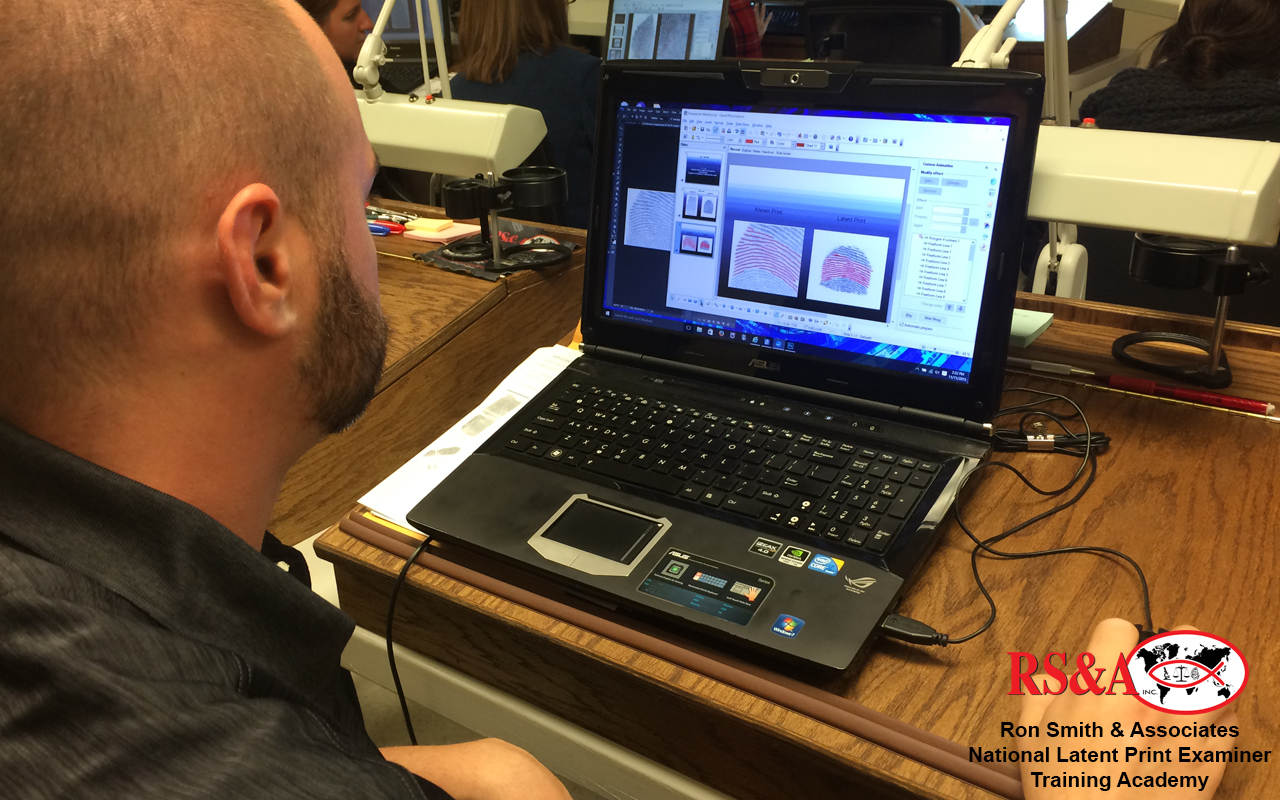
Of huge importance, we covered some tools that should not be used in latent print work including the healing brush tool and clone stamp tool. These up and coming examiners were put to the test when they were tasked with creating a high quality court chart. Comparisons this week were all on-screen, and the students were allowed to use the software of their choice.
CLICK A THUMBNAIL IMAGE BELOW TO VIEW A LARGER IMAGE SLIDESHOW
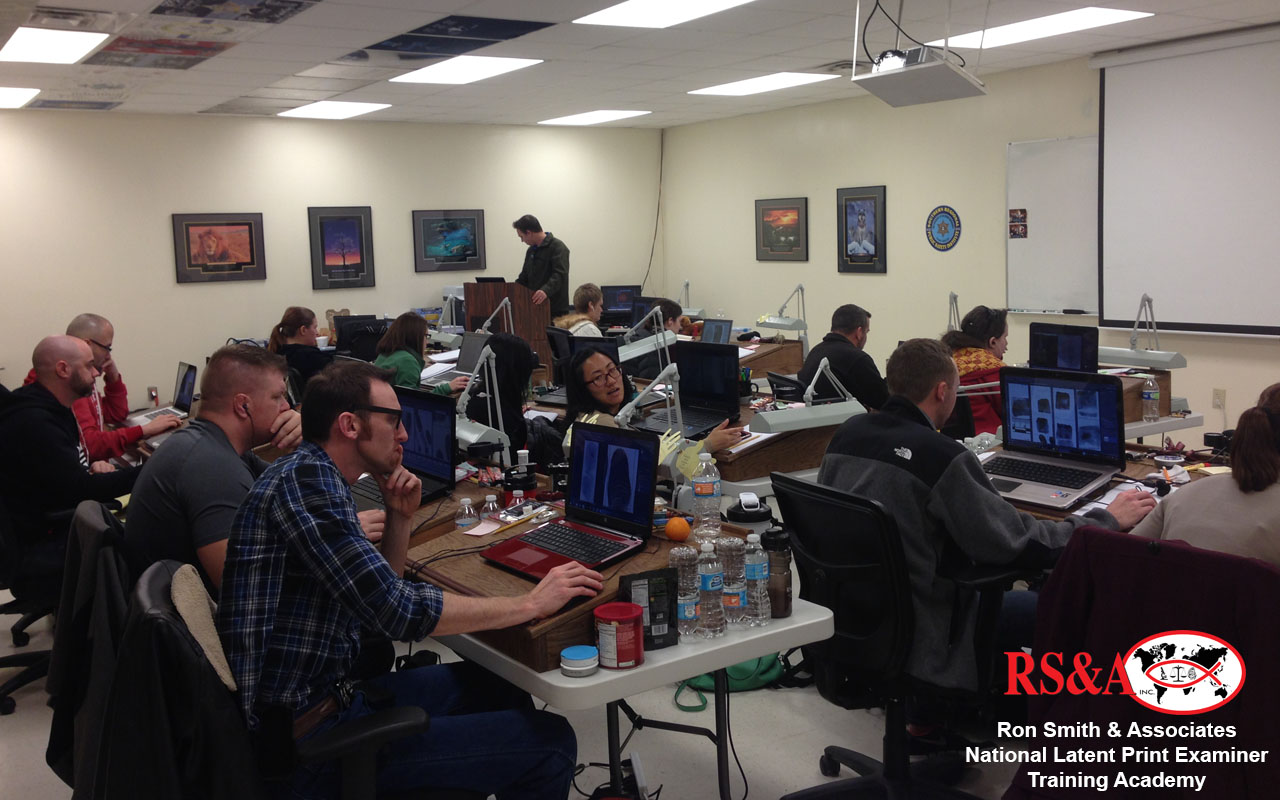
We started the week with a review of the analysis phase of the ACE-V method, and covered the correlation between ACE-V and the scientific method. We broke down the evaluation phase, the conclusions that are acceptable in the discipline, and why. We also discussed the verification phase and discussed pro’s and con’s of verifying all conclusions and also of blind verification. We covered the Monty Hall Problem as a segue into statistics, error rates, probabilities, and likelihood ratios. We covered the difference between probabilities and statistics, how statistics are being used in research to try to determine error rates, and some examples of the research that has been conducted. We also discussed probabilities, and how likelihood ratios are being used to try to develop probability models that look at the likelihood of another individual “sharing” ridge characteristics. We calculated mean, median, mode, range, and standard deviation. Then we talked about measurements; what they are and what they aren’t. We calculated a basic uncertainty of measurement, and discussed how different K values can change the percent certainty of a reported measurement. Then we hit the standards hard. We covered ISO/IEC 17020 and ISO/IEC 17025 standards. We dove into some specific technical standards for ISO/IEC 17025. We discussed the roles of the accrediting bodies including ANAB, ASCLD/LAB, and A2LA. We did a practical exercise of each examiner reading their agency’s policies and procedures, and answering ten questions to develop a basic process map for their laboratory and latent print section. We also covered what information is typically kept in a case file. Finally, what would a week of ACE-V, documentation, best practices, and conclusions be without a solid look at the NAS report, the role of the DOJ and the National Commission on Forensic Science, the role of NIST and the OSACs, and of course what SWGFAST was, why it existed, and where the discipline of latent prints is headed? It would be an incomplete week, so we covered it all.
CLICK A THUMBNAIL IMAGE BELOW TO VIEW A LARGER IMAGE SLIDESHOW
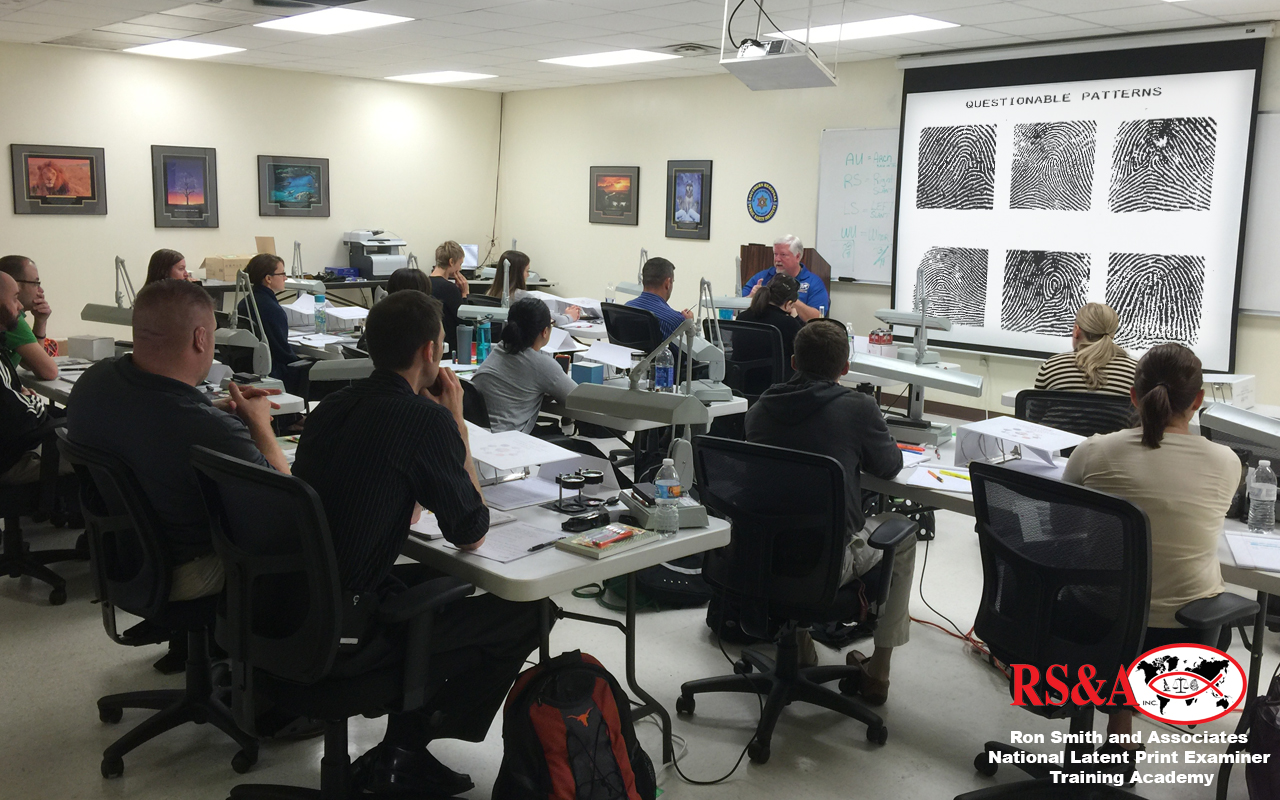
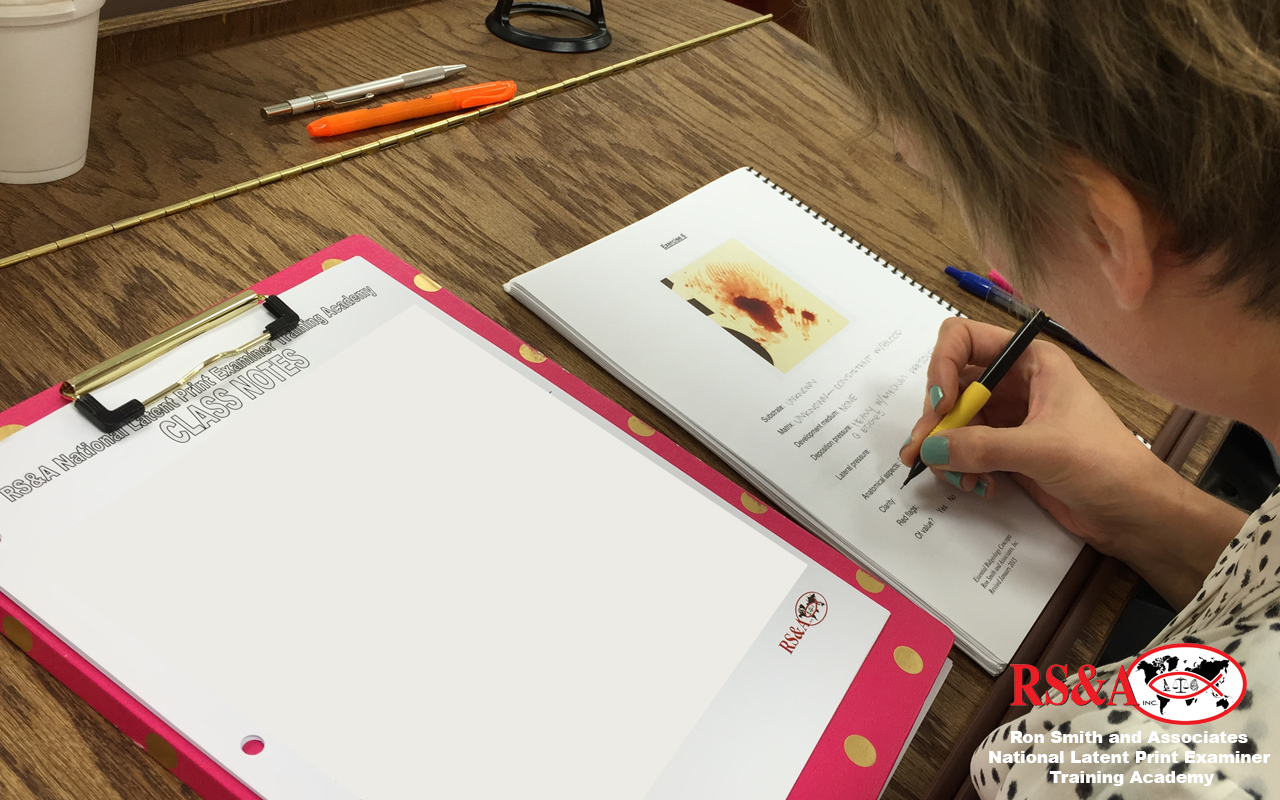
Week #16 was focused on the topic of latent print distortion. This was a great week for this topic as the students were fresh off last week’s topic of ACE-V methodology and documentation.
The following topics/concepts were covered, discussed and applied during Week #16:
1) How the surface and substrate can affect the latent impression
2) How developments techniques can affect the latent impression
3) How the skins responds/reacts to pressure (elastic deformation)
4) What causes the skin to react in a predictable way (structure of the skin and hand)
5) What is meant by “Stick Zone”, premature and gross slip.
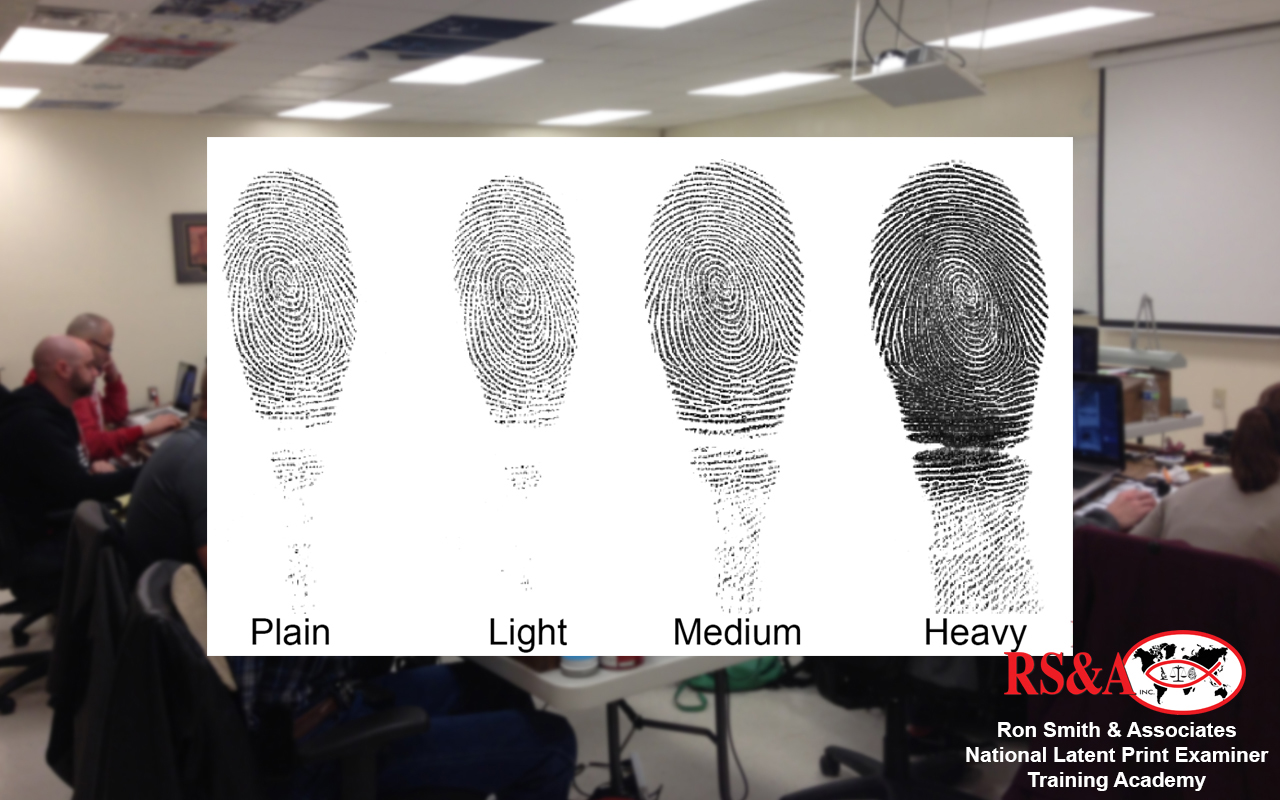
6) The effects of vertical pressure on the impression (deposition pressure / compressive stress)
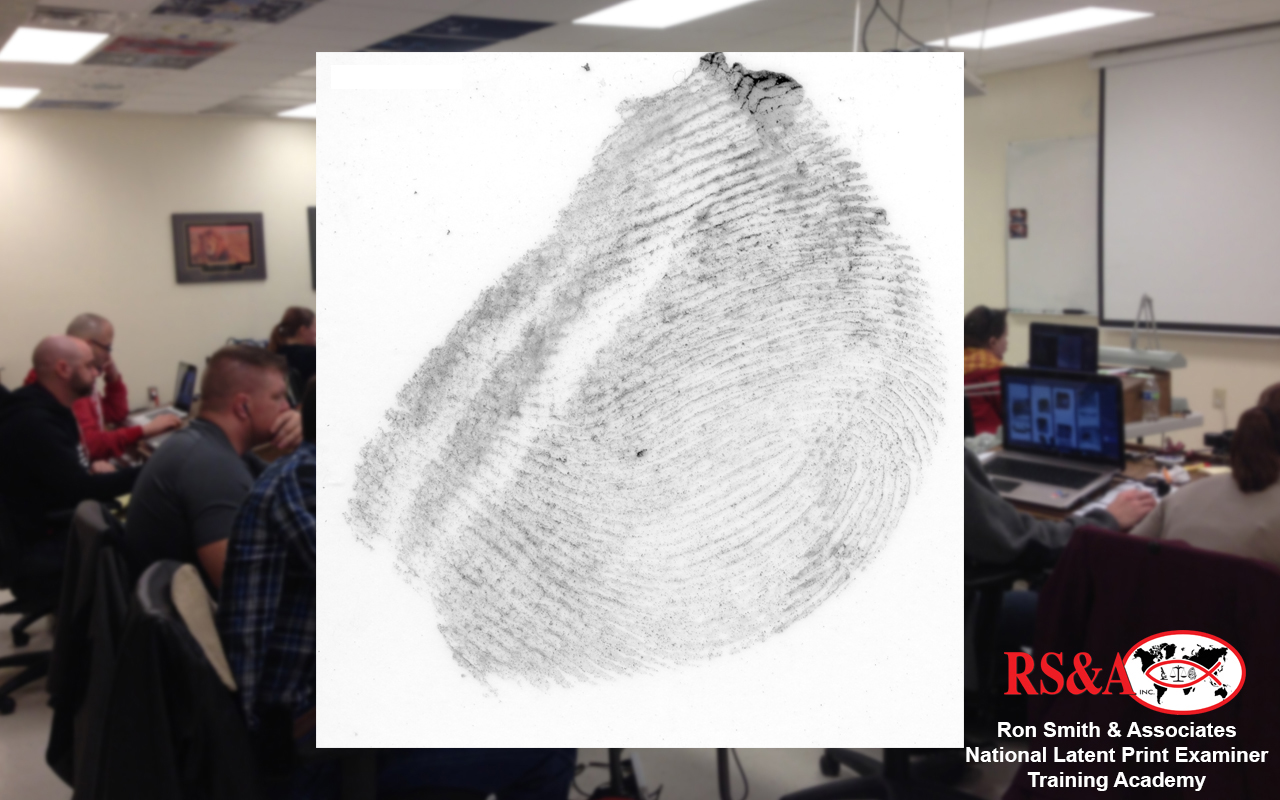
7) The effects of lateral pressure/movement on the impression (tangential stress)
8) Types of lateral pressure/movement (shearing stress and torque)
9) How the ridges react to this type of movement (imbrication / compression / expansion)
10) Tonal reversals and what causes them
11) The difference between discrepancies and distortion or variation
12) Red Flags
The greater understanding the students gain on distortion, of all types, will eventually help them in understanding why latent prints appear as they do, their analysis of those latent prints, and how to explain distortion by the clues; thereby, giving the examiner the tools and vocabulary necessary to document and explain the variances that they experience in latent prints.
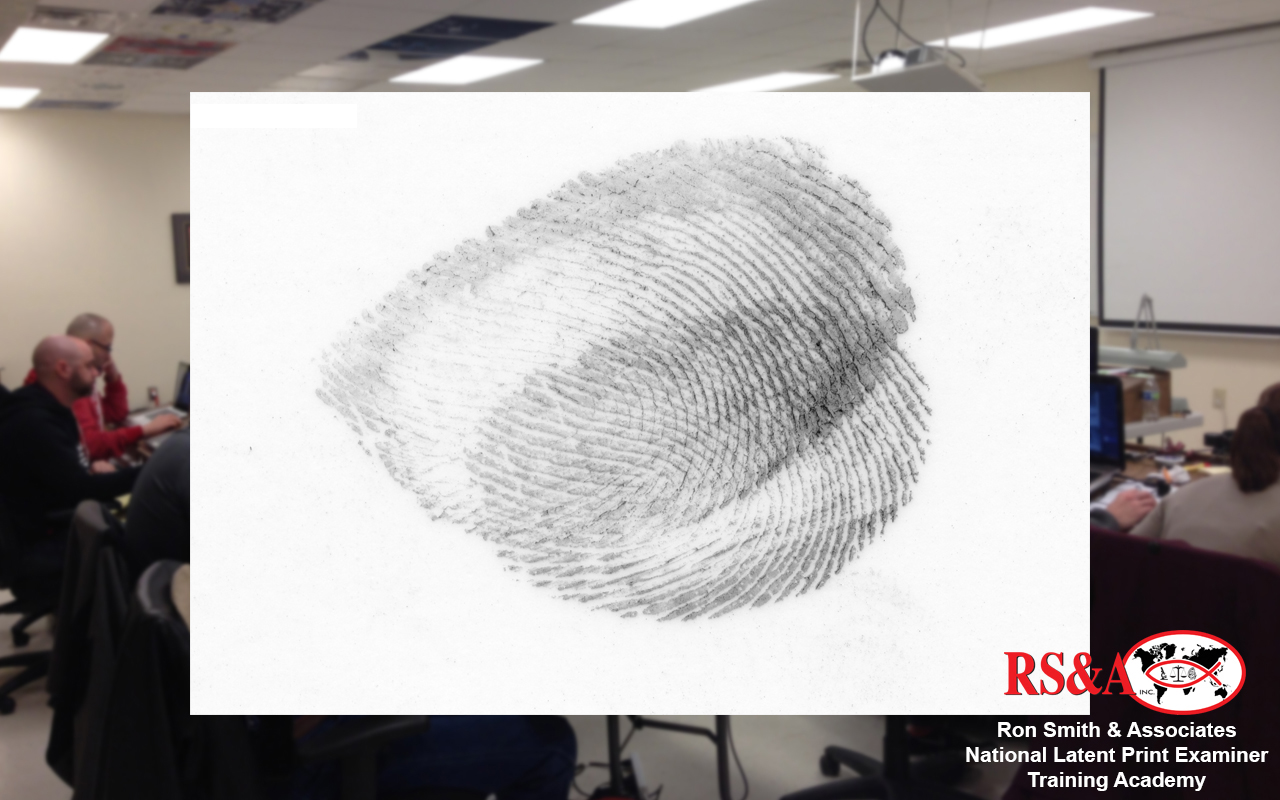
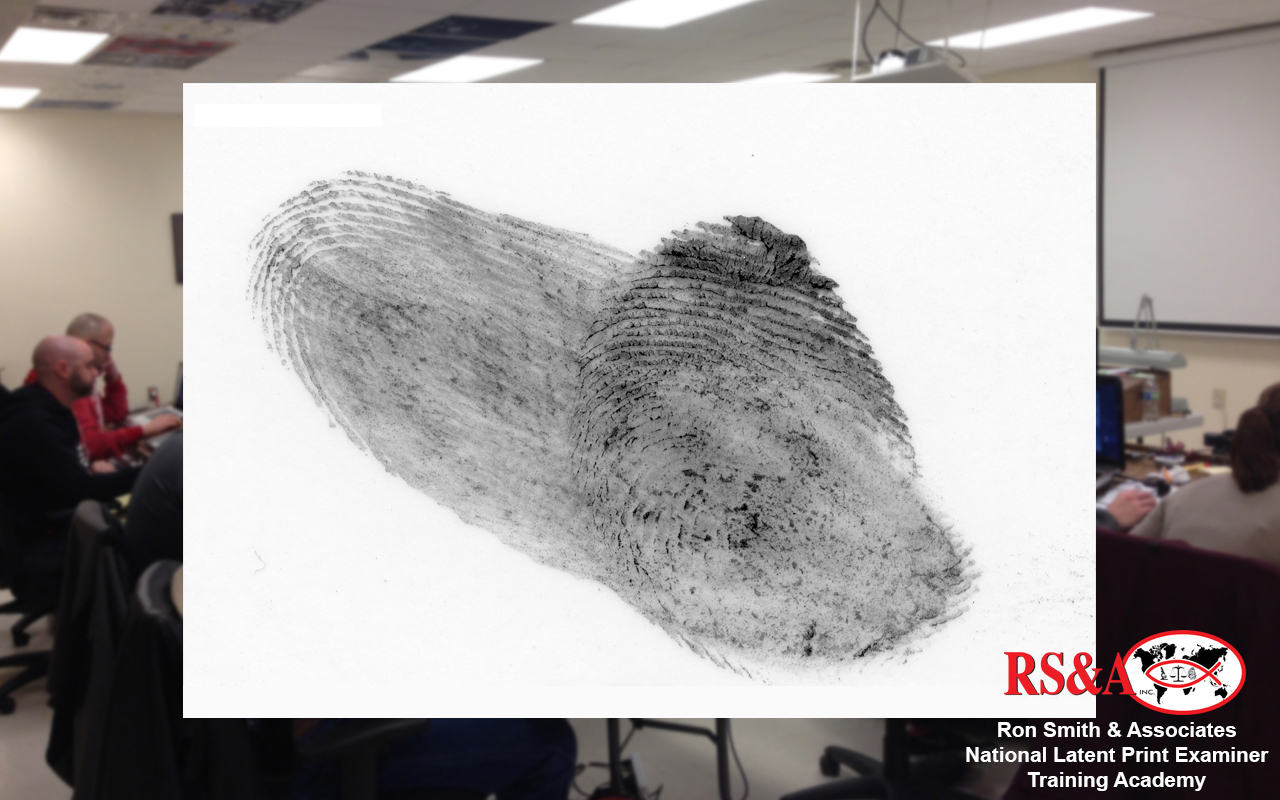
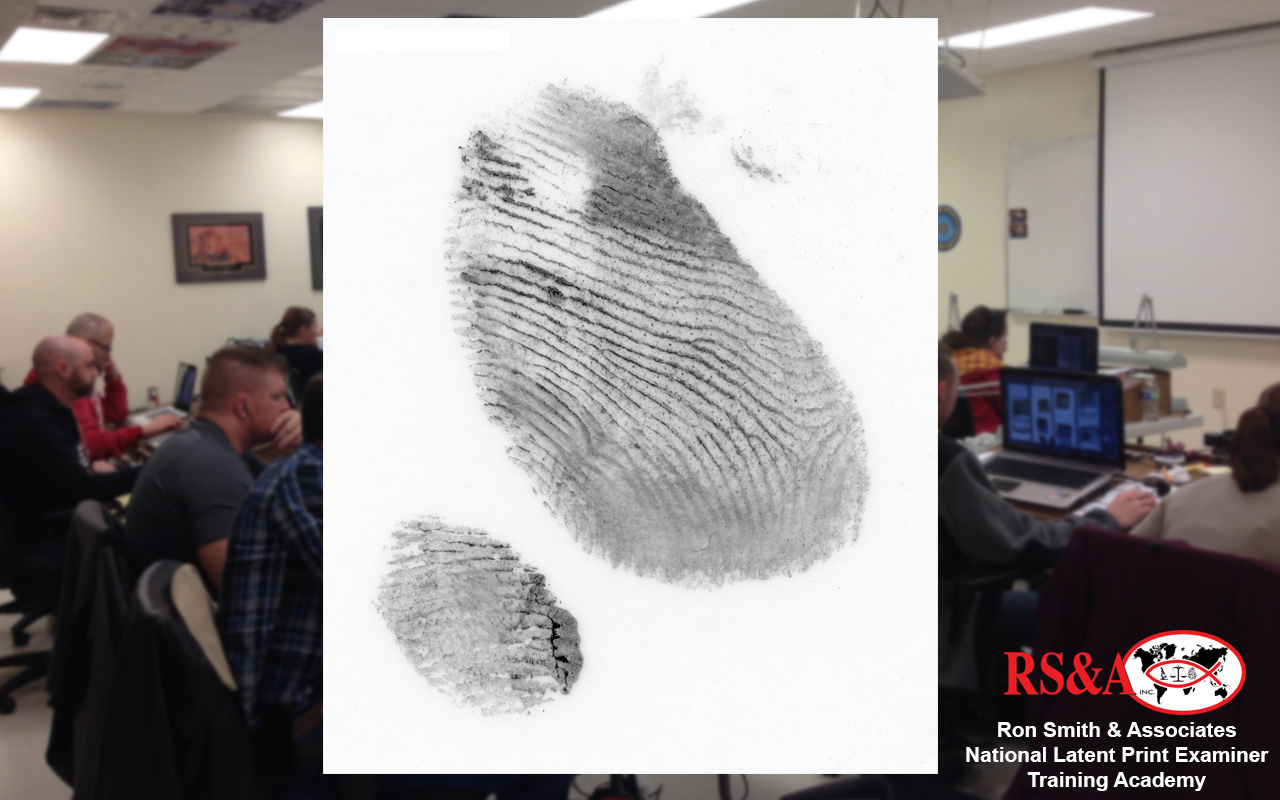
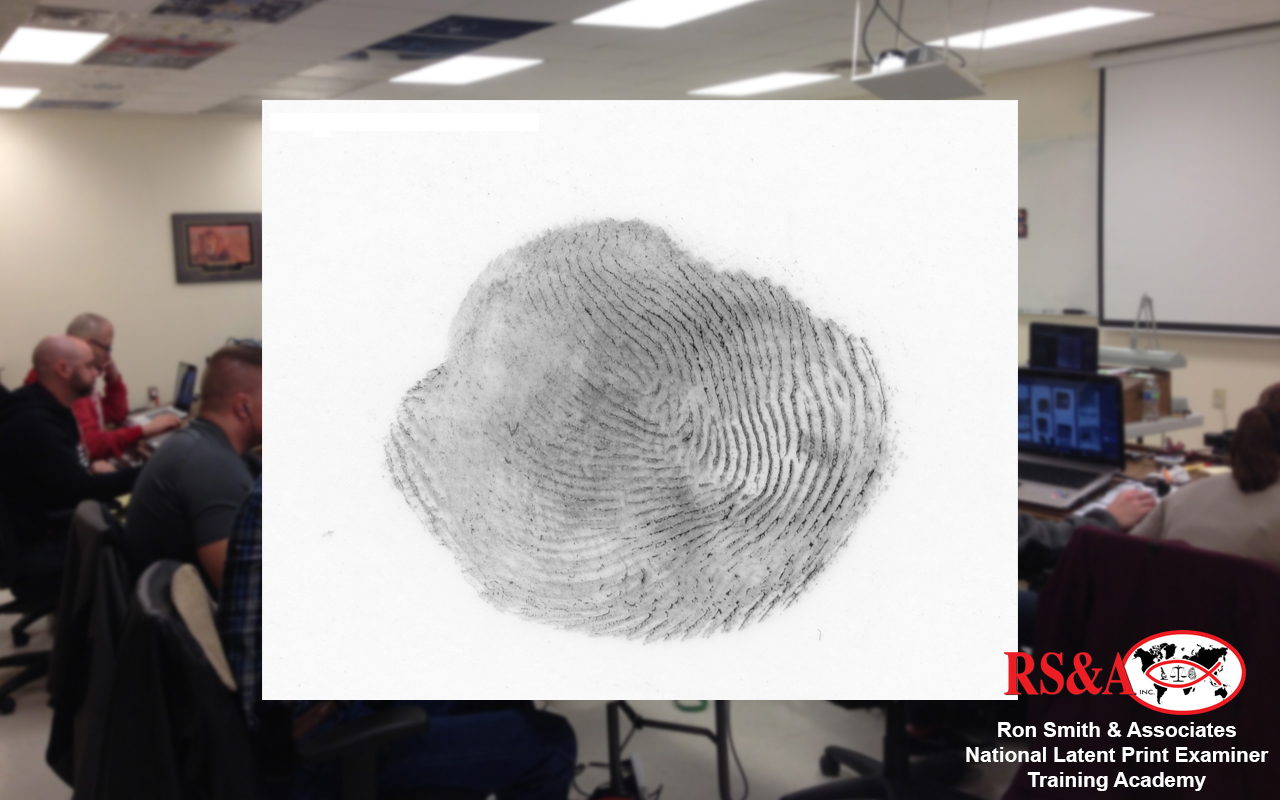
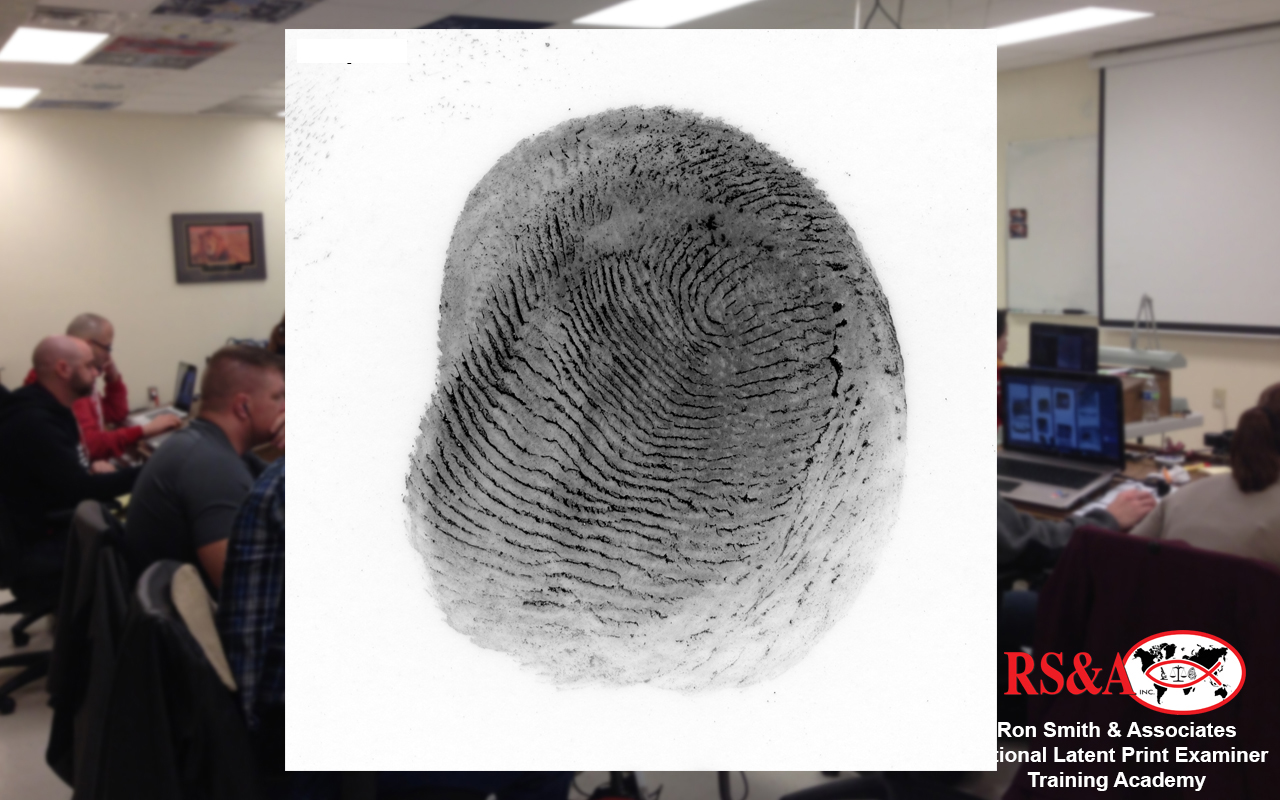
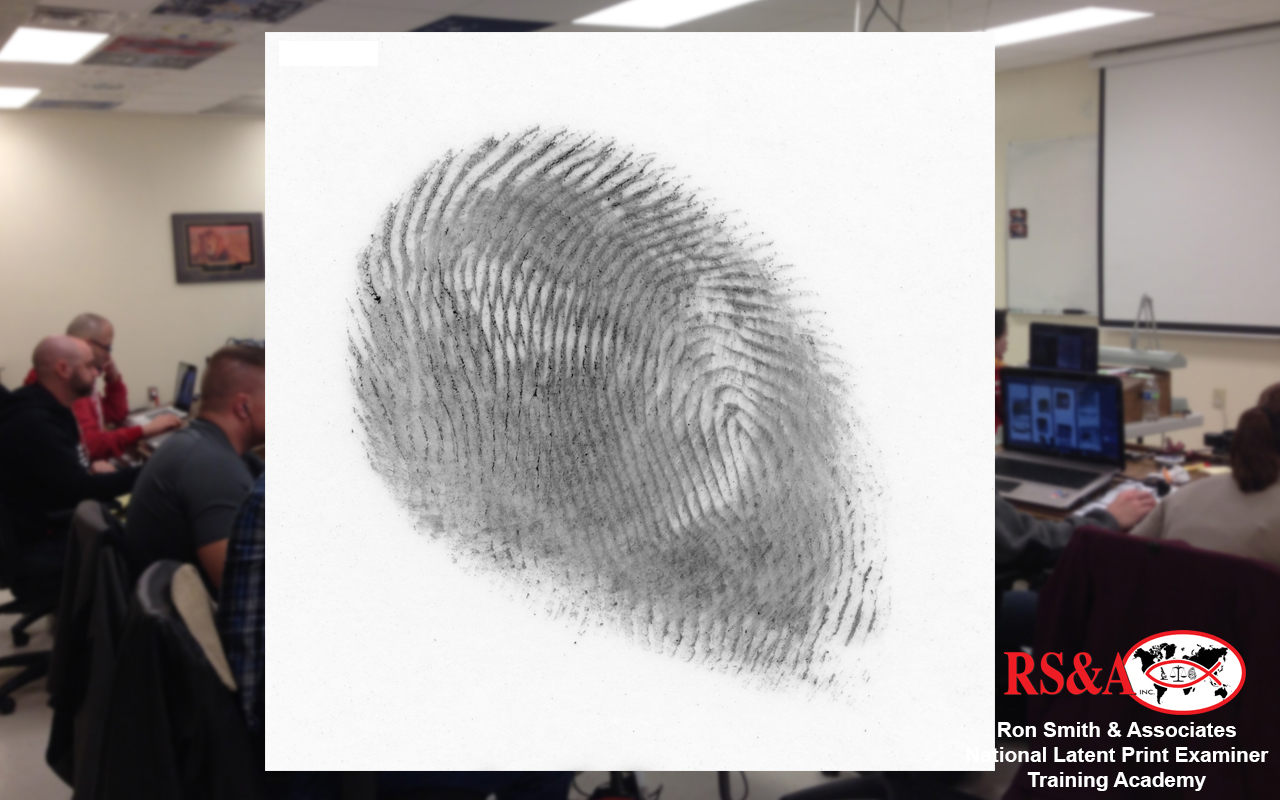
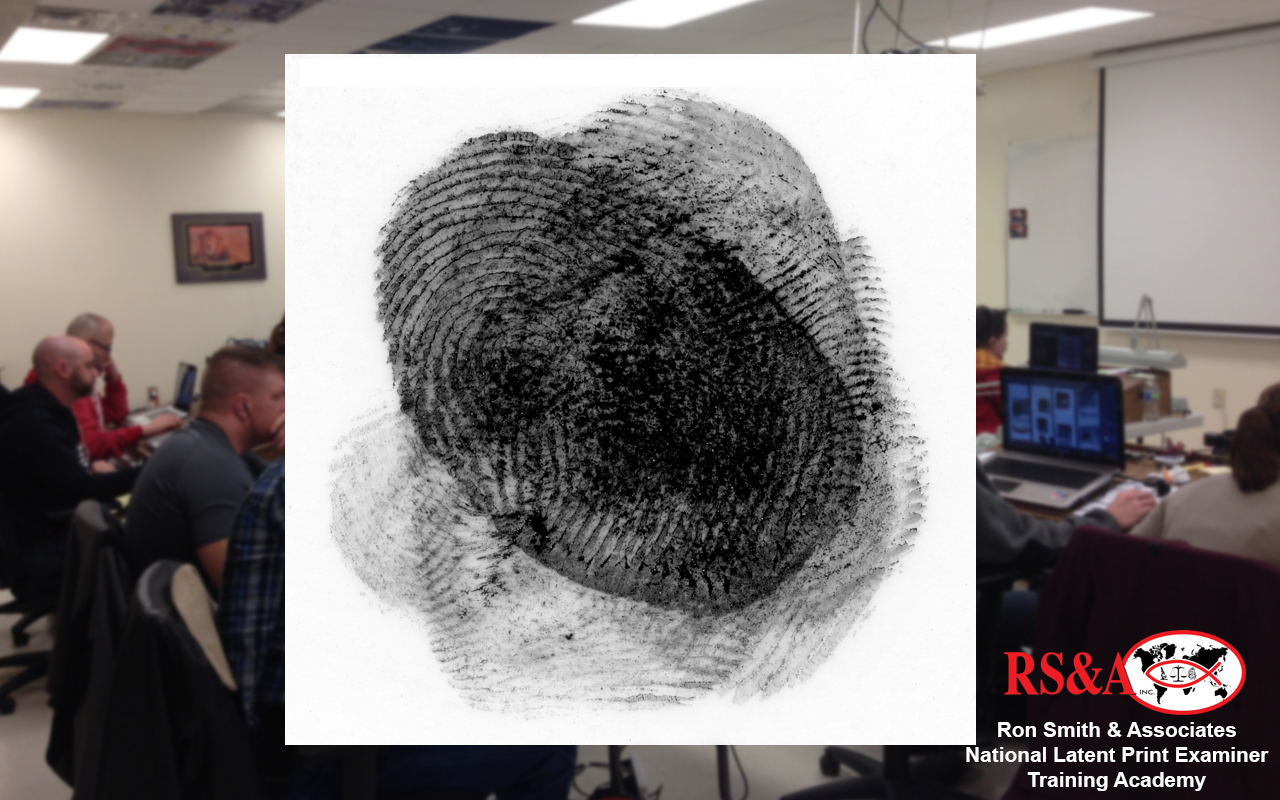
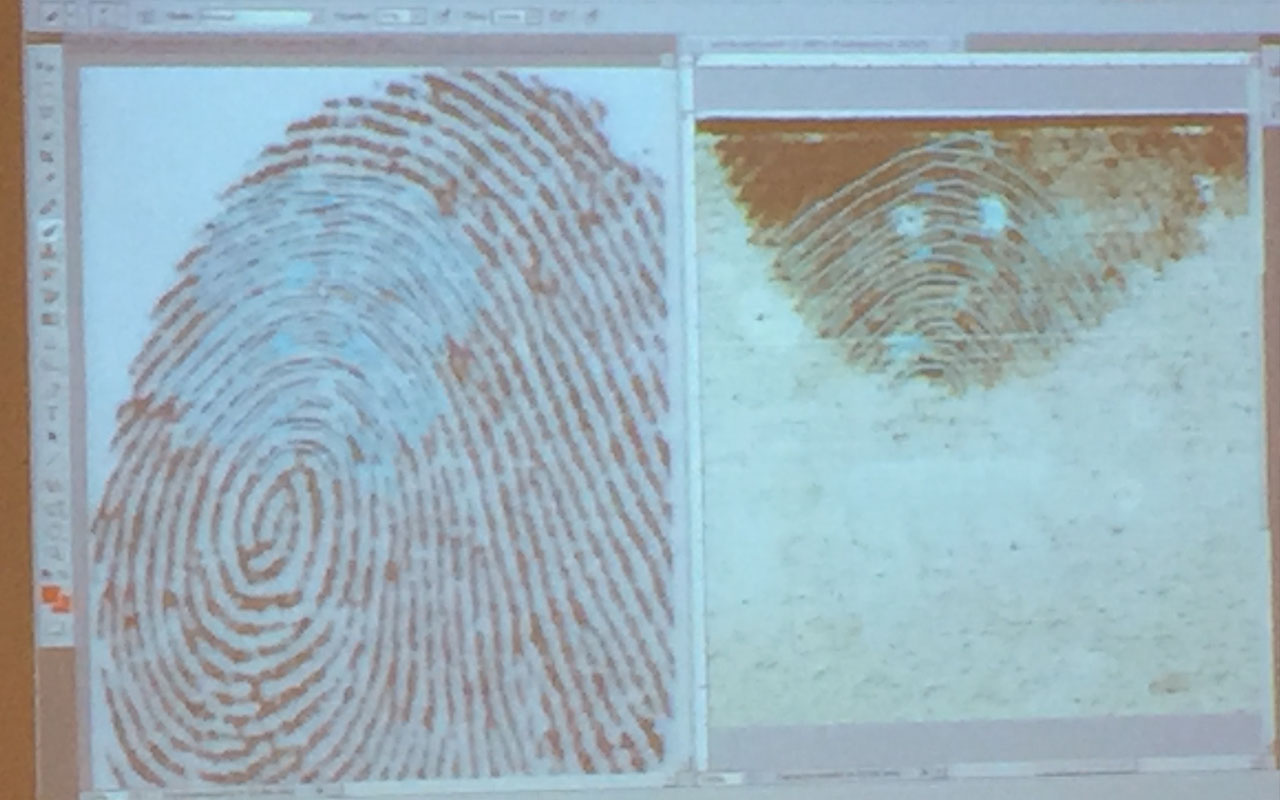
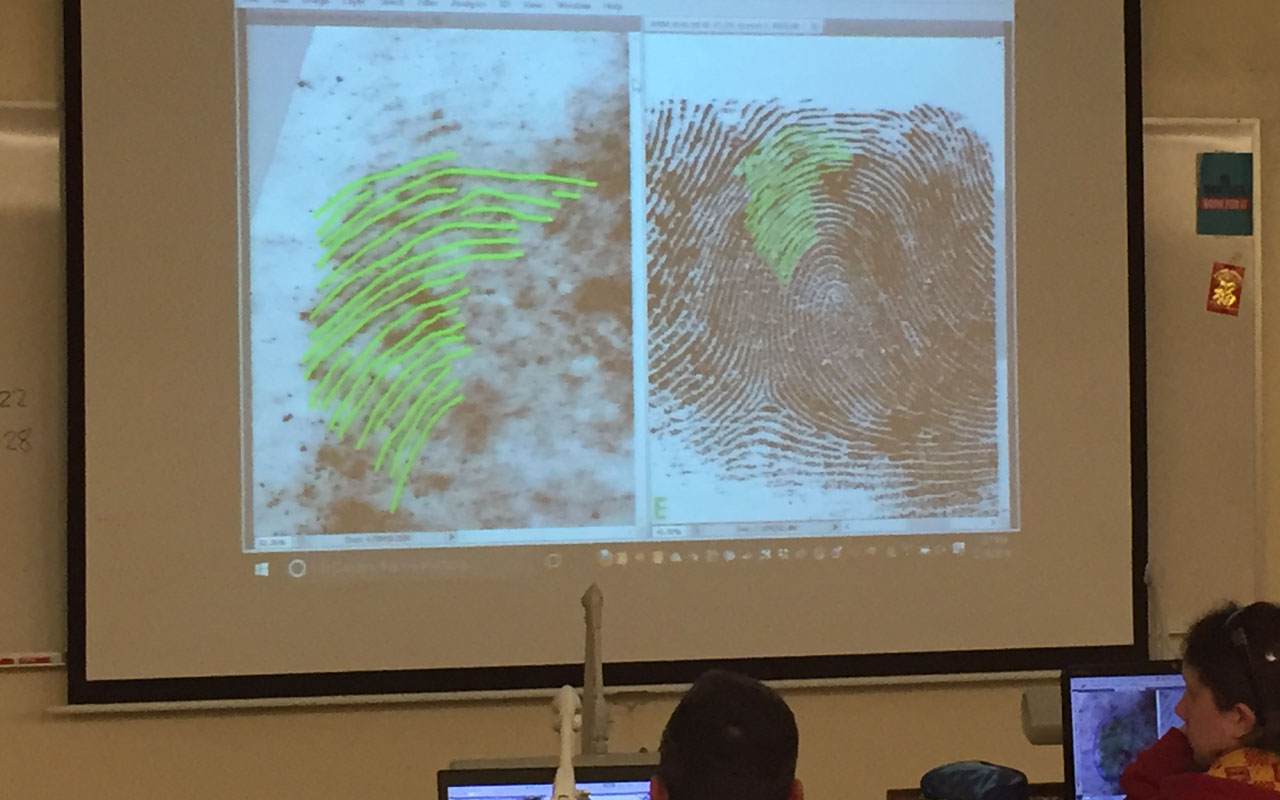
CLICK A THUMBNAIL IMAGE BELOW TO VIEW THE TYPES OF LATENTS STUDENTS REVIEWED IN CLASS
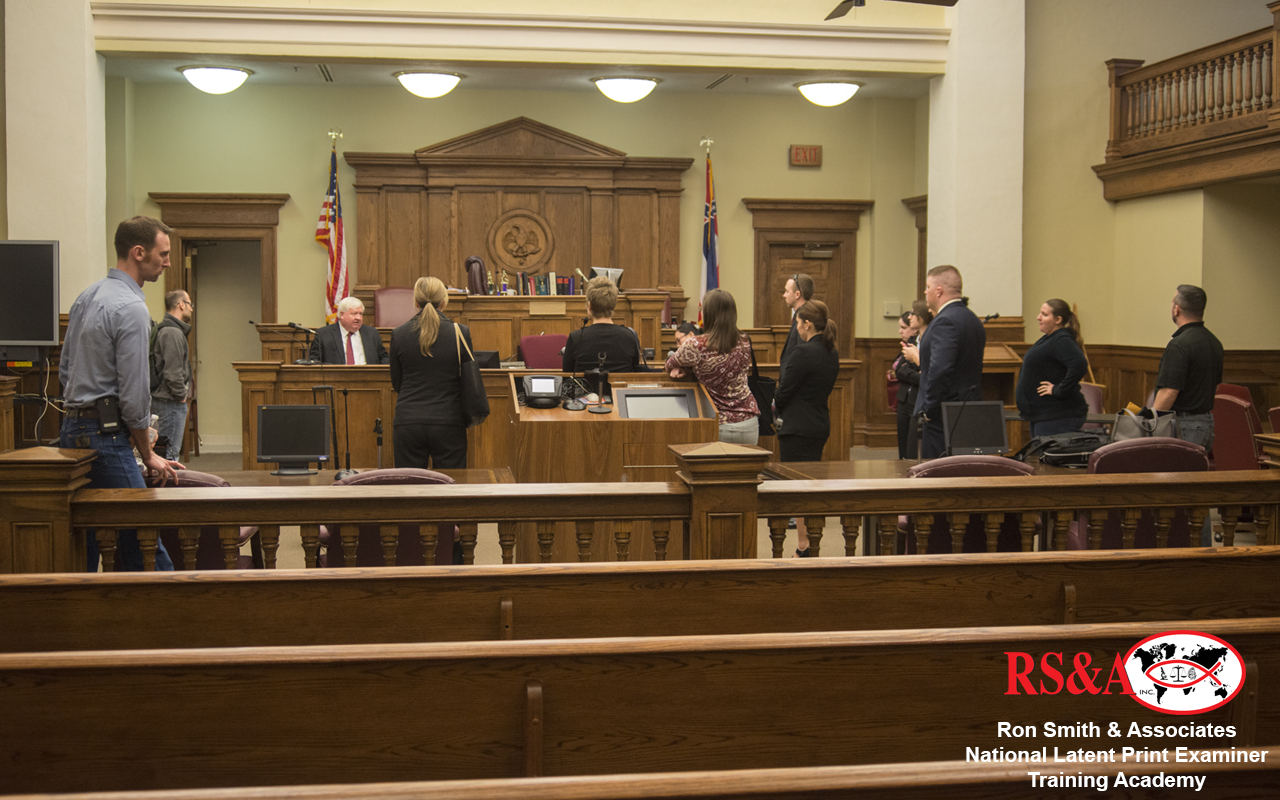
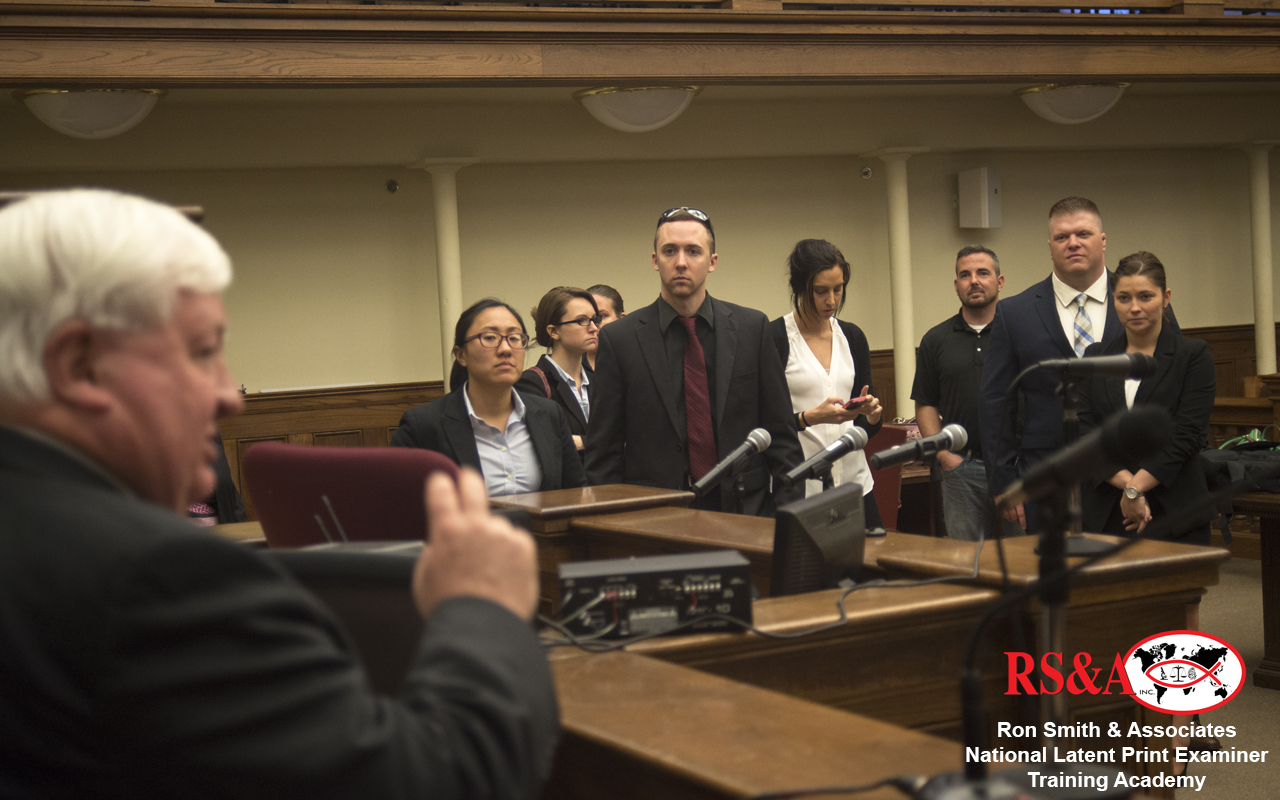
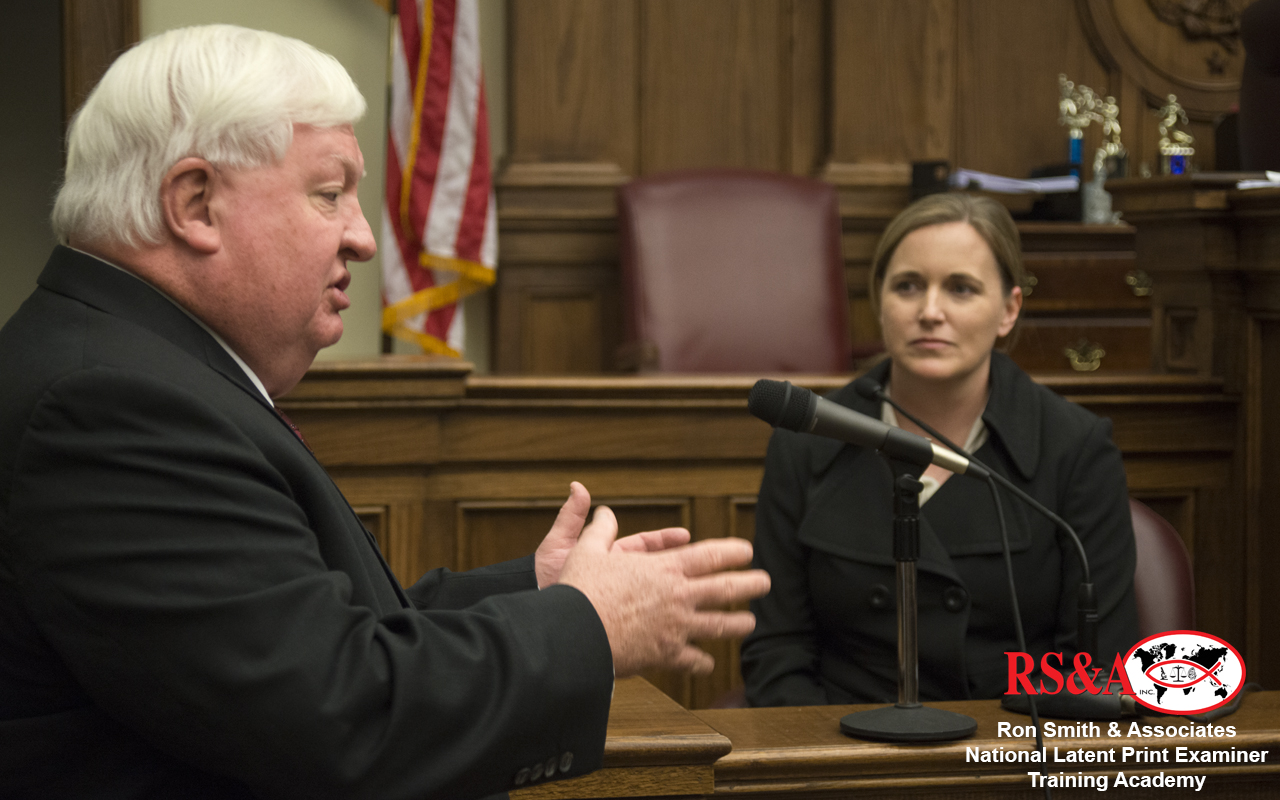
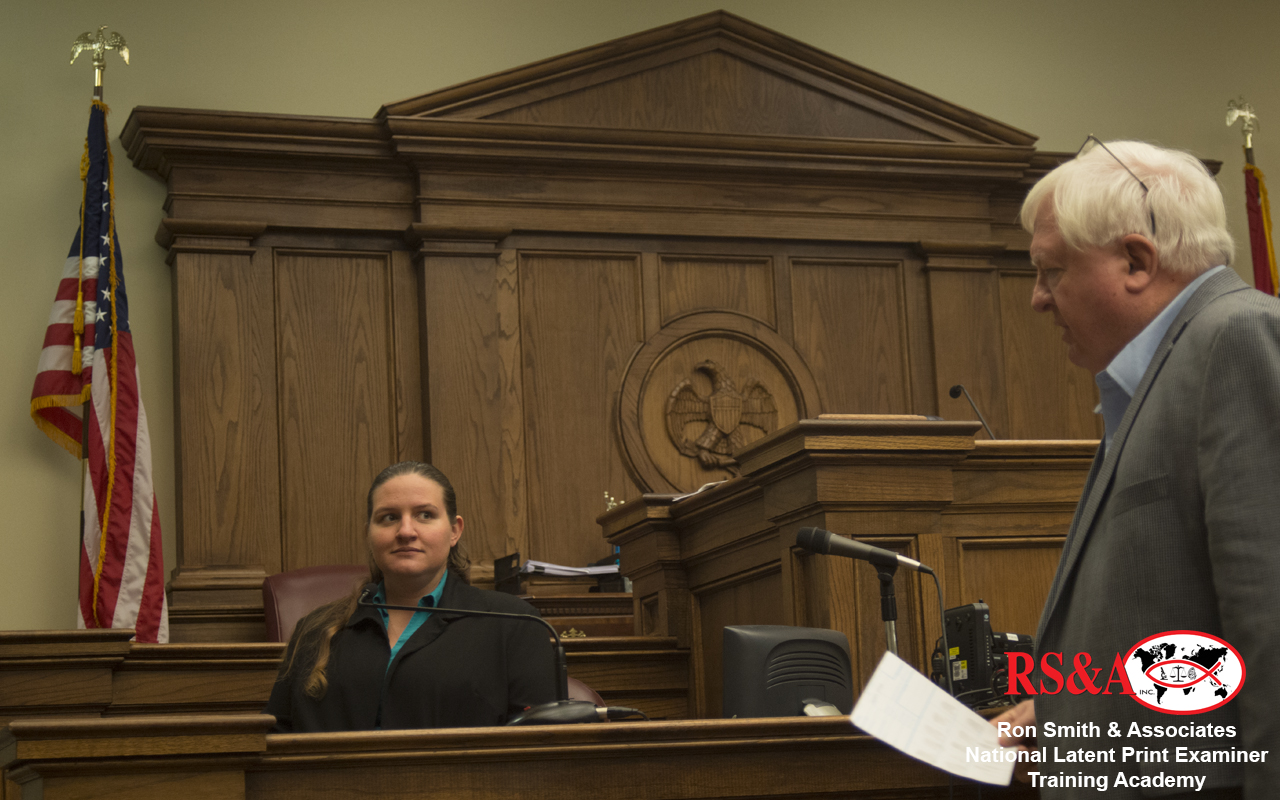
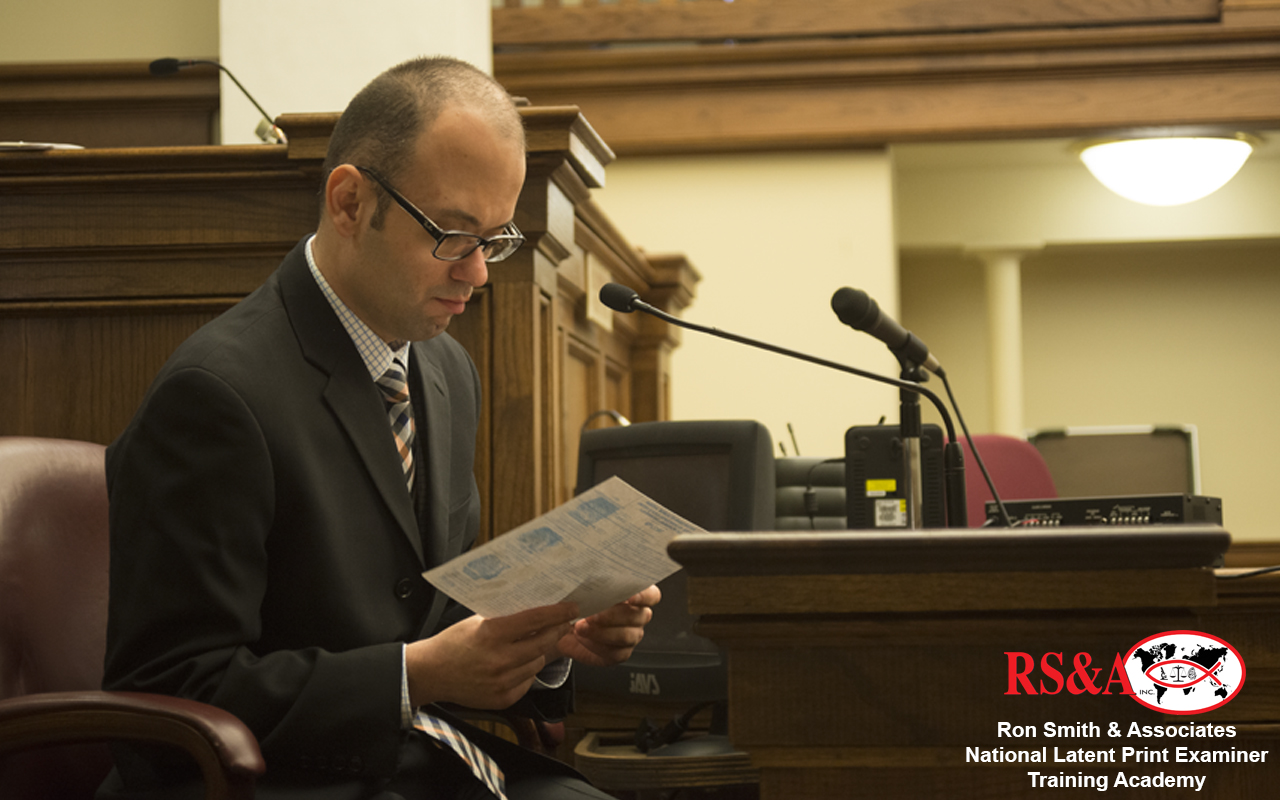
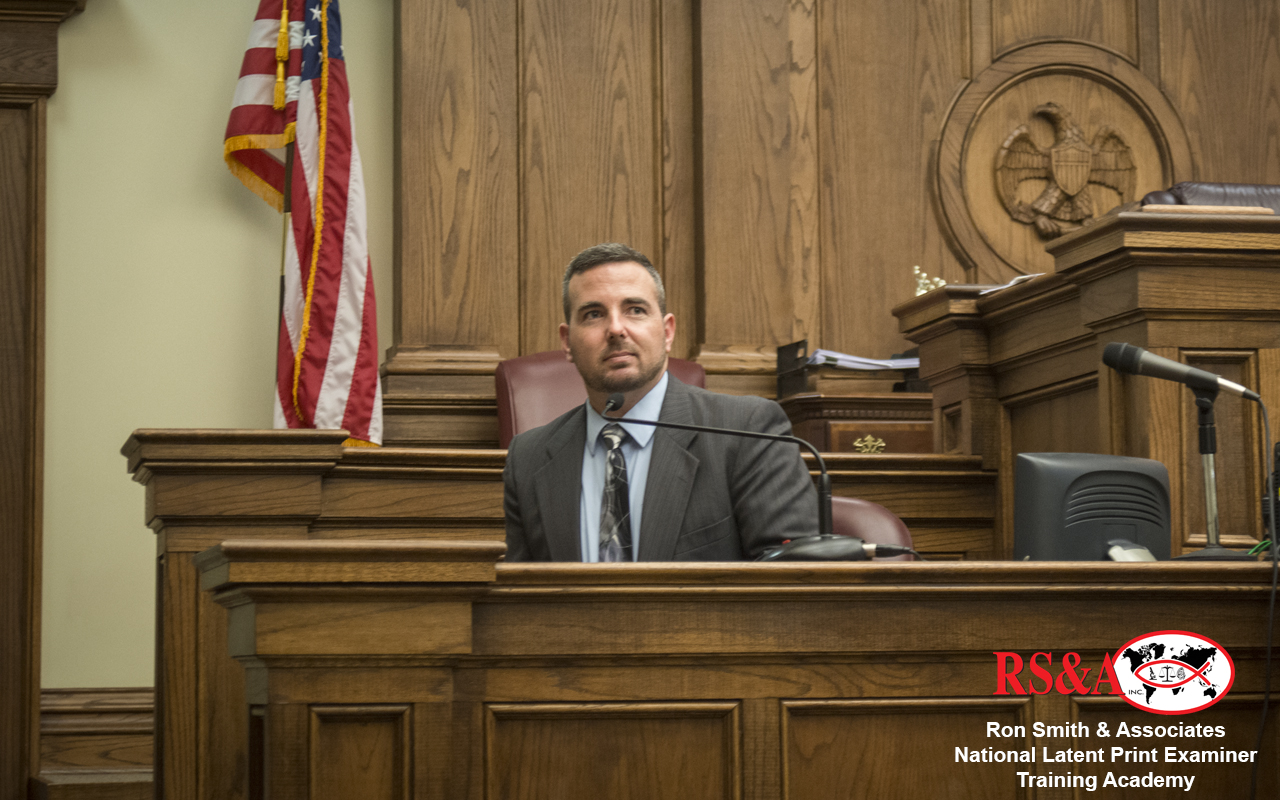
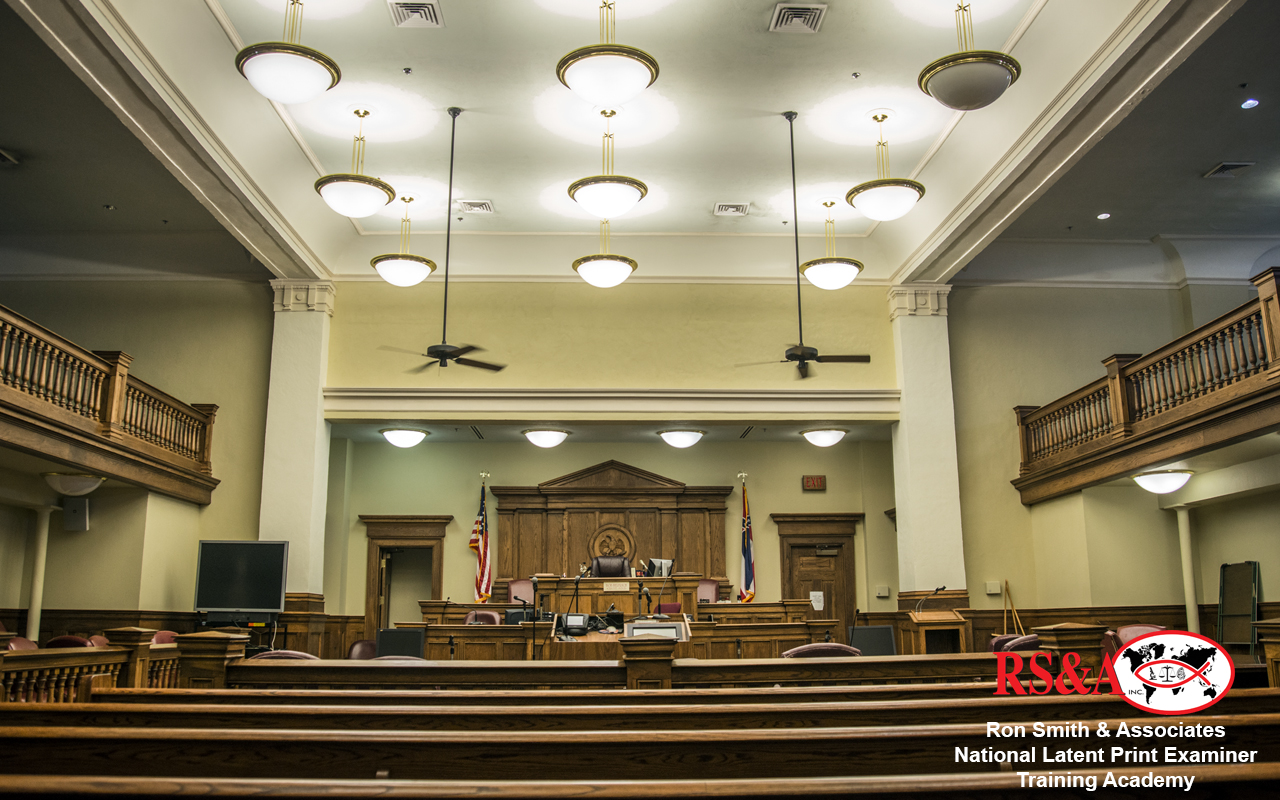
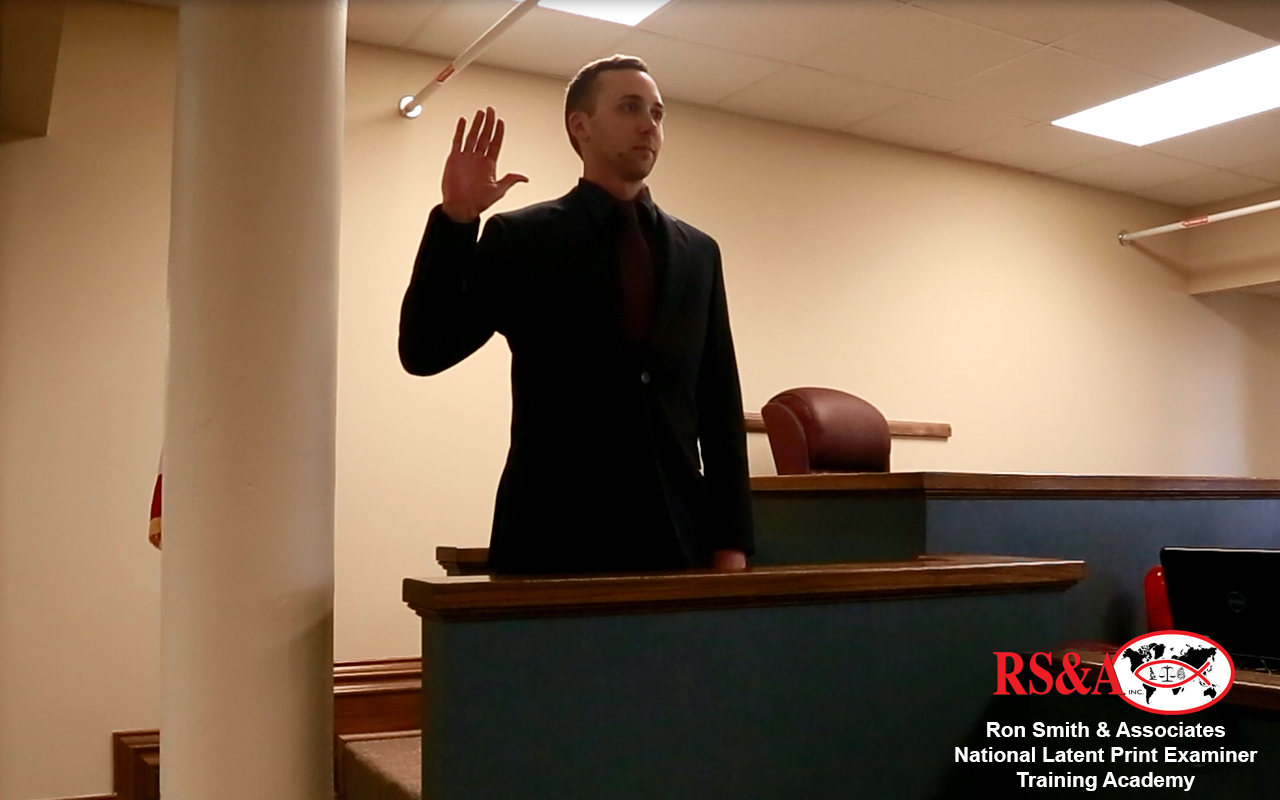
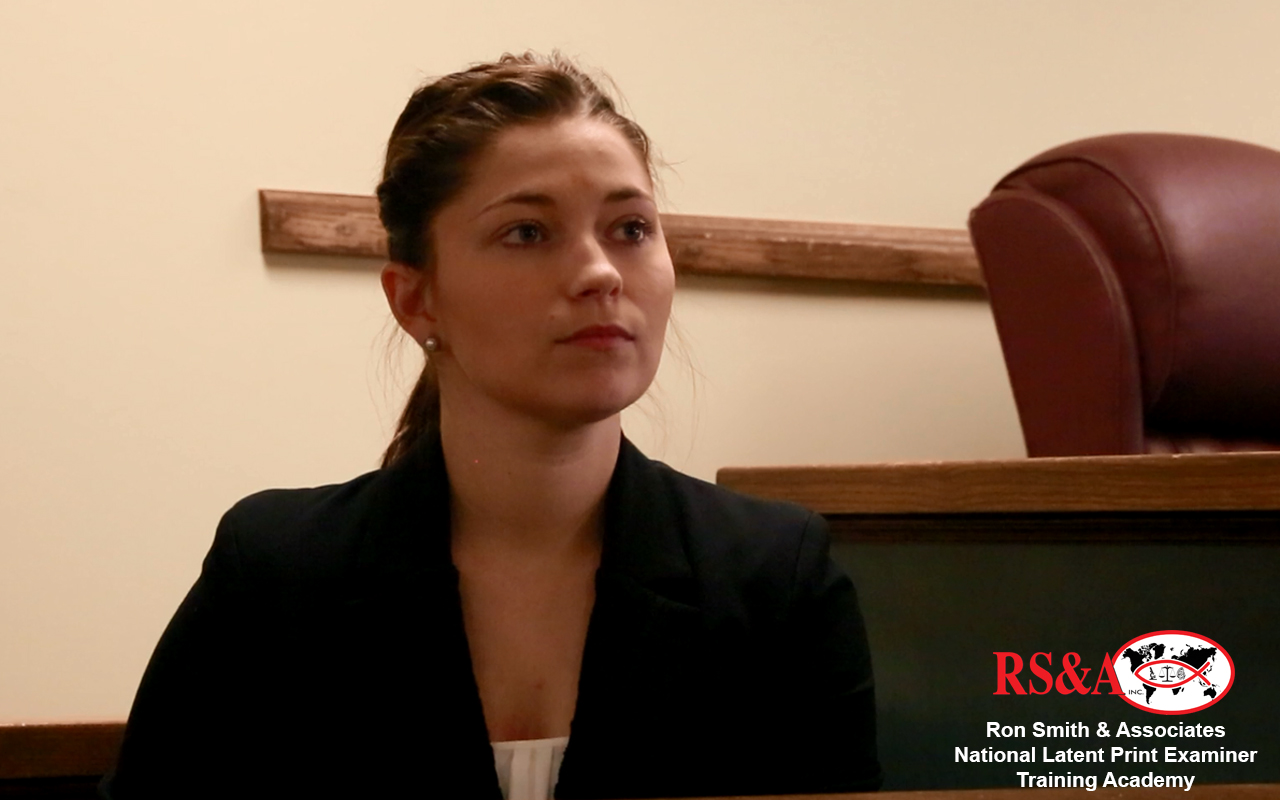
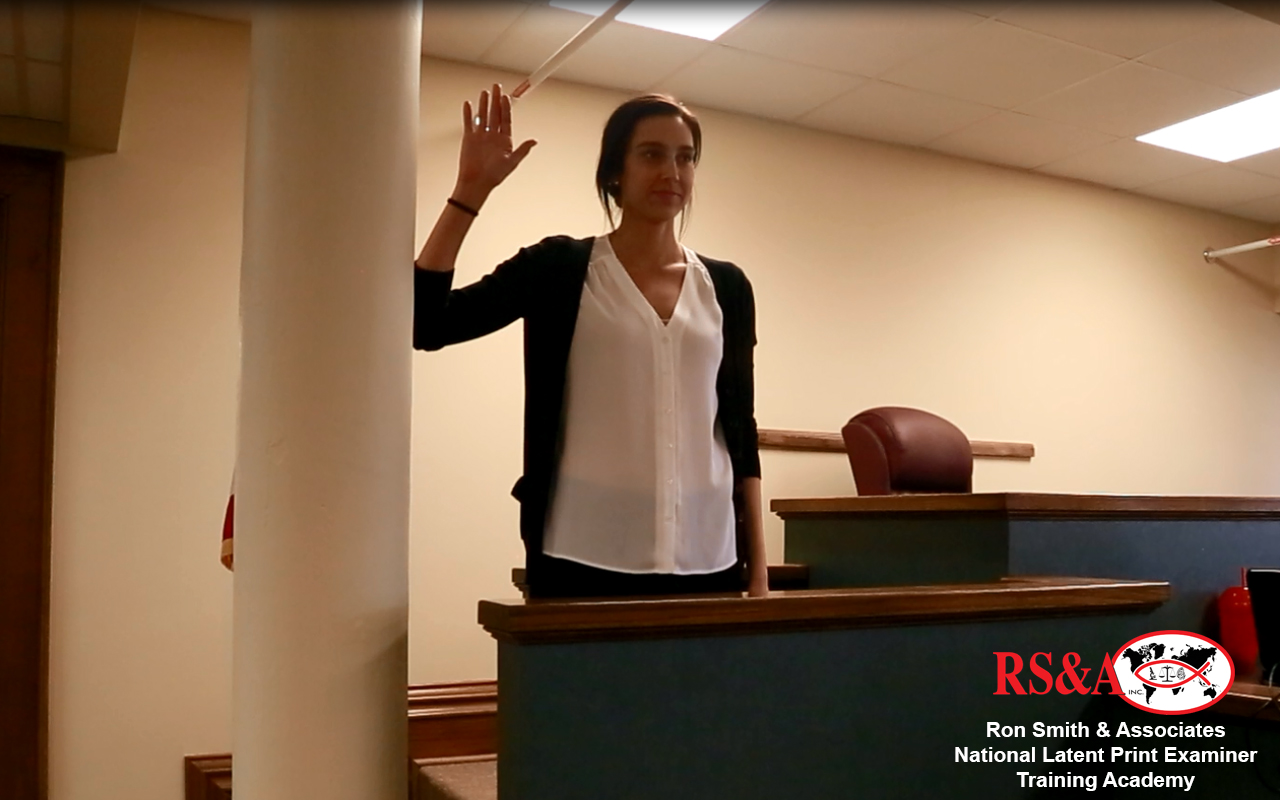
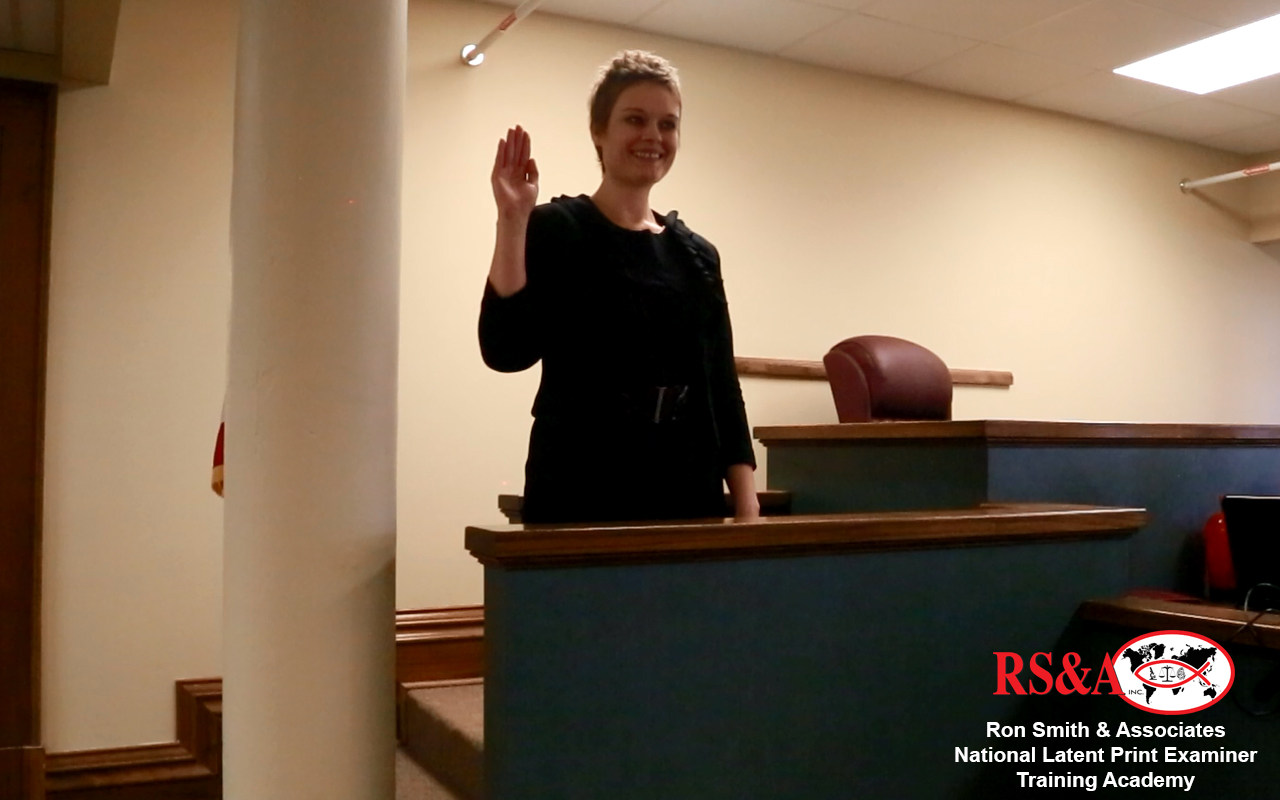
The focus this week was to get everyone on the witness stand in an actual courtroom. The students developed qualifying questions and then went through the motions of actually qualifying in a courtroom setting. The students also discussed the basic premise that Jurors do not vote on the truth! They can only vote on their perception of the truth as they see it that day in court. It certainly is not our job as expert witnesses to convict, but it is incumbent upon us to testify in a manner which is believable and understandable, regardless of the verdict. It is up to you, as unbiased forensic expert witness, to instill within them what is termed “forensic trust”. Trust of the forensic discipline you practice and trust in you as the practitioner. The students also discussed the methodology necessary to foster that level of trust, regardless of the challenges presented by legal counsel. It was a fun, interactive and highly energetic opportunity to significantly develop and improve their testimony skillset.
CLICK A THUMBNAIL IMAGE BELOW TO VIEW A LARGER IMAGE SLIDESHOW
Week #18 was focused on the topic of simultaneous impressions and complex examinations.
The following topics/concepts were covered, discussed and applied during Week #18:
1) Understand the terminology used when conducting simultaneous impressions
2) Understanding simultaneous impressions past and present
3) Understand current research on simultaneous impressions
4) Understand the court rulings on simultaneous impressions (review of Commonwealth v Patterson)
5) Understand the logic behind the conclusion of simultaneity
6) Understand the uses of simultaneous impressions in casework
7) Understand the SWGFAST standard for simultaneous impression examination
8) Applying the concepts learned during distortion week to the analysis of simultaneous and complex impressions
9) Practical exercises on simultaneous impressions
10) Practical exercises on complex impressions
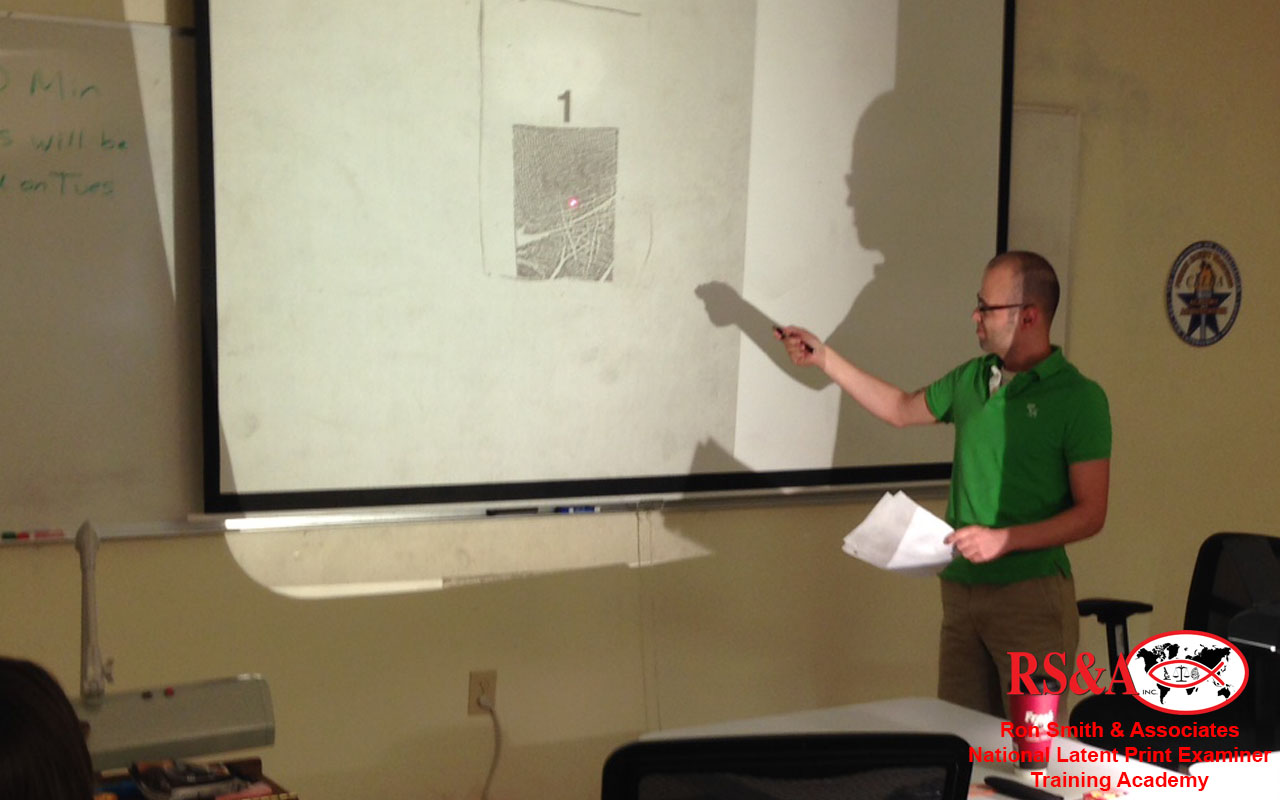
The students were able to get a much better understanding of simultaneous and complex impressions by the end of the week. It was also beneficial to have them utilizing the newly acquired information from distortion week to aid them in their analysis. All complex latent prints (37 latent prints) were digital images and were compared on-screen in the classroom. These were extremely complex images and comparisons. The students were instructed to give a definitive answer if possible, but inconclusive would also be considered as an acceptable answer. The students had to present their conclusions on complex comparisons to the class during the week in an attempt to help them verbalize what they were seeing. The students were reminded to be sure of every conclusion during the week, because when they graduate, there are real people behind every latent print image and every case that they work.
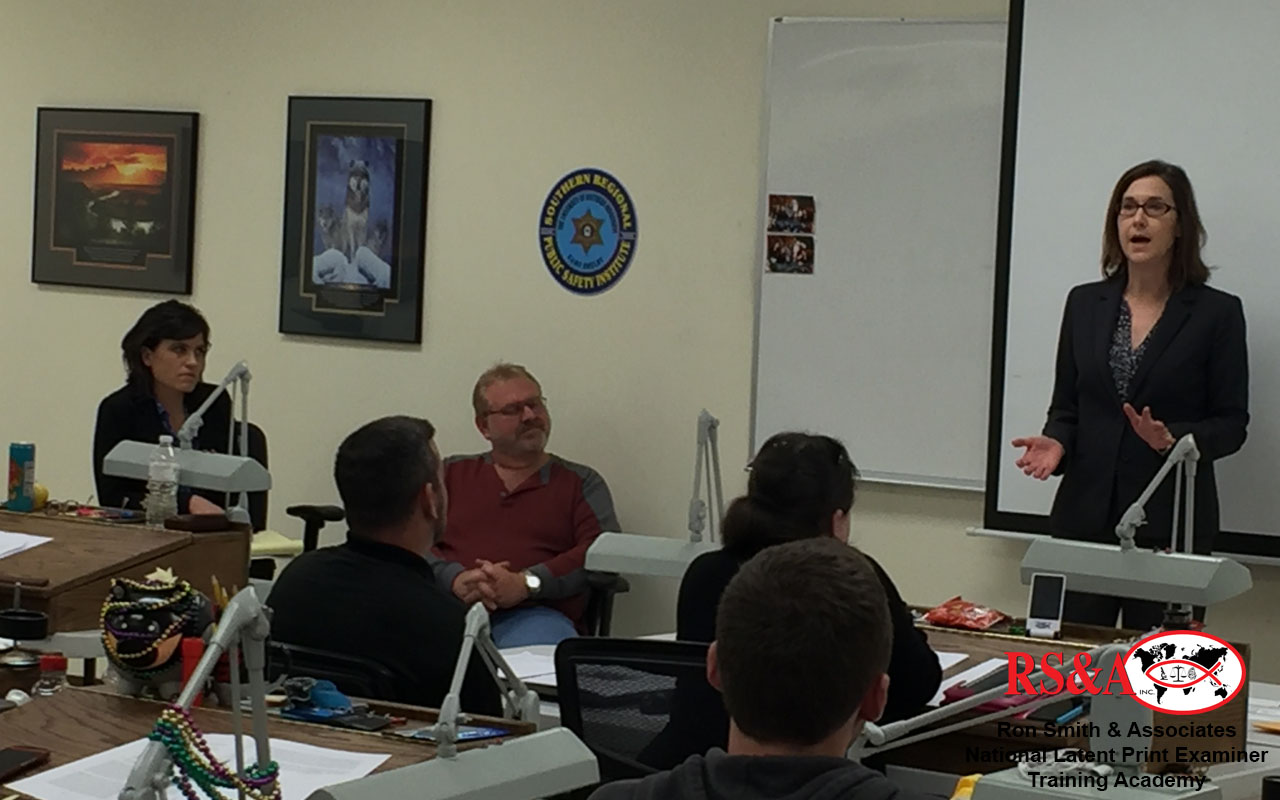
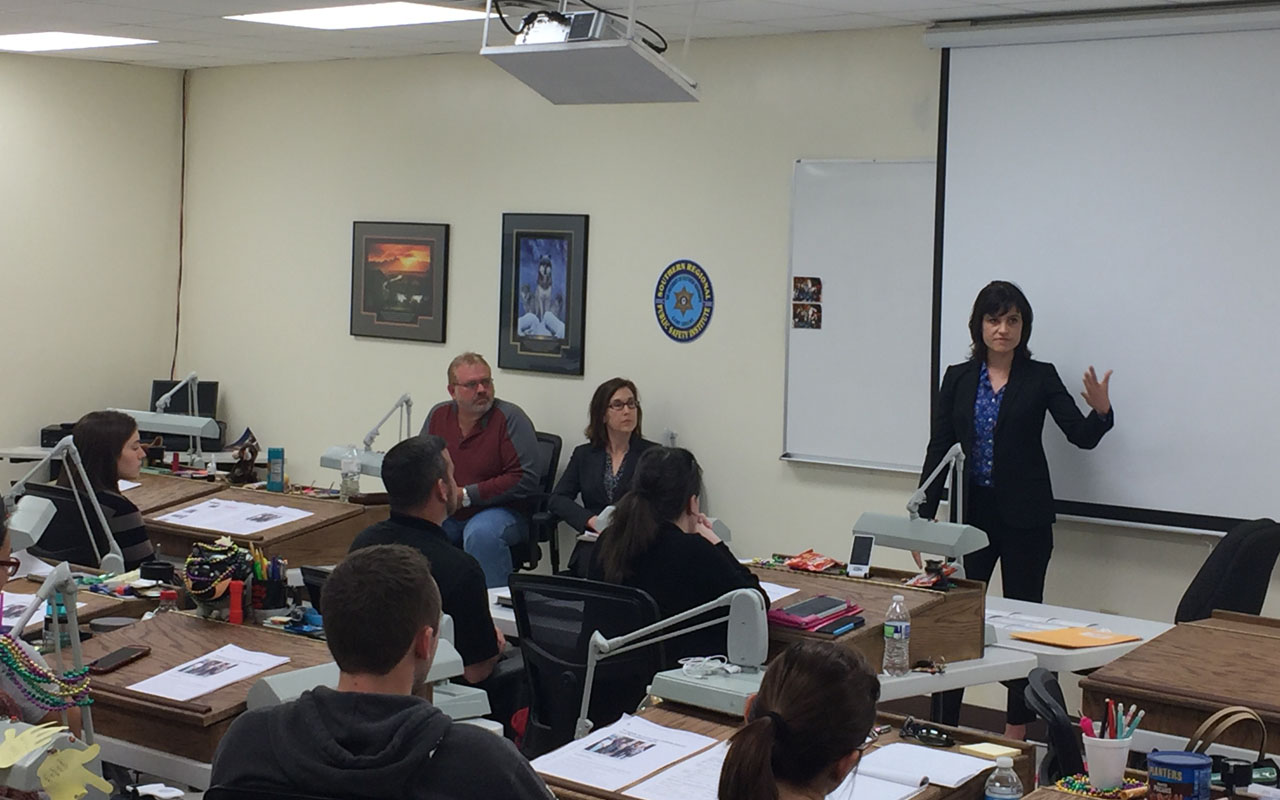
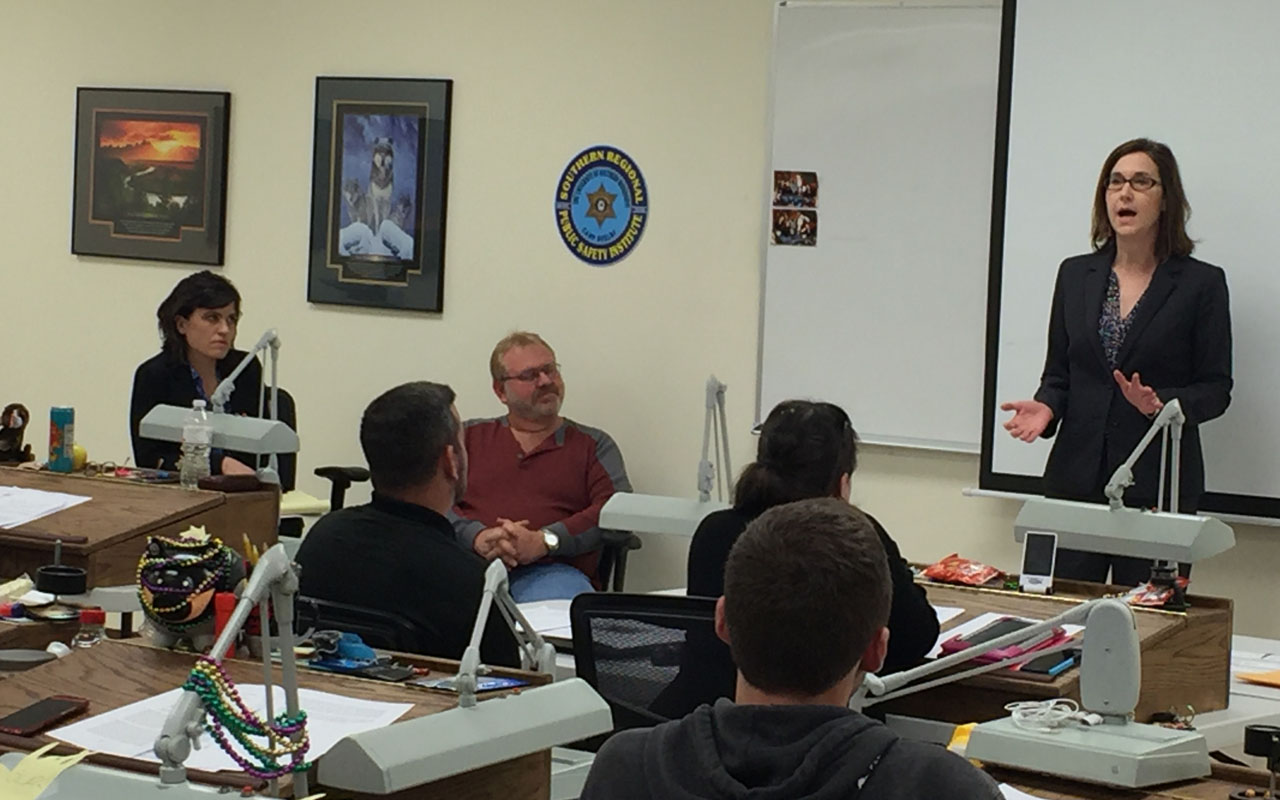
Also, on Friday of this week, the students were treated to a surprise visit by Ms. Carla Crowder (Equal Justice Initiative (EJI) Attorney), Ms. Rachel Judge (EJI Attorney) and Mr. Alton Dandridge. Mr. Dandridge was wrongfully accused of homicide he did not commit and served 20 years in prison. The only evidence against him was fingerprint evidence collected at the crime scene and identified/verified by examiners at the forensic lab. Both attorneys for EJI discussed the case, the evidence, the difficulties in overturning post-conviction cases and the legal structure of doing so. Mr. Dandridge answered any and all questions by the students about him, the legal process, how this affected him personally, his time in prison, his thoughts on the justice system and where things went wrong. This had a tremendous impact on the students as well as the instructors, and was a great reminder to us all of the power that we have as examiners that directly affect people’s lives.
CLICK A THUMBNAIL IMAGE BELOW TO VIEW A LARGER IMAGE SLIDESHOW
This week was designed to get the students ready for the IAI Latent Print Certification Test. The week covered all topics from all 19 weeks of the academy as a review for written material. It also included some timed drills, getting the students ready for working in a timed environment and to expose any weaknesses that the students may have. At the end of the week a full practice certification test was given to the students including pattern recognition, written test and comparison test.
The students received instruction on the following:
1) Overview of the IAI Certification Program
2) Review of historical figures and milestones as it relates to fingerprints
3) Searching smart skills (fingers, joints, tips and palms)
4) Orientation for (fingers, joints, tips and palms)
5) Speed Drills
6) IAI Mock Certification Test
CLICK A THUMBNAIL IMAGE BELOW TO VIEW A LARGER IMAGE SLIDESHOW
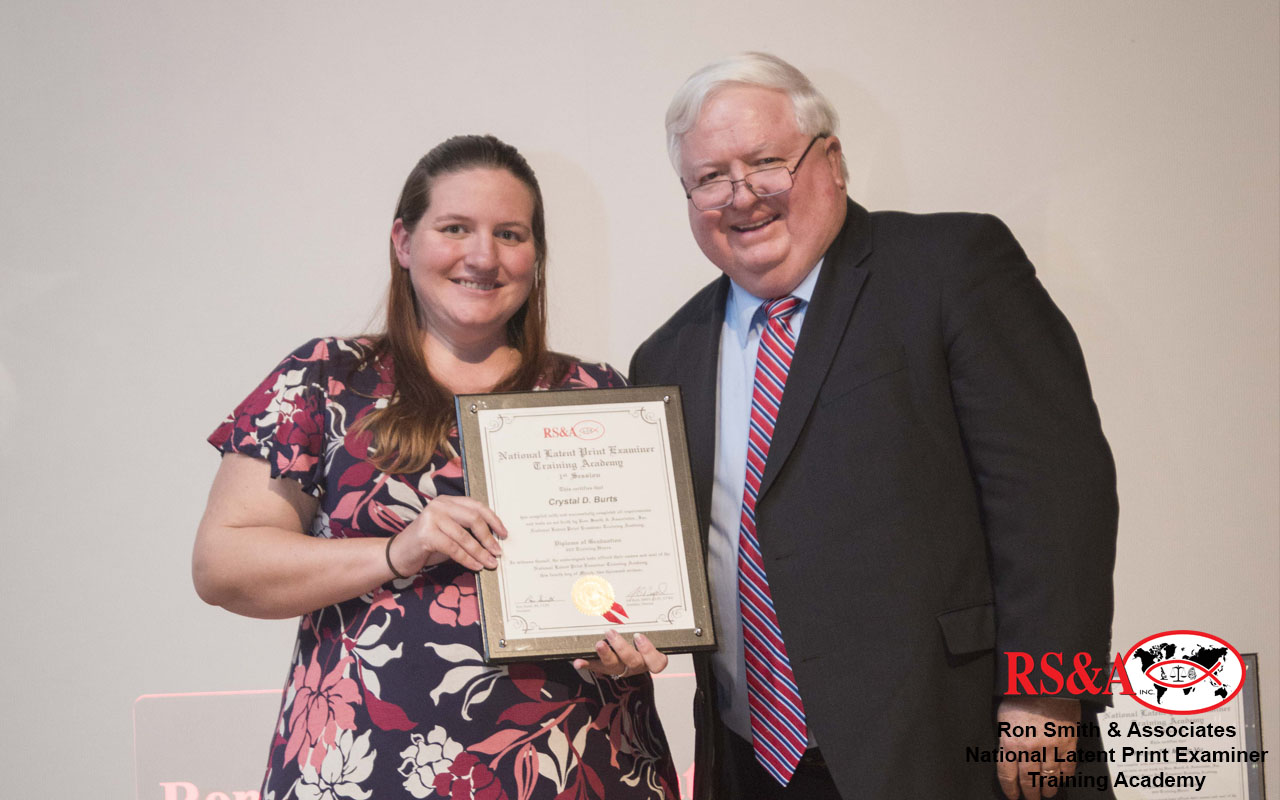
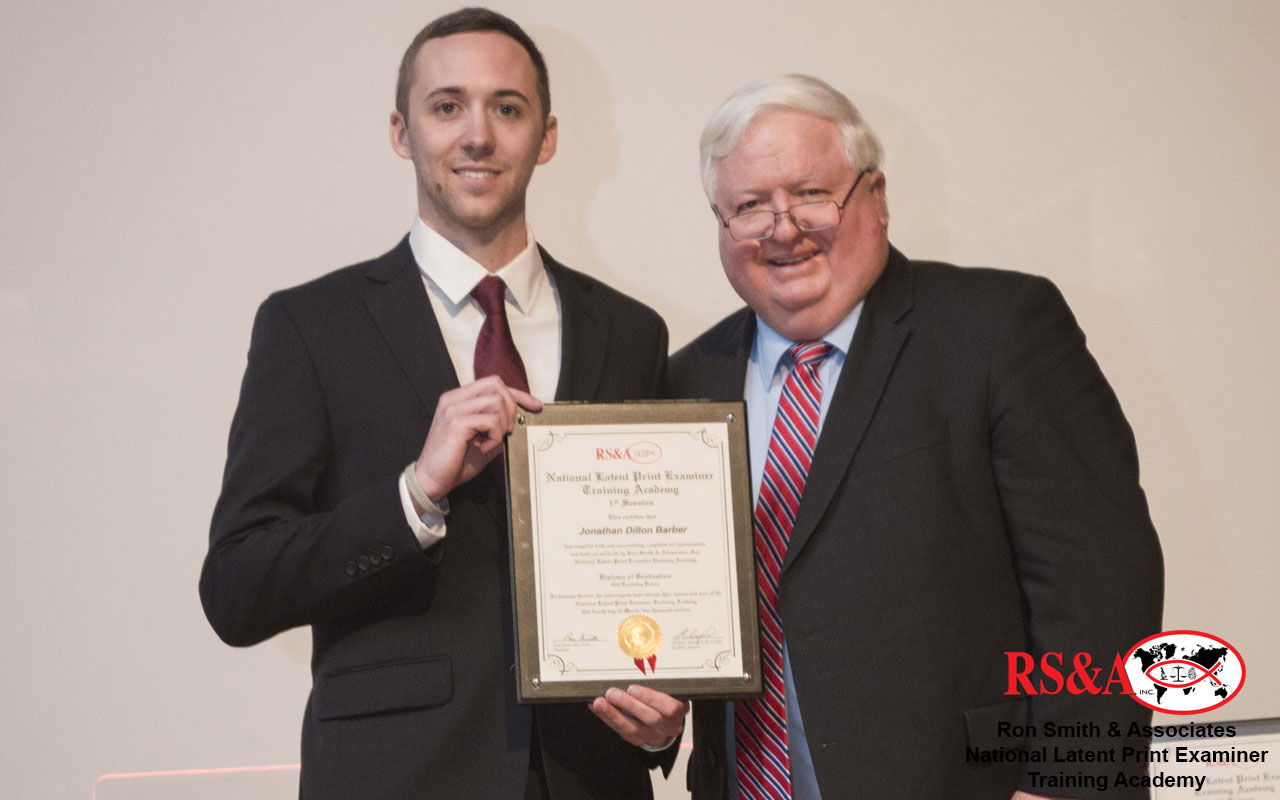
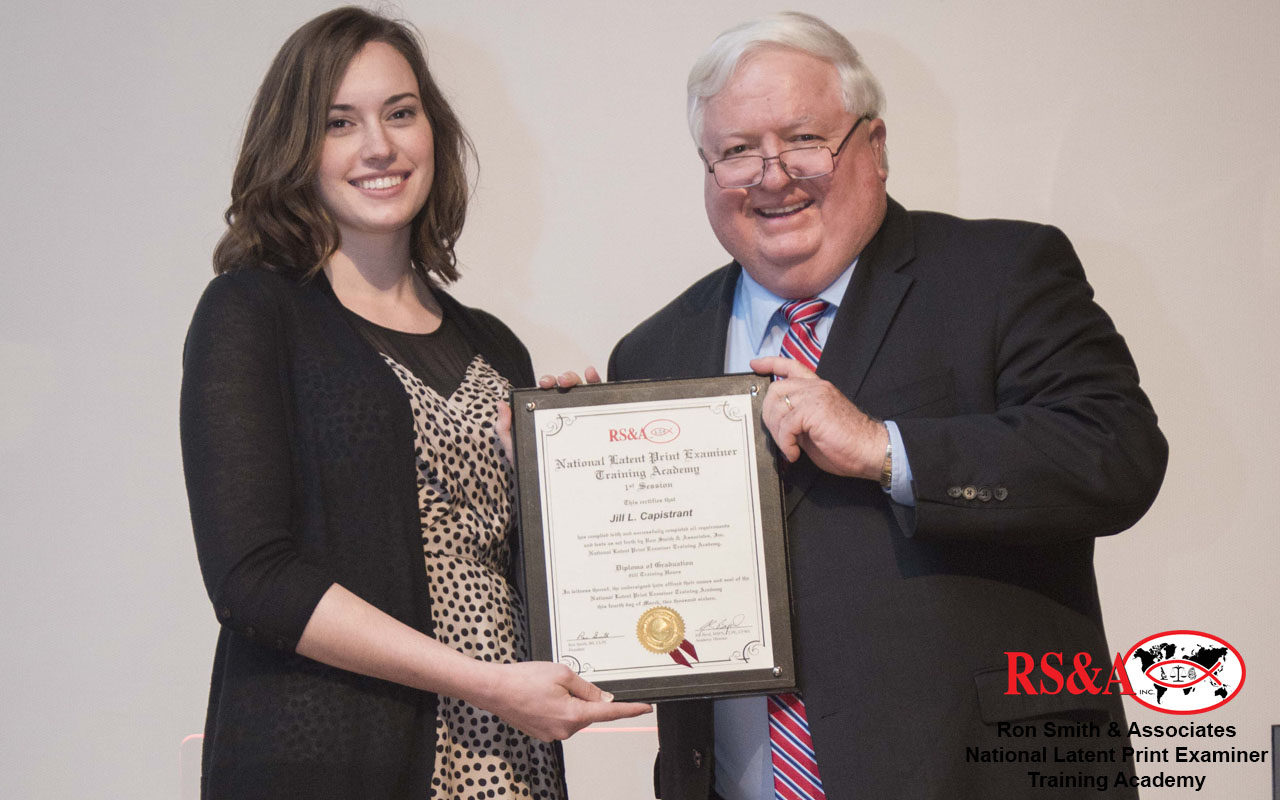
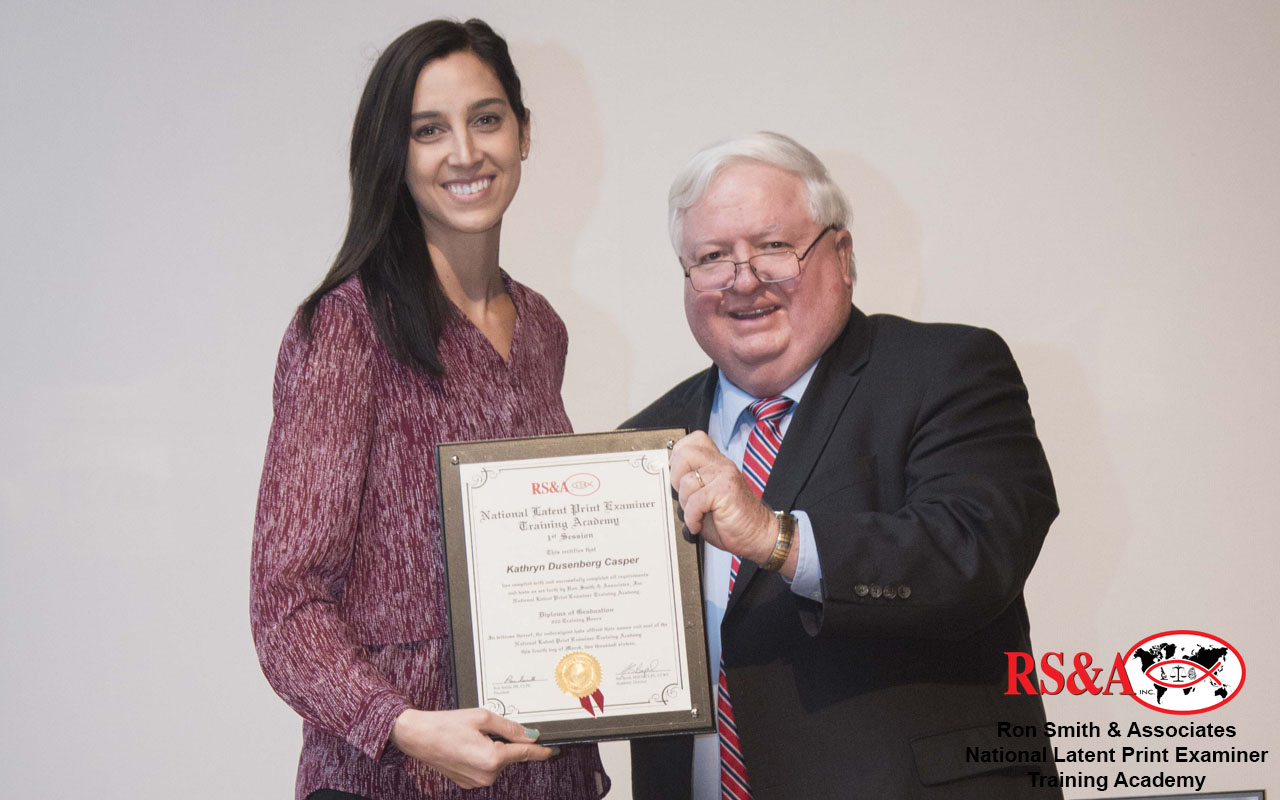
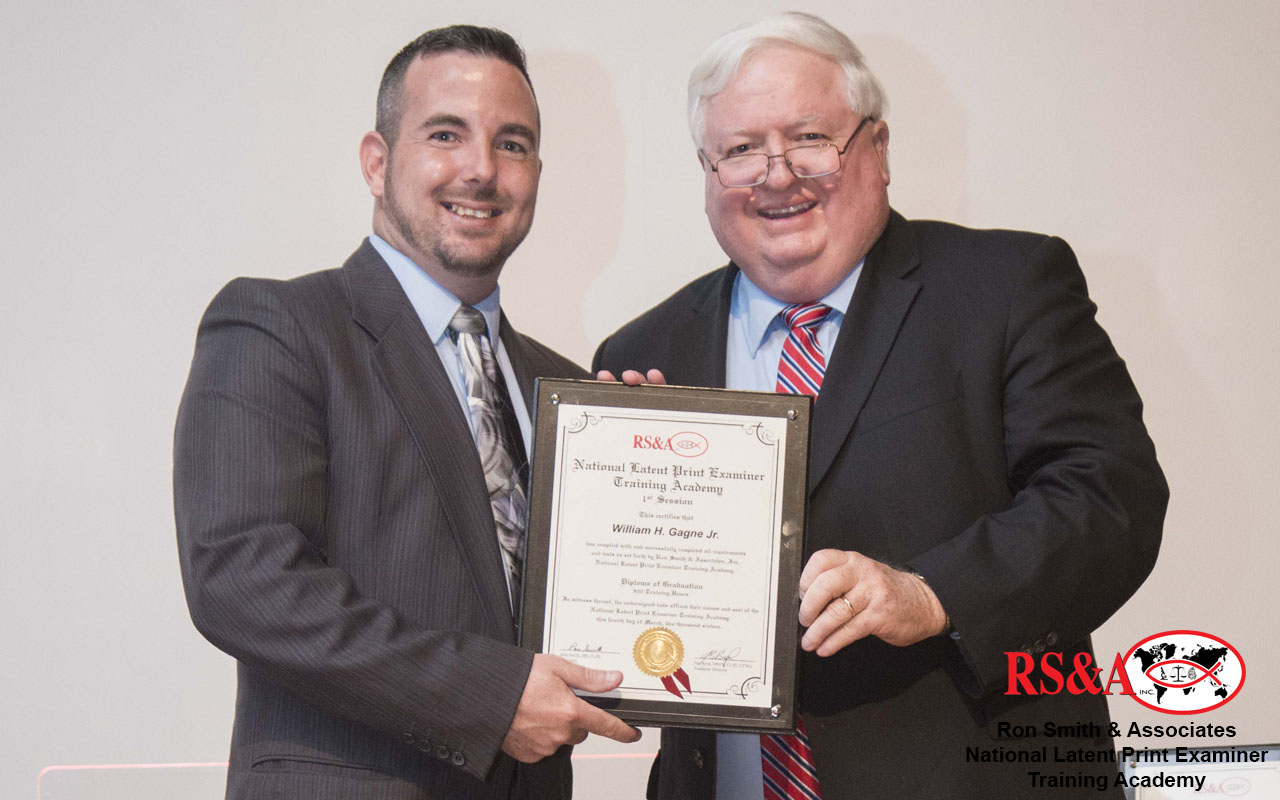
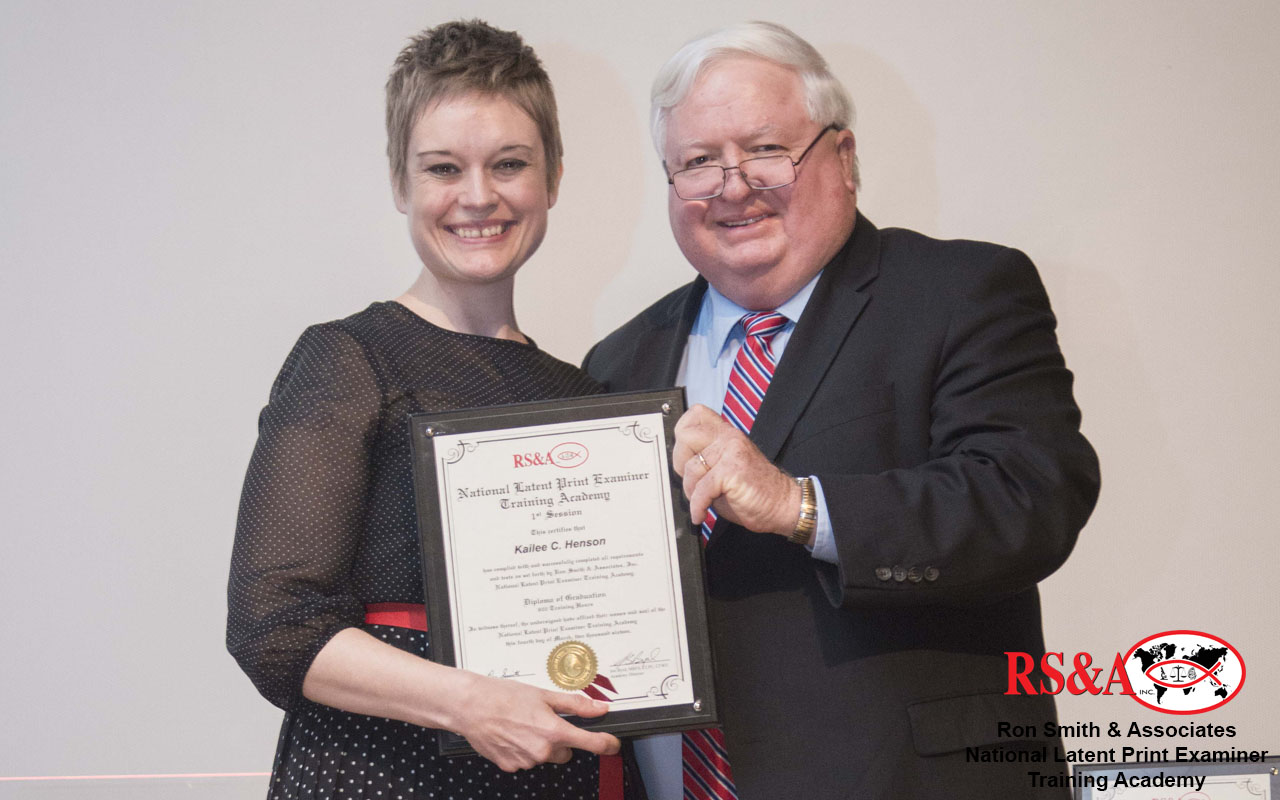
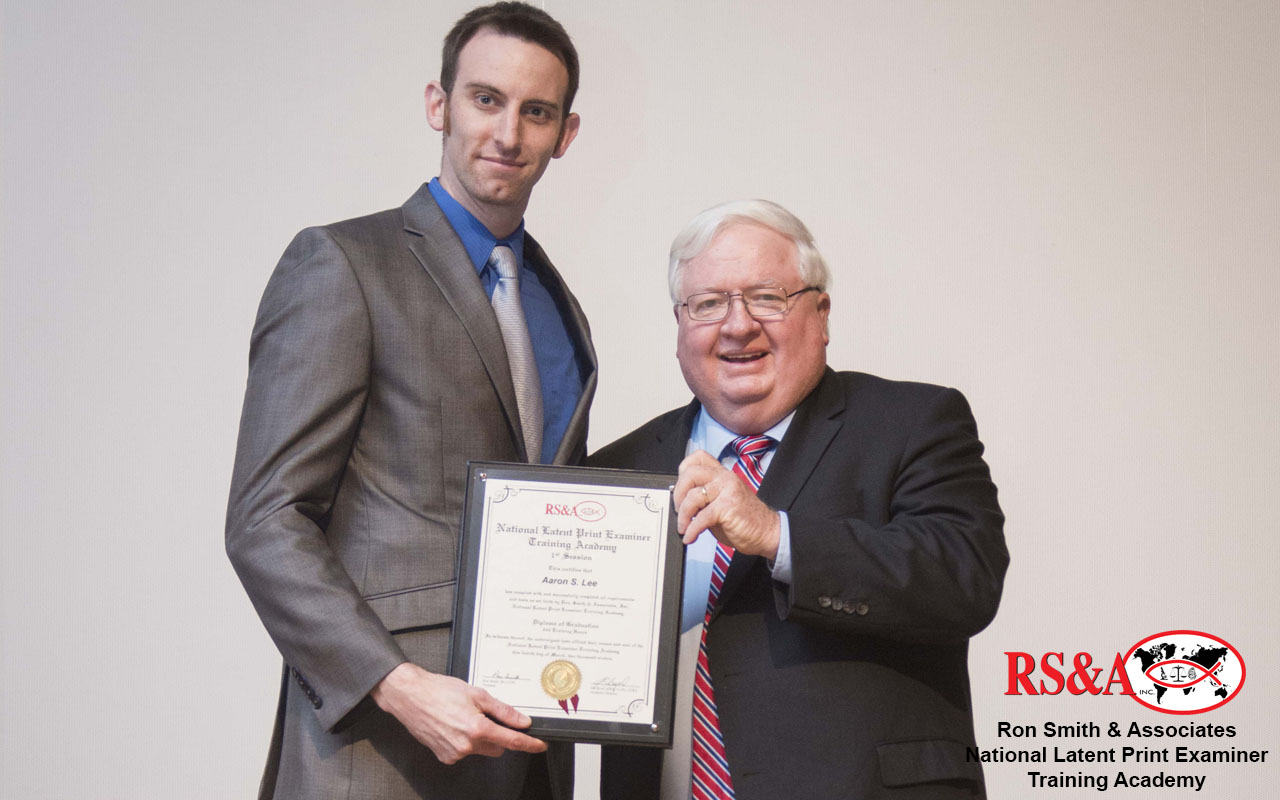
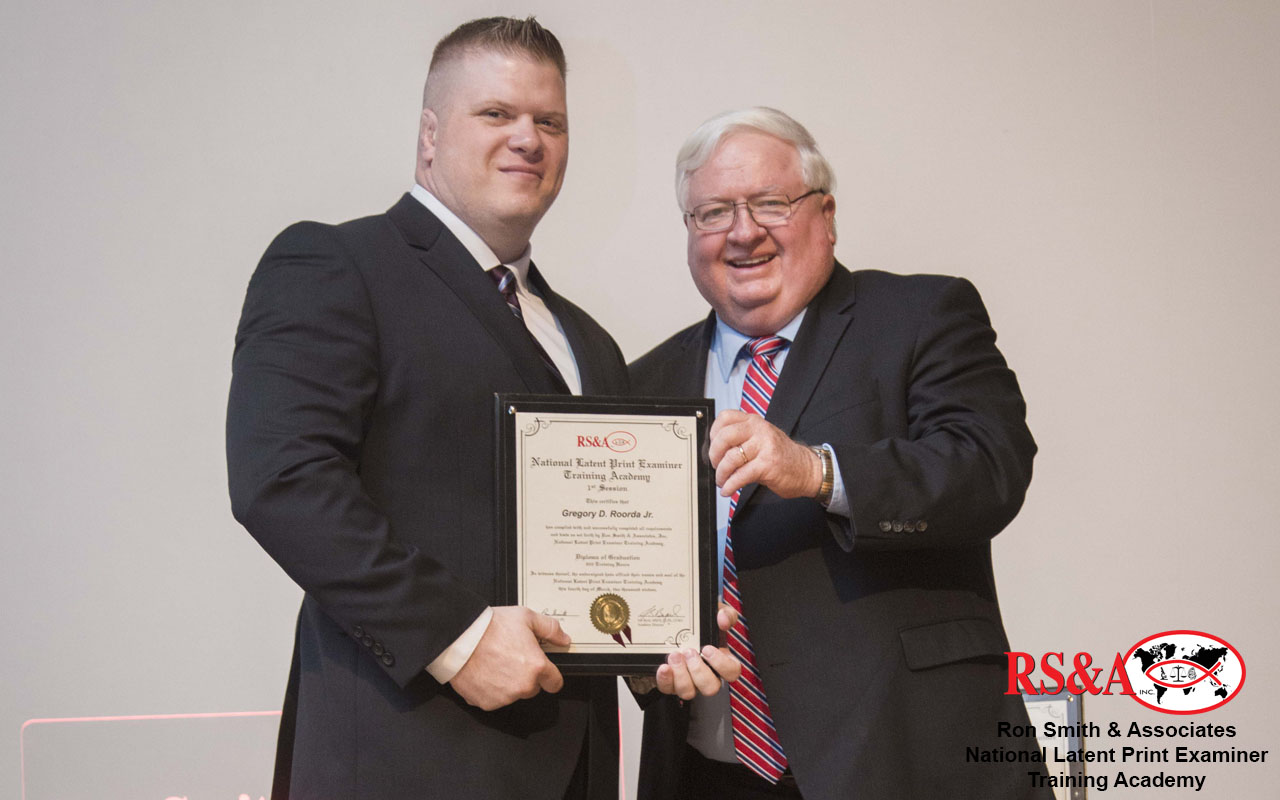
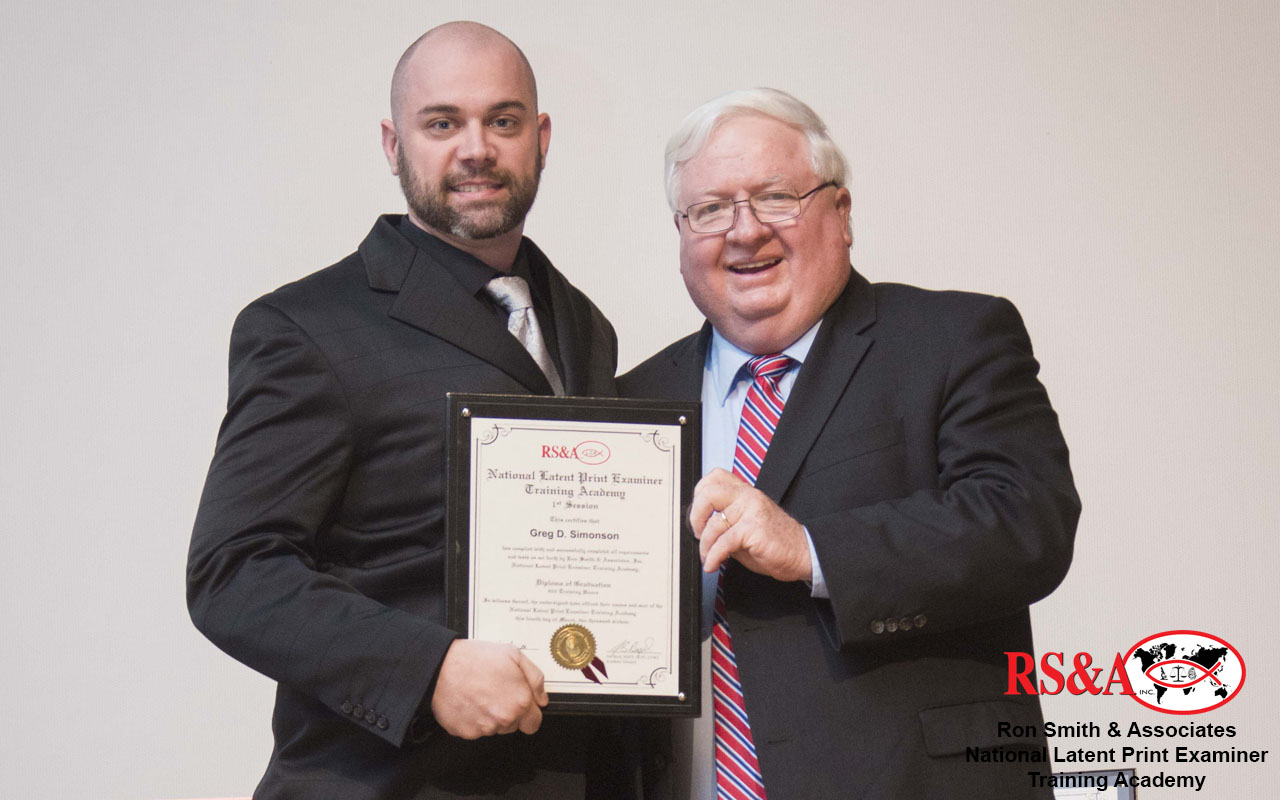
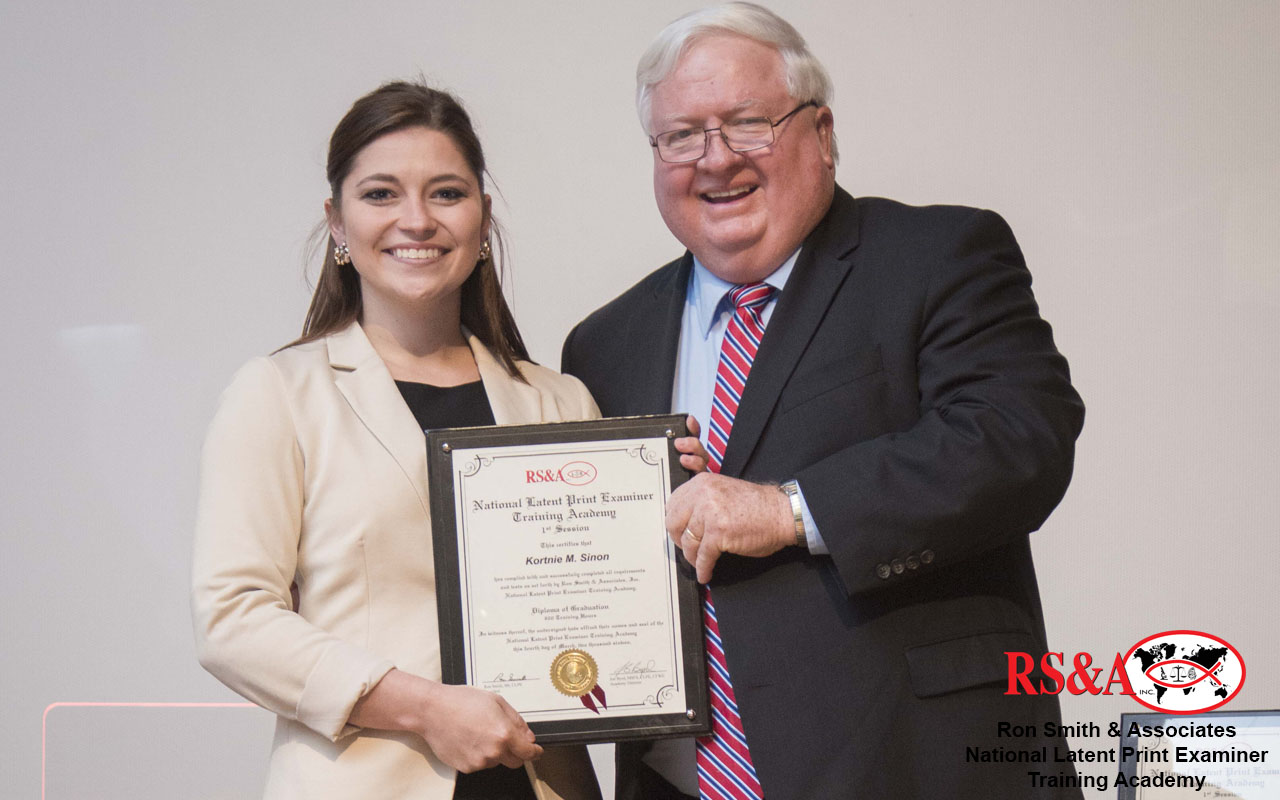
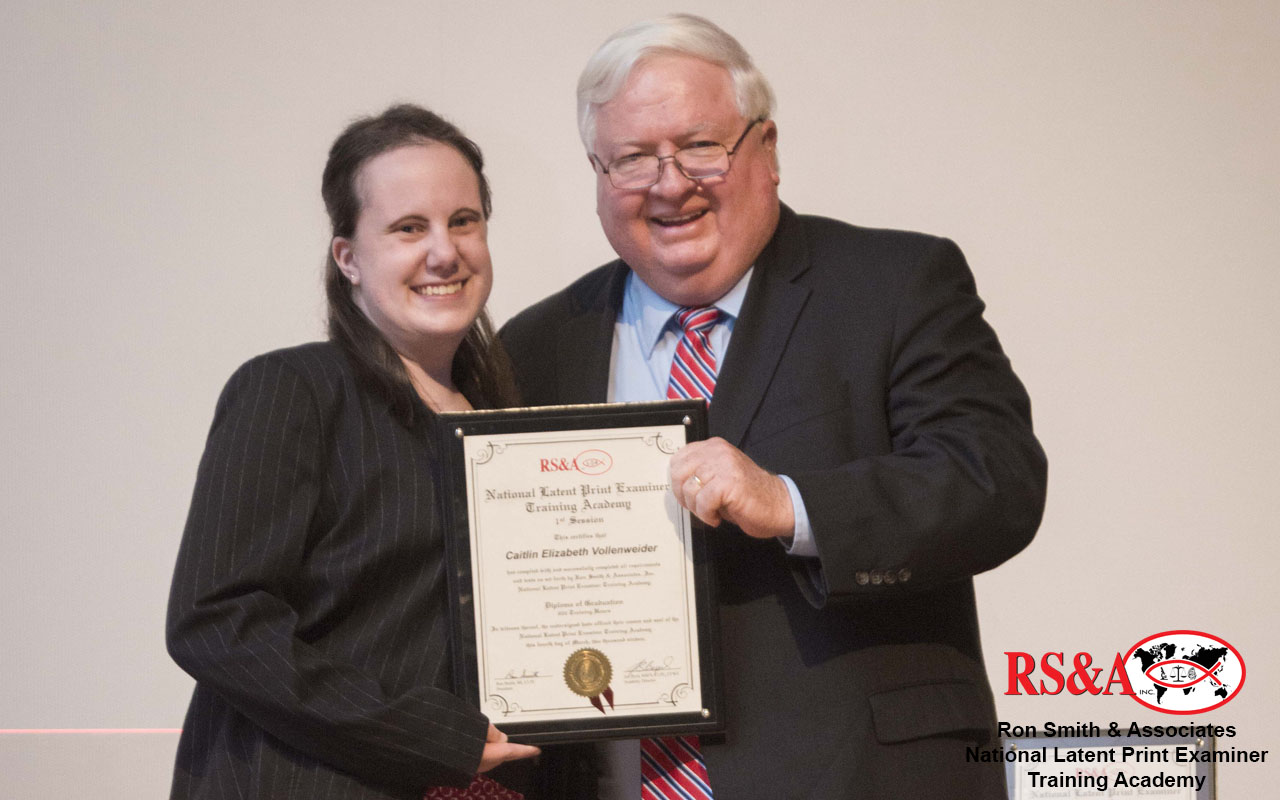
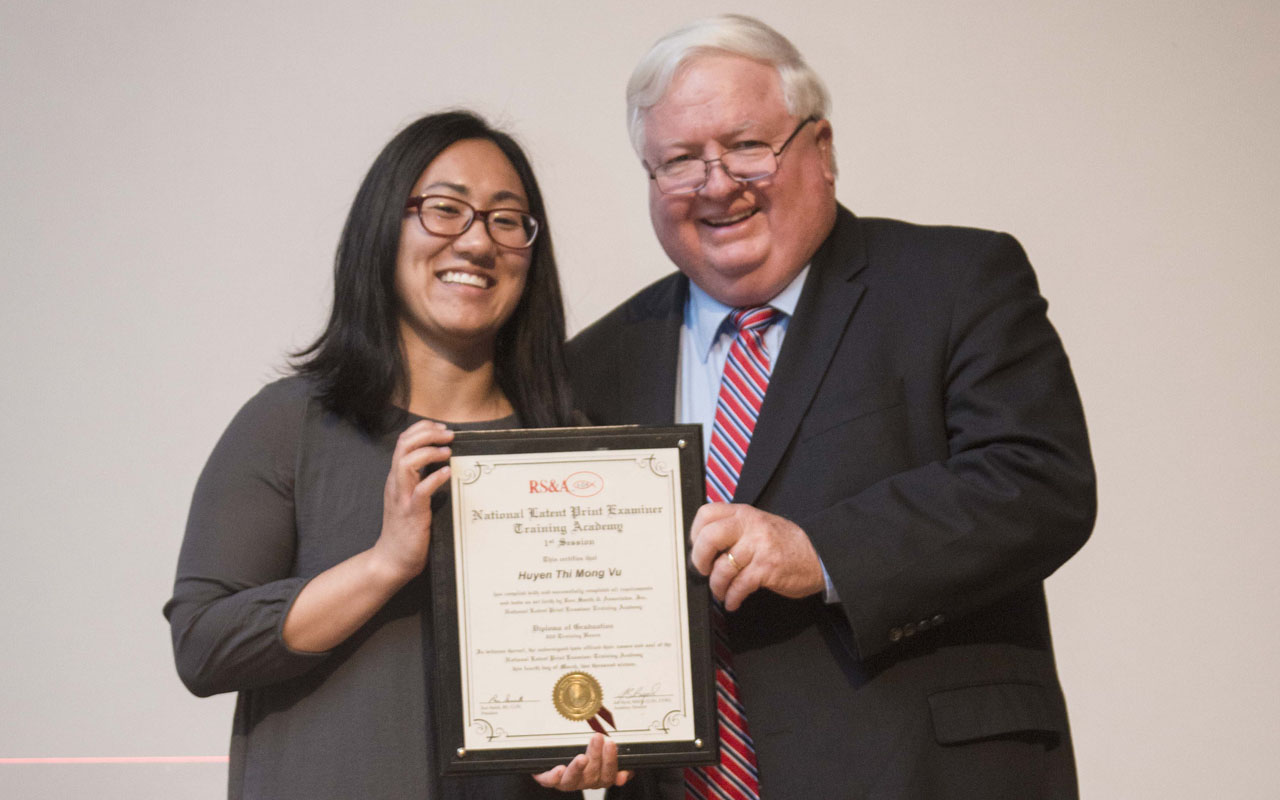
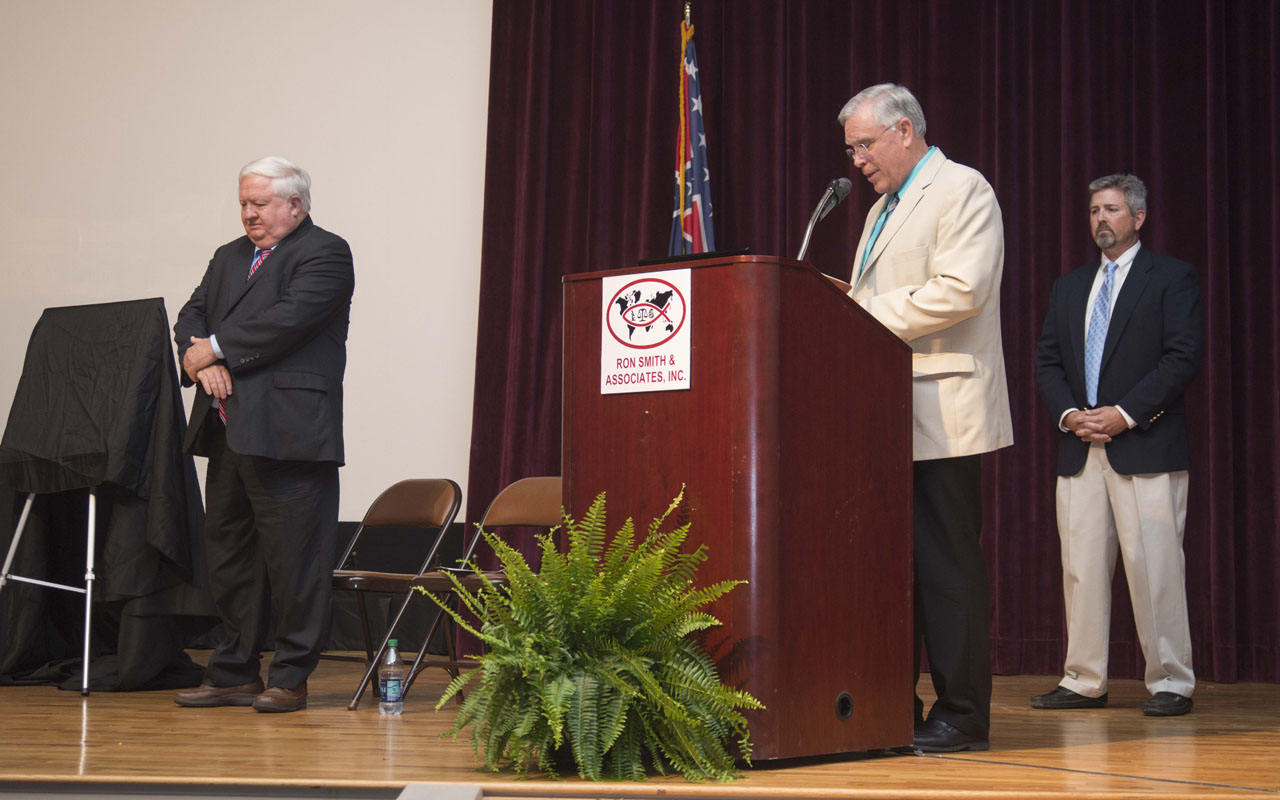
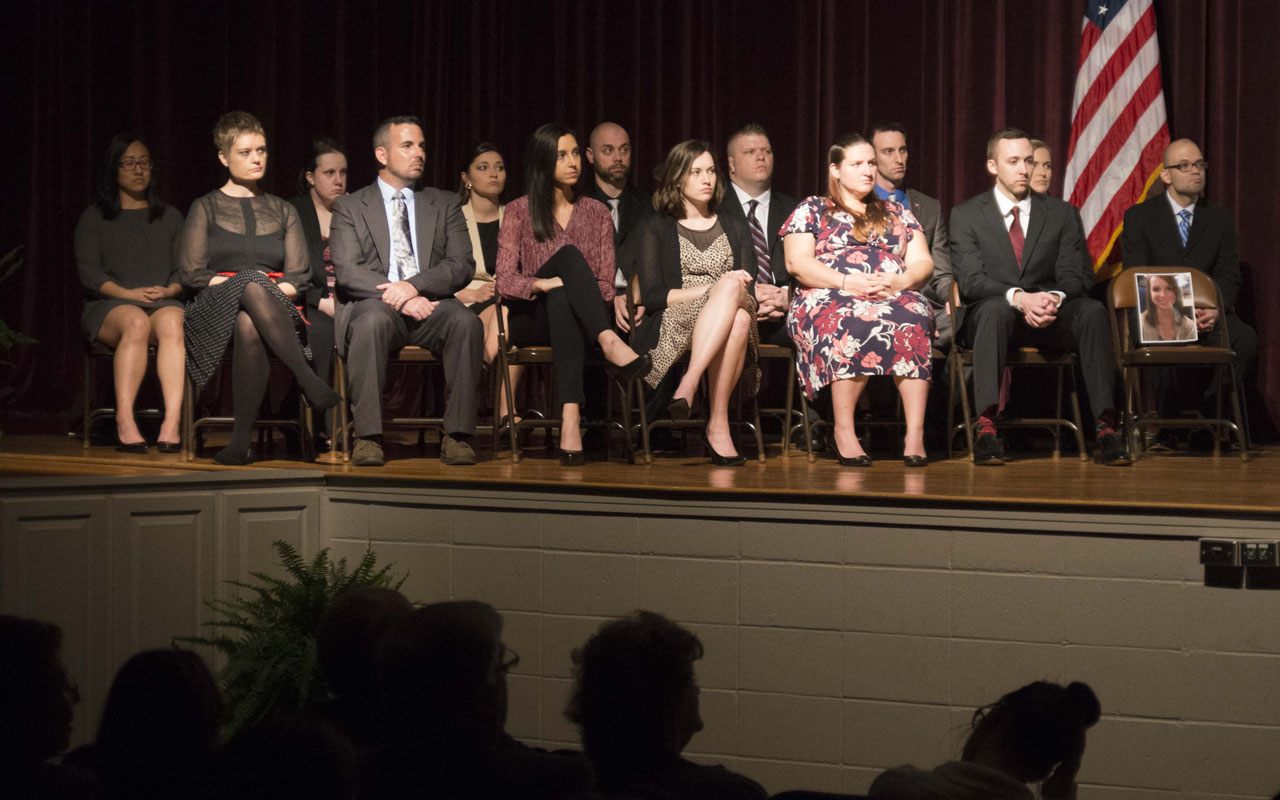
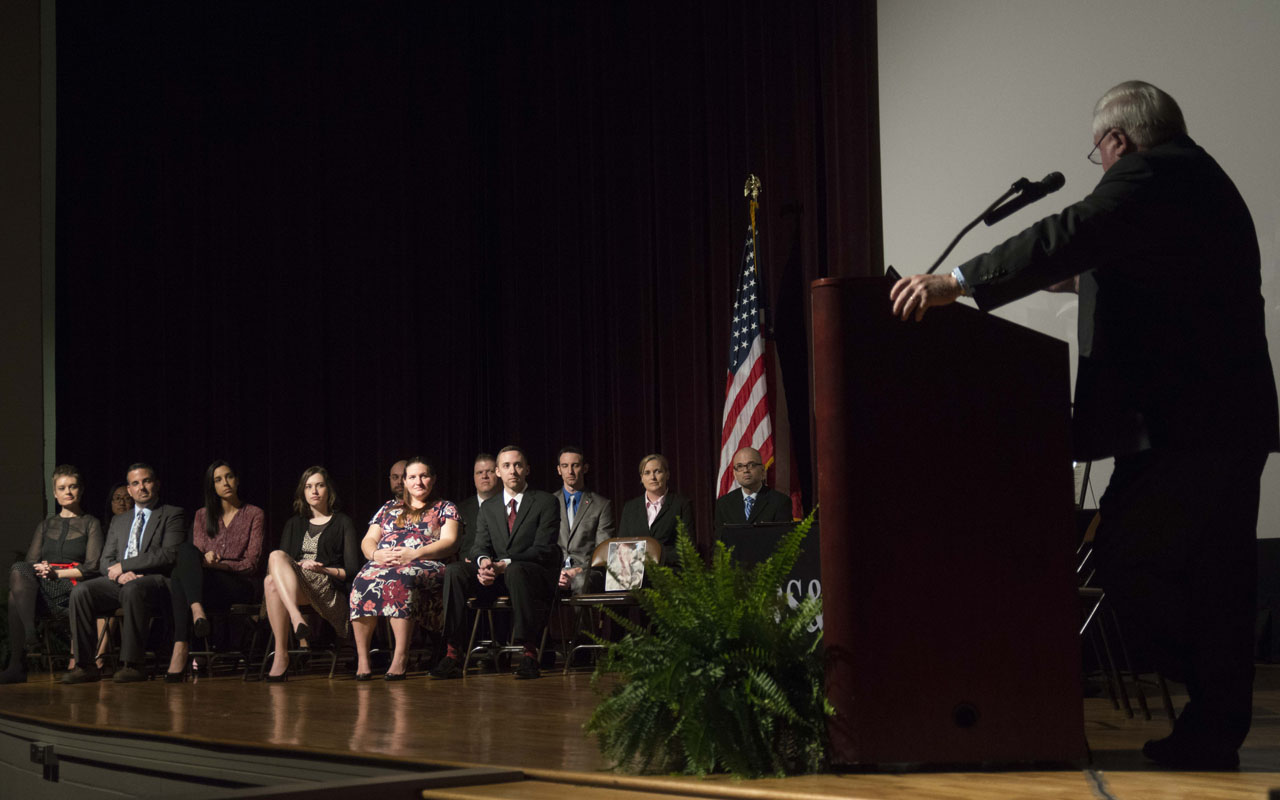
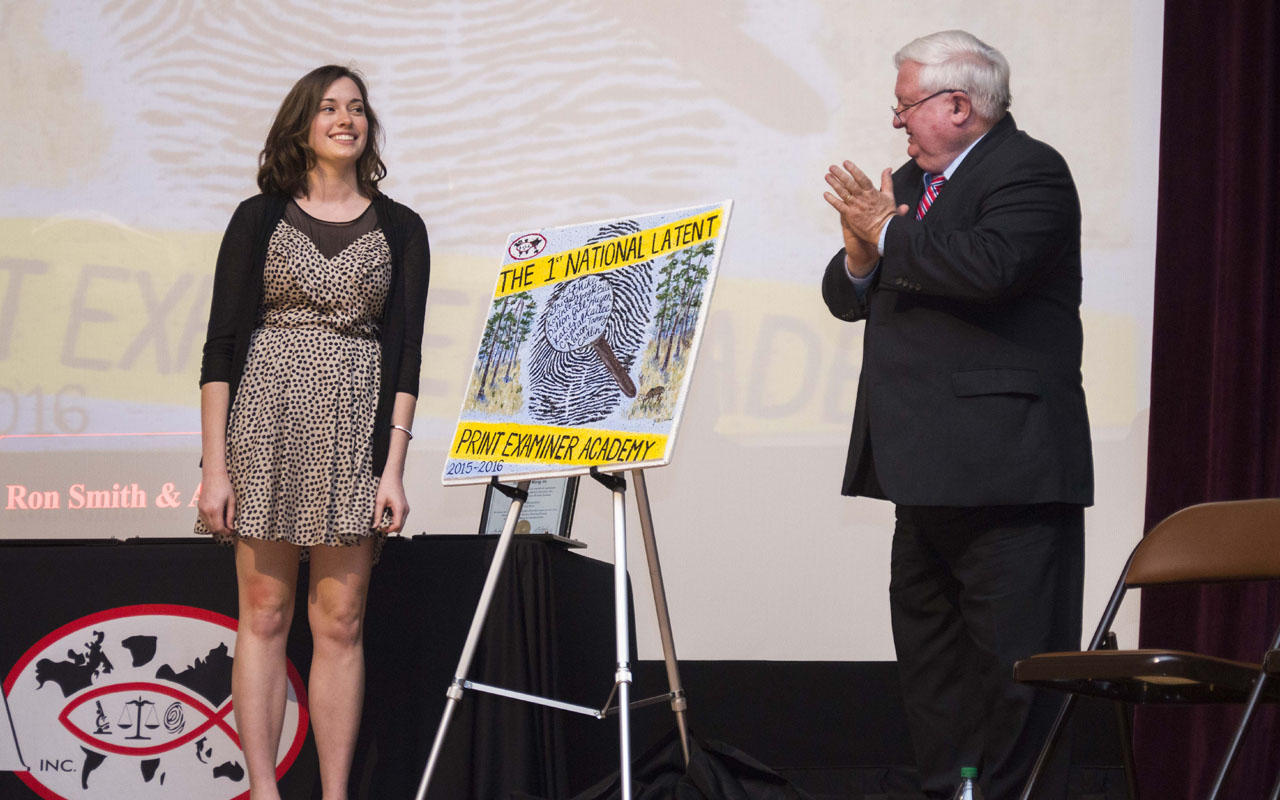
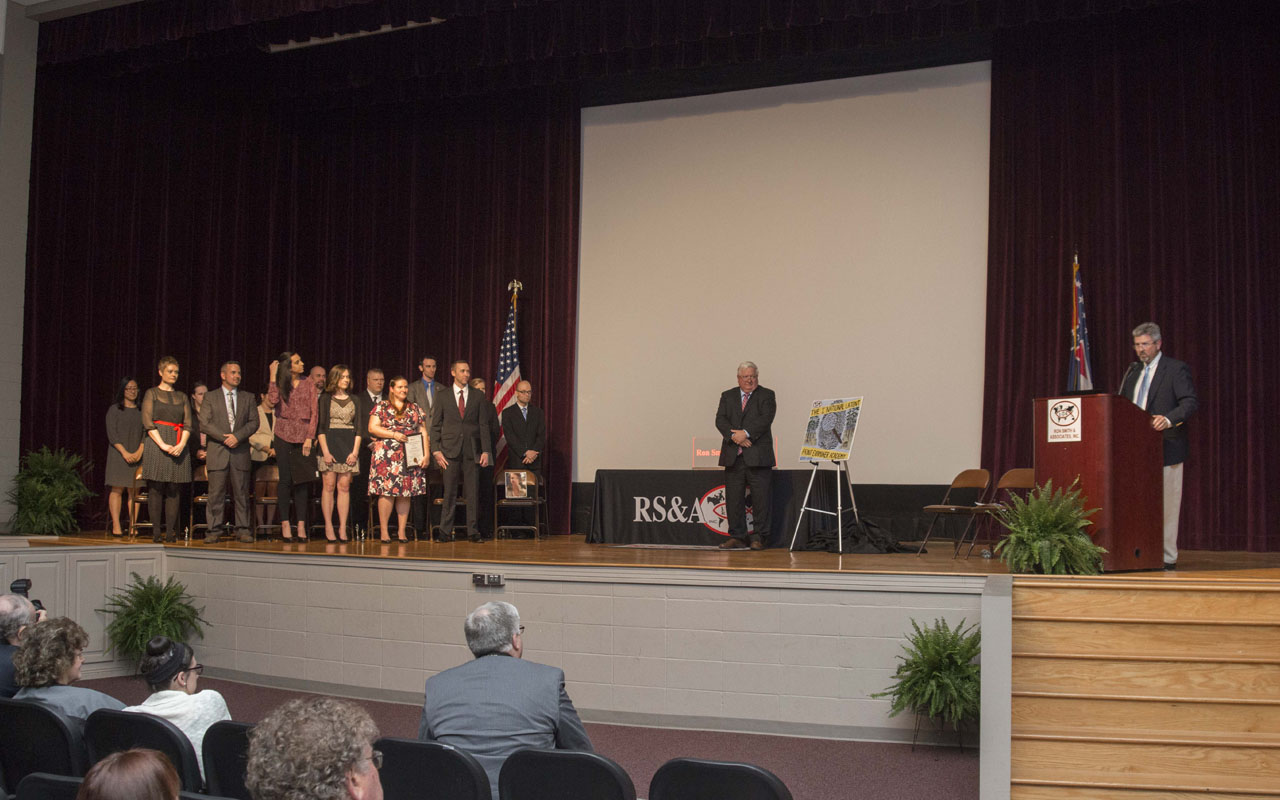
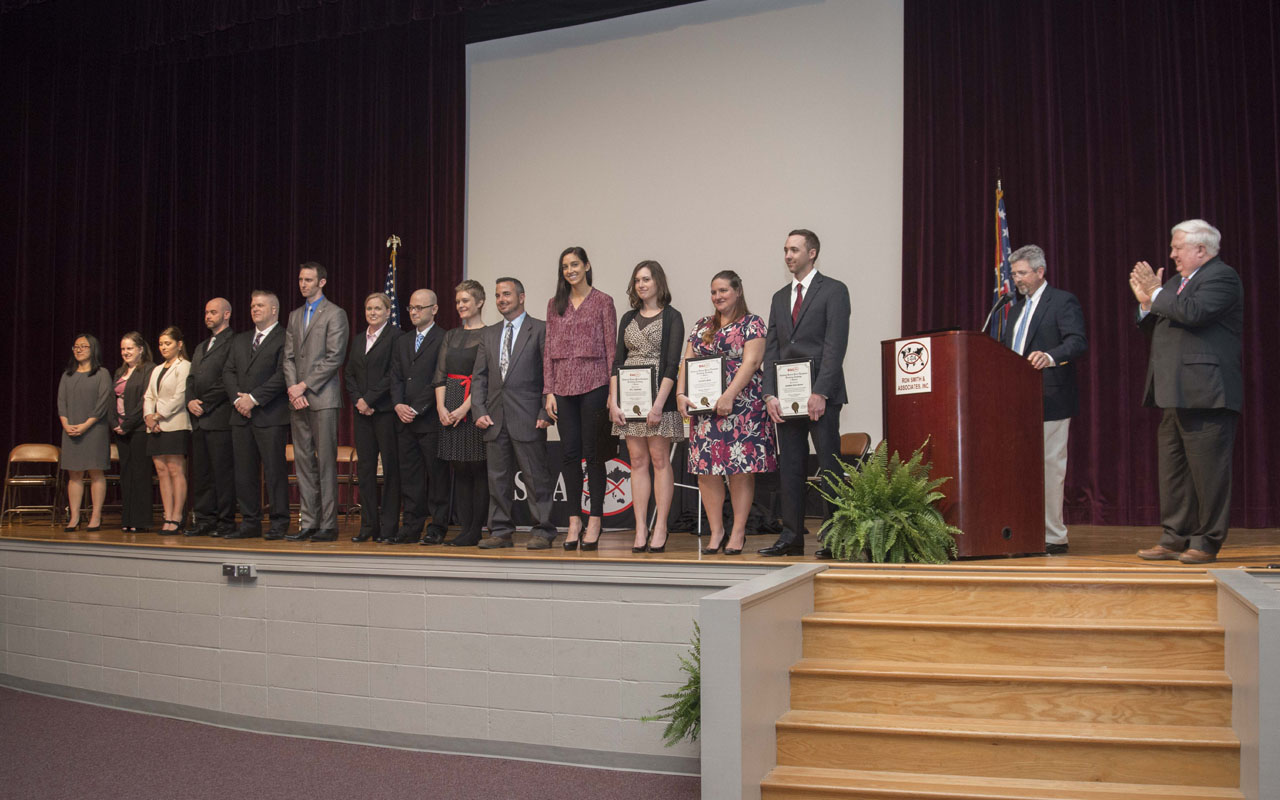
Week #20 was focused on the students presenting their research projects, final comparison exam and final comprehensive written exam. After all exams and presentations, the students were run through graduation exercises and had some free time to spend with each other and to start packing for travel back home.
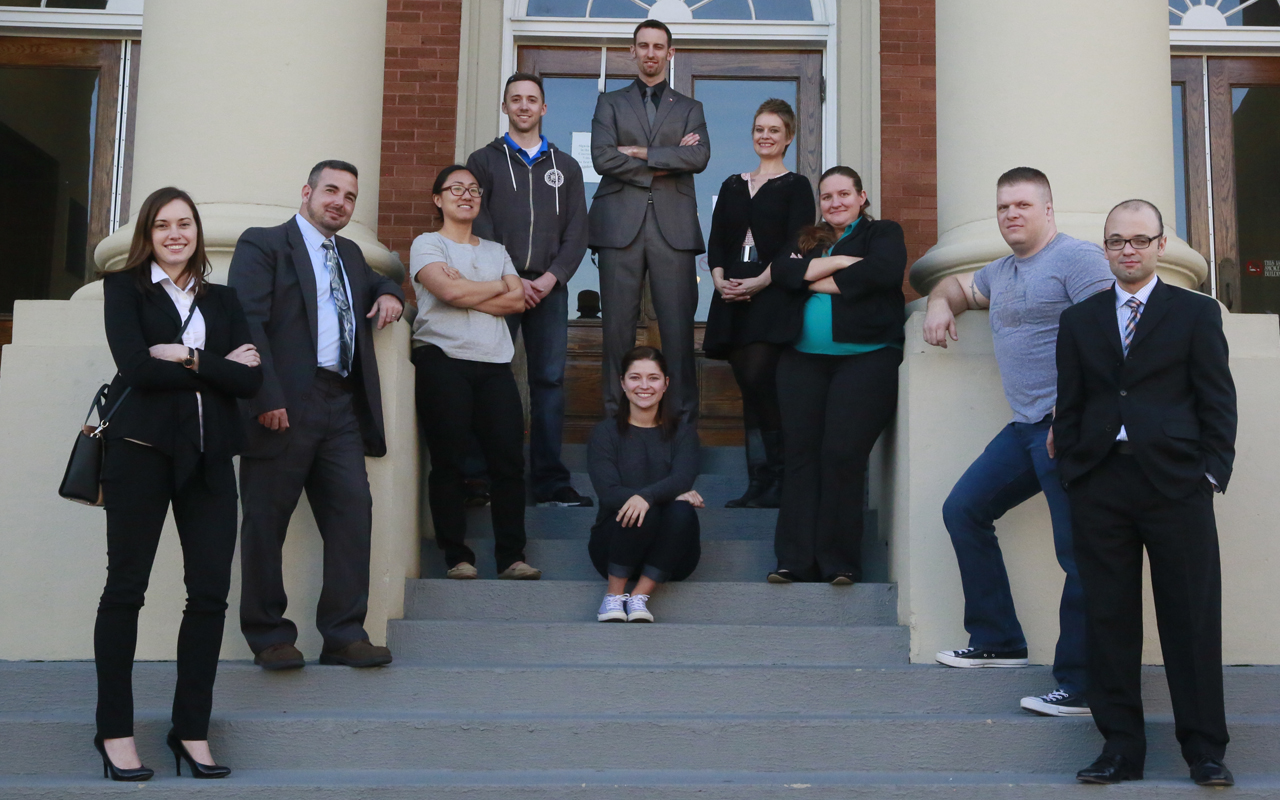
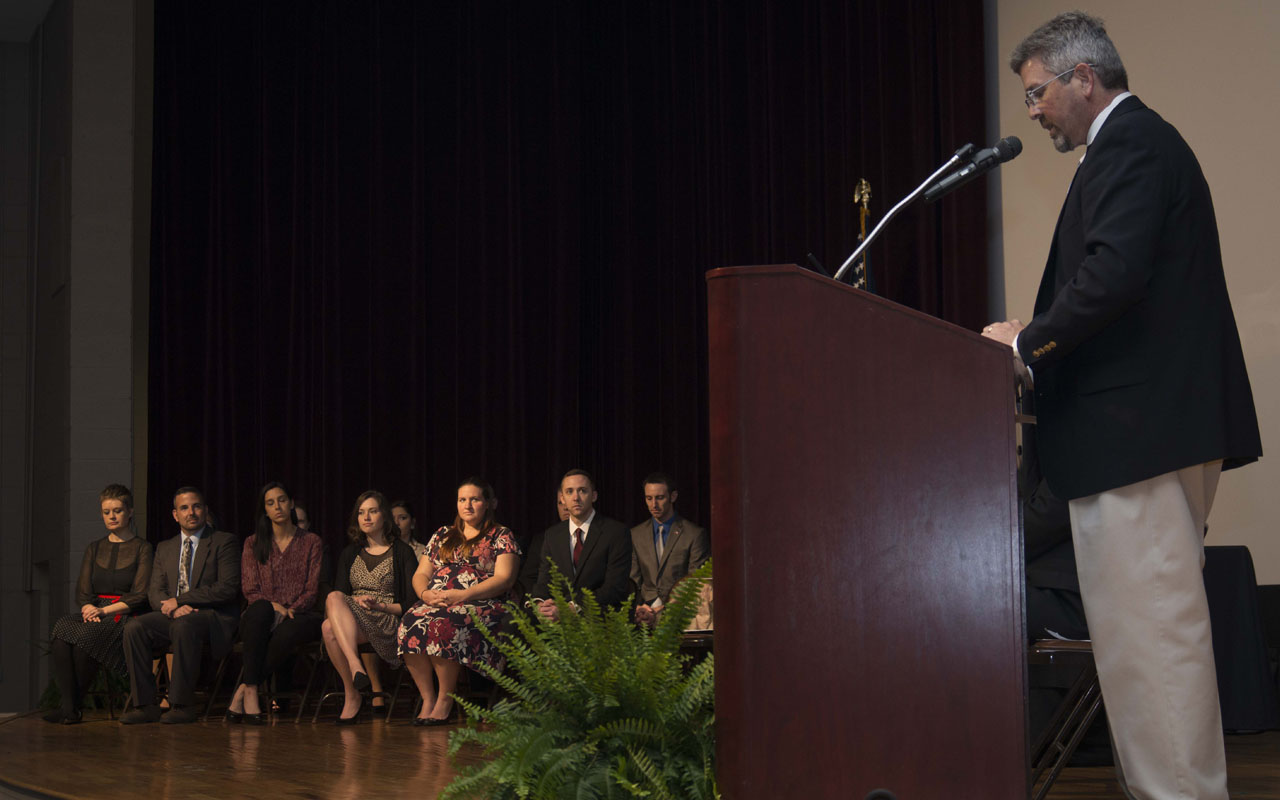
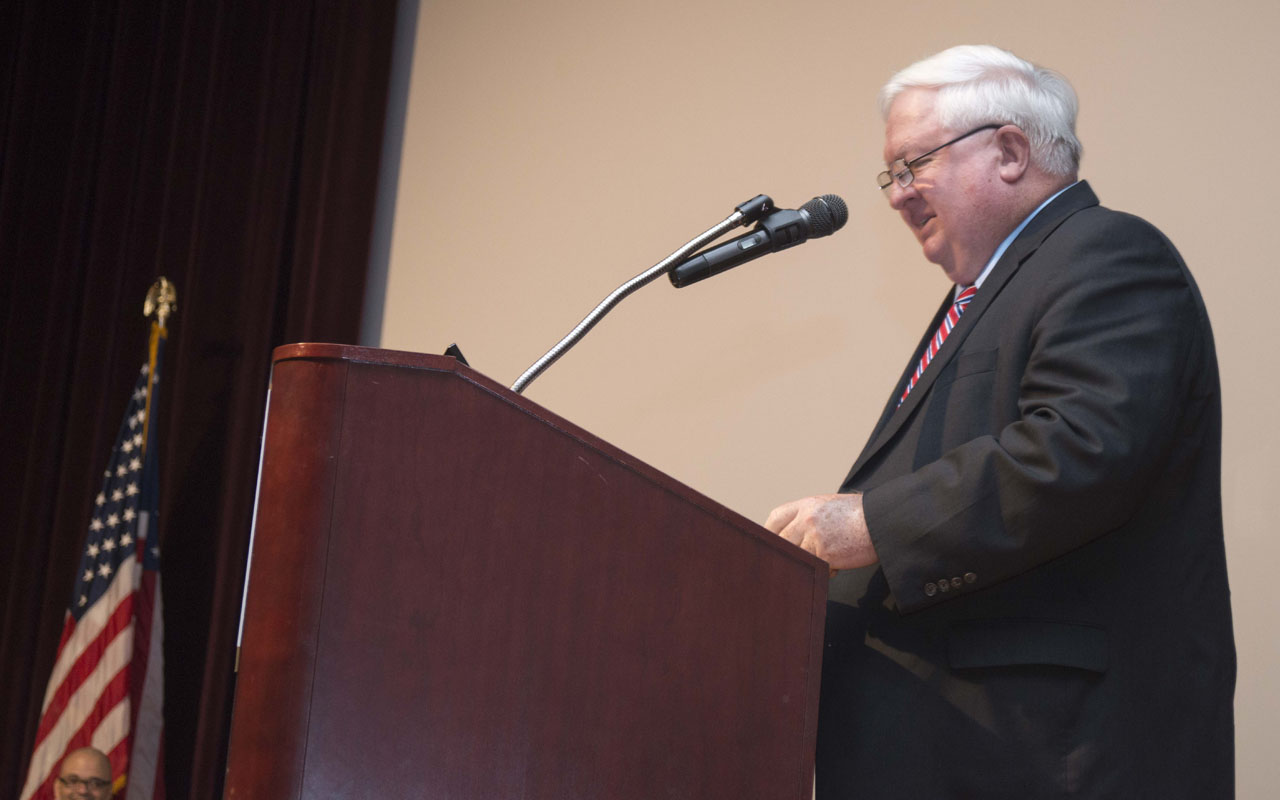
RS&A would like to congratulate all of the graduates of the 1st Session, National Latent Print Examiner Training Academy.
CLICK A THUMBNAIL IMAGE BELOW TO VIEW A LARGER IMAGE SLIDESHOW